> For the complete documentation index, see [llms.txt](https://docs.digit.org/llms.txt). Markdown versions of documentation pages are available by appending `.md` to page URLs; this page is available as [Markdown](https://docs.digit.org/health/v2.0/access/public-health-product-suite/health-campaign-management-hcm/hcm-console/edit-campaign-data.md).
# Edit Campaign Data
## **Steps**
System admins can manage and update campaign data, such as Targets, Facilities, and Users, during an ongoing or upcoming campaign. This feature reduces the dependency on the Implementation Team and enables quicker adjustments.
#### **Pre-requisites**
Before editing campaign data, ensure that:
* You have access to the HCM Console.
* The campaign is either ongoing or in an ongoing state.
* You have the latest uploaded files for Target, Facility, and User data.
### **Update Boundary Data**
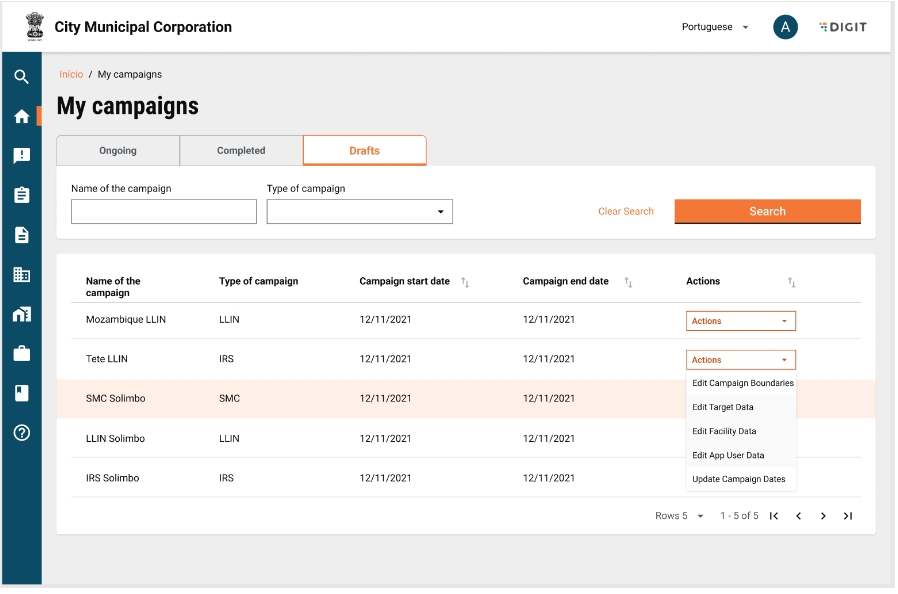
1. To select new boundaries for any campaign, navigate to the My Campaigns section from the main dashboard. Locate and select the campaign you wish to update. This will take you to the campaign summary screen.
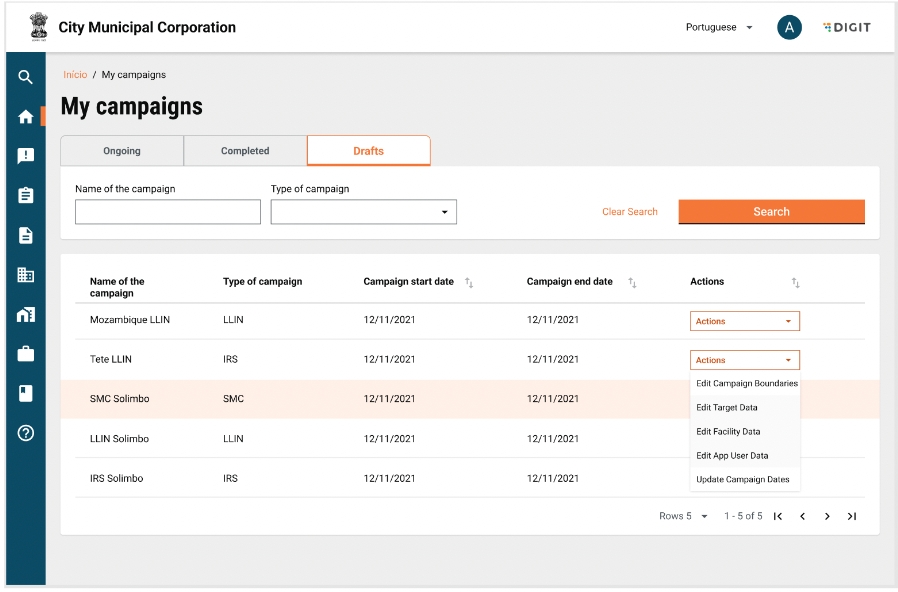
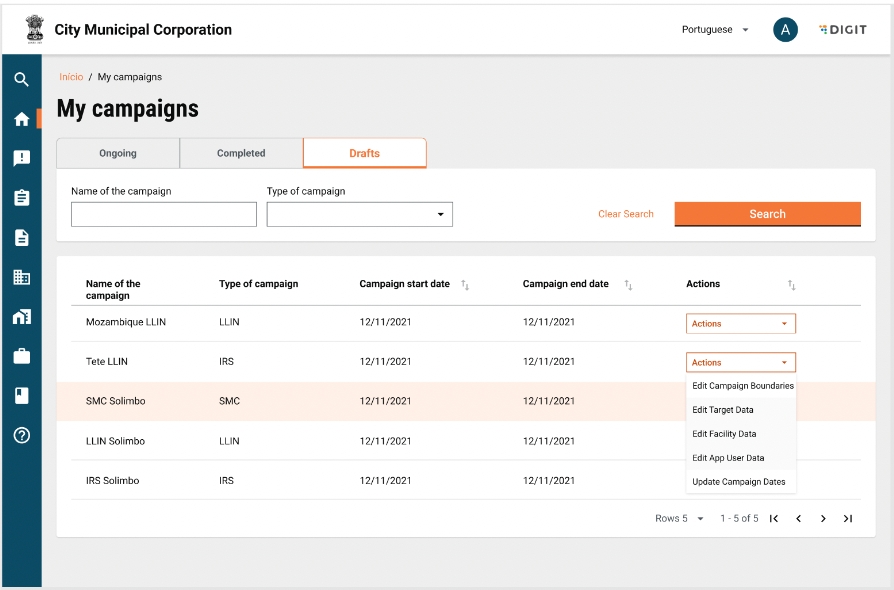
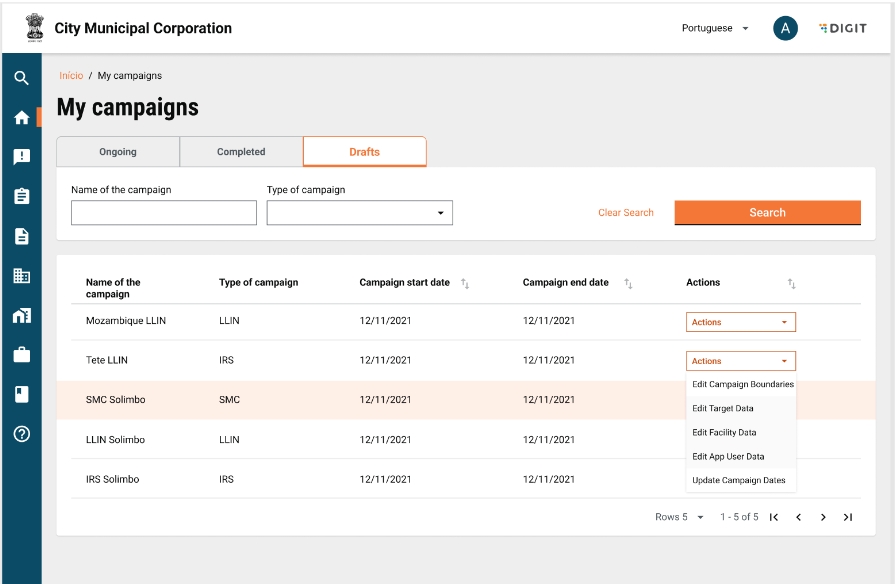
2. On the My Campaign screen, click the Actions button and then select Edit Campaign Boundary Data from the dropdown. Add existing boundaries from the dropdown.

3. Upload and update Target, Facility, and User Data details. These updates are mandatory to ensure consistency in campaign data.

**To update target data -**
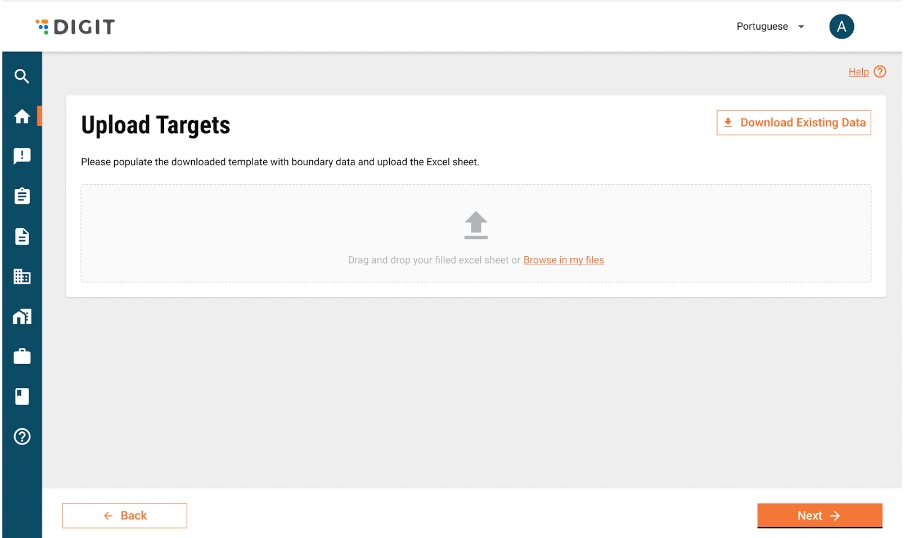
1. On the Update Target Data Screen, click on the Download Existing Data button to download the last successfully uploaded file used for creating the Target Data. Open the downloaded file and review the existing Target data.
2. On the Target Upload Screen, note that the Download Template button is disabled. Instead, download the last successfully uploaded file that was used to create the Target Data for the campaign. Open the downloaded file and review the existing data.
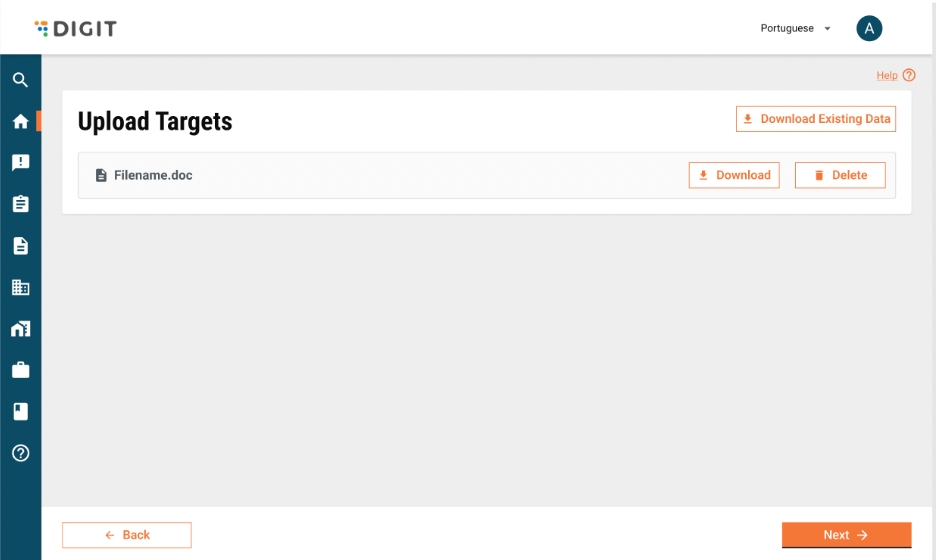
3. Once the new boundaries are added, upload the updated data. Ensure that the upload is successful and the changes are reflected in the campaign summary.
**To update Facility Data -**
1. Go to My Campaigns in the HCM Console. Under My Campaigns, go to the campaign for which you want to edit Facility Data and under “Actions” click on “Edit Facility Data”.
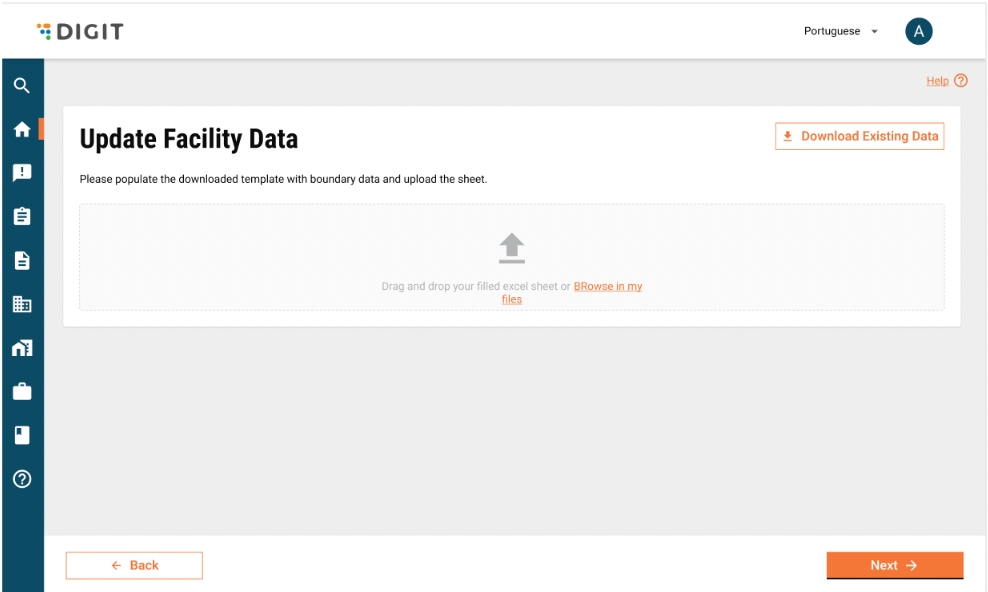
2. On the Update Facility Data Screen, click on the "Download Existing Data" button to download the last successfully uploaded file used for creating the Facility Data. Open the downloaded file and review the existing facility data.
3. If new boundaries are added to the campaign, these will be appended to the “List of Campaign Boundary” sheet. Review and update the facility status, boundary mapping, and create any new facilities as needed.
{% hint style="info" %}
Note: Removal of existing boundary data is not allowed.
{% endhint %}
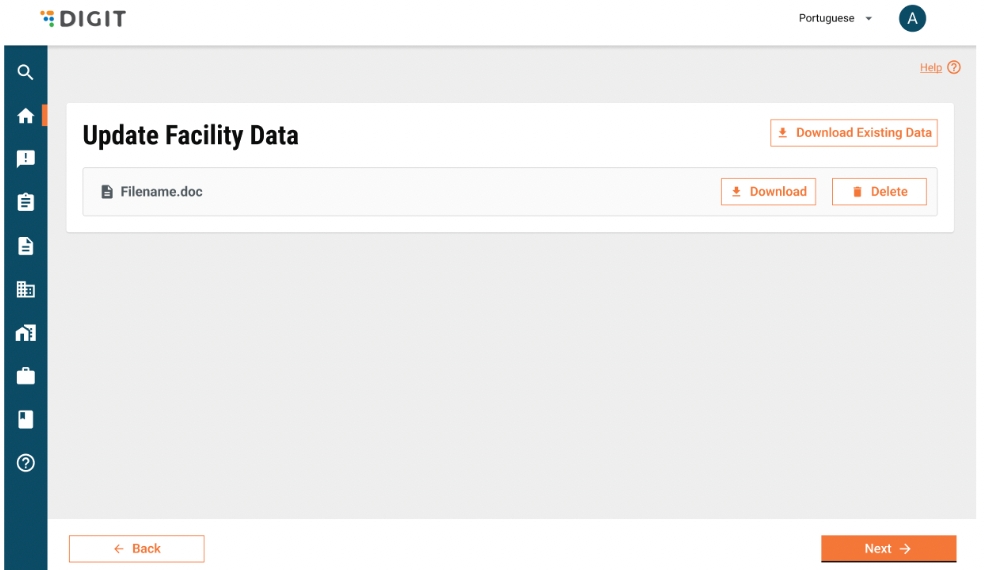
4. After making the necessary edits, save the Excel file. Return to the Facility Data Upload Screen and upload the updated Excel file. Ensure that the upload is successful and that the changes are reflected in the campaign summary.
{% hint style="info" %}
Note on Deactivation/Deletion:
* If there are facilities that need to be deactivated or deleted, contact the Impel Team, as this action requires additional checks and cannot be performed through the Console.
{% endhint %}
**To update app user data -**
1. Navigate to My Campaigns in the HCM Console. Select the Actions button for that specific campaign, and in the dropdown that opens, select Edit App User Data.
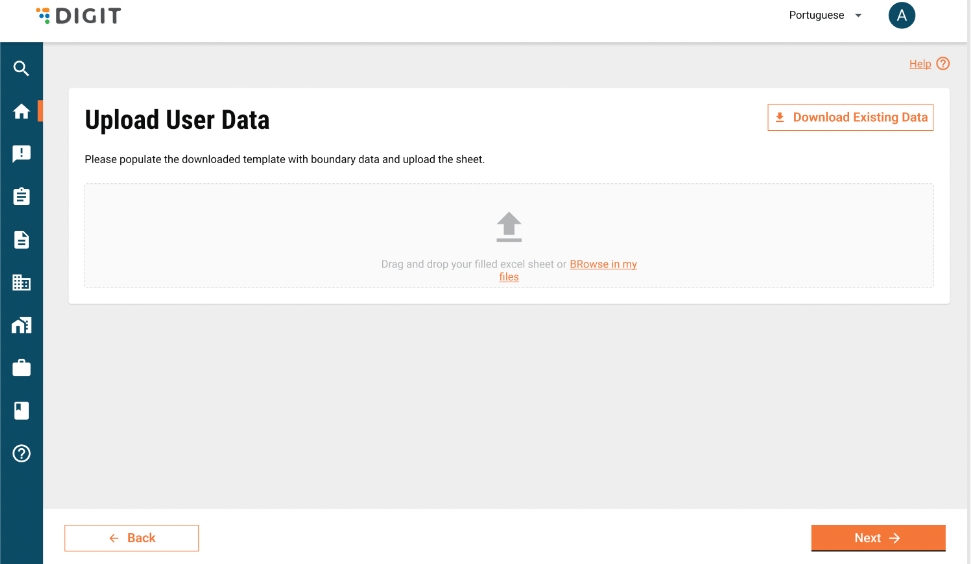
2. On the Update App User Data Screen, click on the Download Existing Data button to download the last successfully uploaded file used for creating the App User Data. Open the downloaded file and review the existing App User data.
3. If new boundaries are added to the campaign, these will be appended to the List of Campaign Boundary sheet. Review and update user roles, boundary mapping, and create any new users as needed.
{% hint style="info" %}
Note: If a user is assigned to a boundary that has been deselected, update the boundary mapping for that user.
{% endhint %}
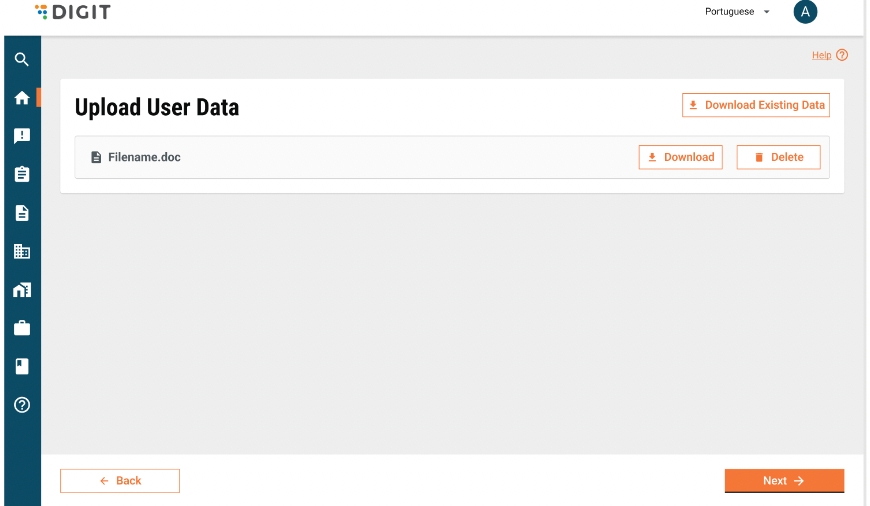
4. After making the necessary edits, save the Excel file. Return to the User Data Upload Screen and upload the updated Excel file. Ensure that the upload is successful and that the changes are reflected in the campaign summary.
{% hint style="info" %}
Note on Deactivation/Deletion:
* If the users need to be deactivated or deleted, contact the Impel team, as this action requires additional checks and cannot be performed through the Console.
{% endhint %}
### Data Upload Templates
Access the data upload templates below:
---
# Agent Instructions
This documentation is published with GitBook. GitBook is the documentation platform designed so that both humans and AI agents can read, navigate, and reason over technical content effectively. Learn more at gitbook.com.
## Querying This Documentation
If you need additional information that is not directly available in this page, you can query the documentation by asking a question.
Perform an HTTP GET request on the following URL with the `ask` and `goal` query parameters:
```
GET https://docs.digit.org/health/v2.0/access/public-health-product-suite/health-campaign-management-hcm/hcm-console/edit-campaign-data.md?ask=&goal=
```
`ask` is the immediate question: it should be specific, self-contained, and written in natural language.
`goal` is what the user is ultimately trying to achieve, the reason they need the answer. Sharing it helps GitBook give you a better, more relevant answer. A goal is most helpful when it describes the outcome the user wants rather than restating the question. For example, with `ask=how do I create an API token`, a goal like `automate deployments from our CI pipeline` lets GitBook tailor the answer to that use case.
The response will contain a direct answer to the question and relevant excerpts and sources from the documentation.
Use this mechanism when the answer is not explicitly present in the current page, you need clarification or additional context, or you want to retrieve related documentation sections.