Before you begin, ensure you have the following: ✅ GitHub account (to fork repositories and manage workflows) ✅ AWS account (to deploy infrastructure) ✅ AWS CLI installed (for authentication & deployment) ✅ Kubectl installed (for managing Kubernetes) ✅ Postman installed (for API testing) ✅ Domain hosting provider (e.g., GoDaddy) for server domain configuration.
Generate ACCESS_KEY and SECRET_KEY for the IAM user.
Assign administrator access to the IAM user.
Use the below command to set up the AWS profile locally:
Fill in the key values at the respective prompts
Ensure the AWS Account has S3 Bucket access to the Filestore service.
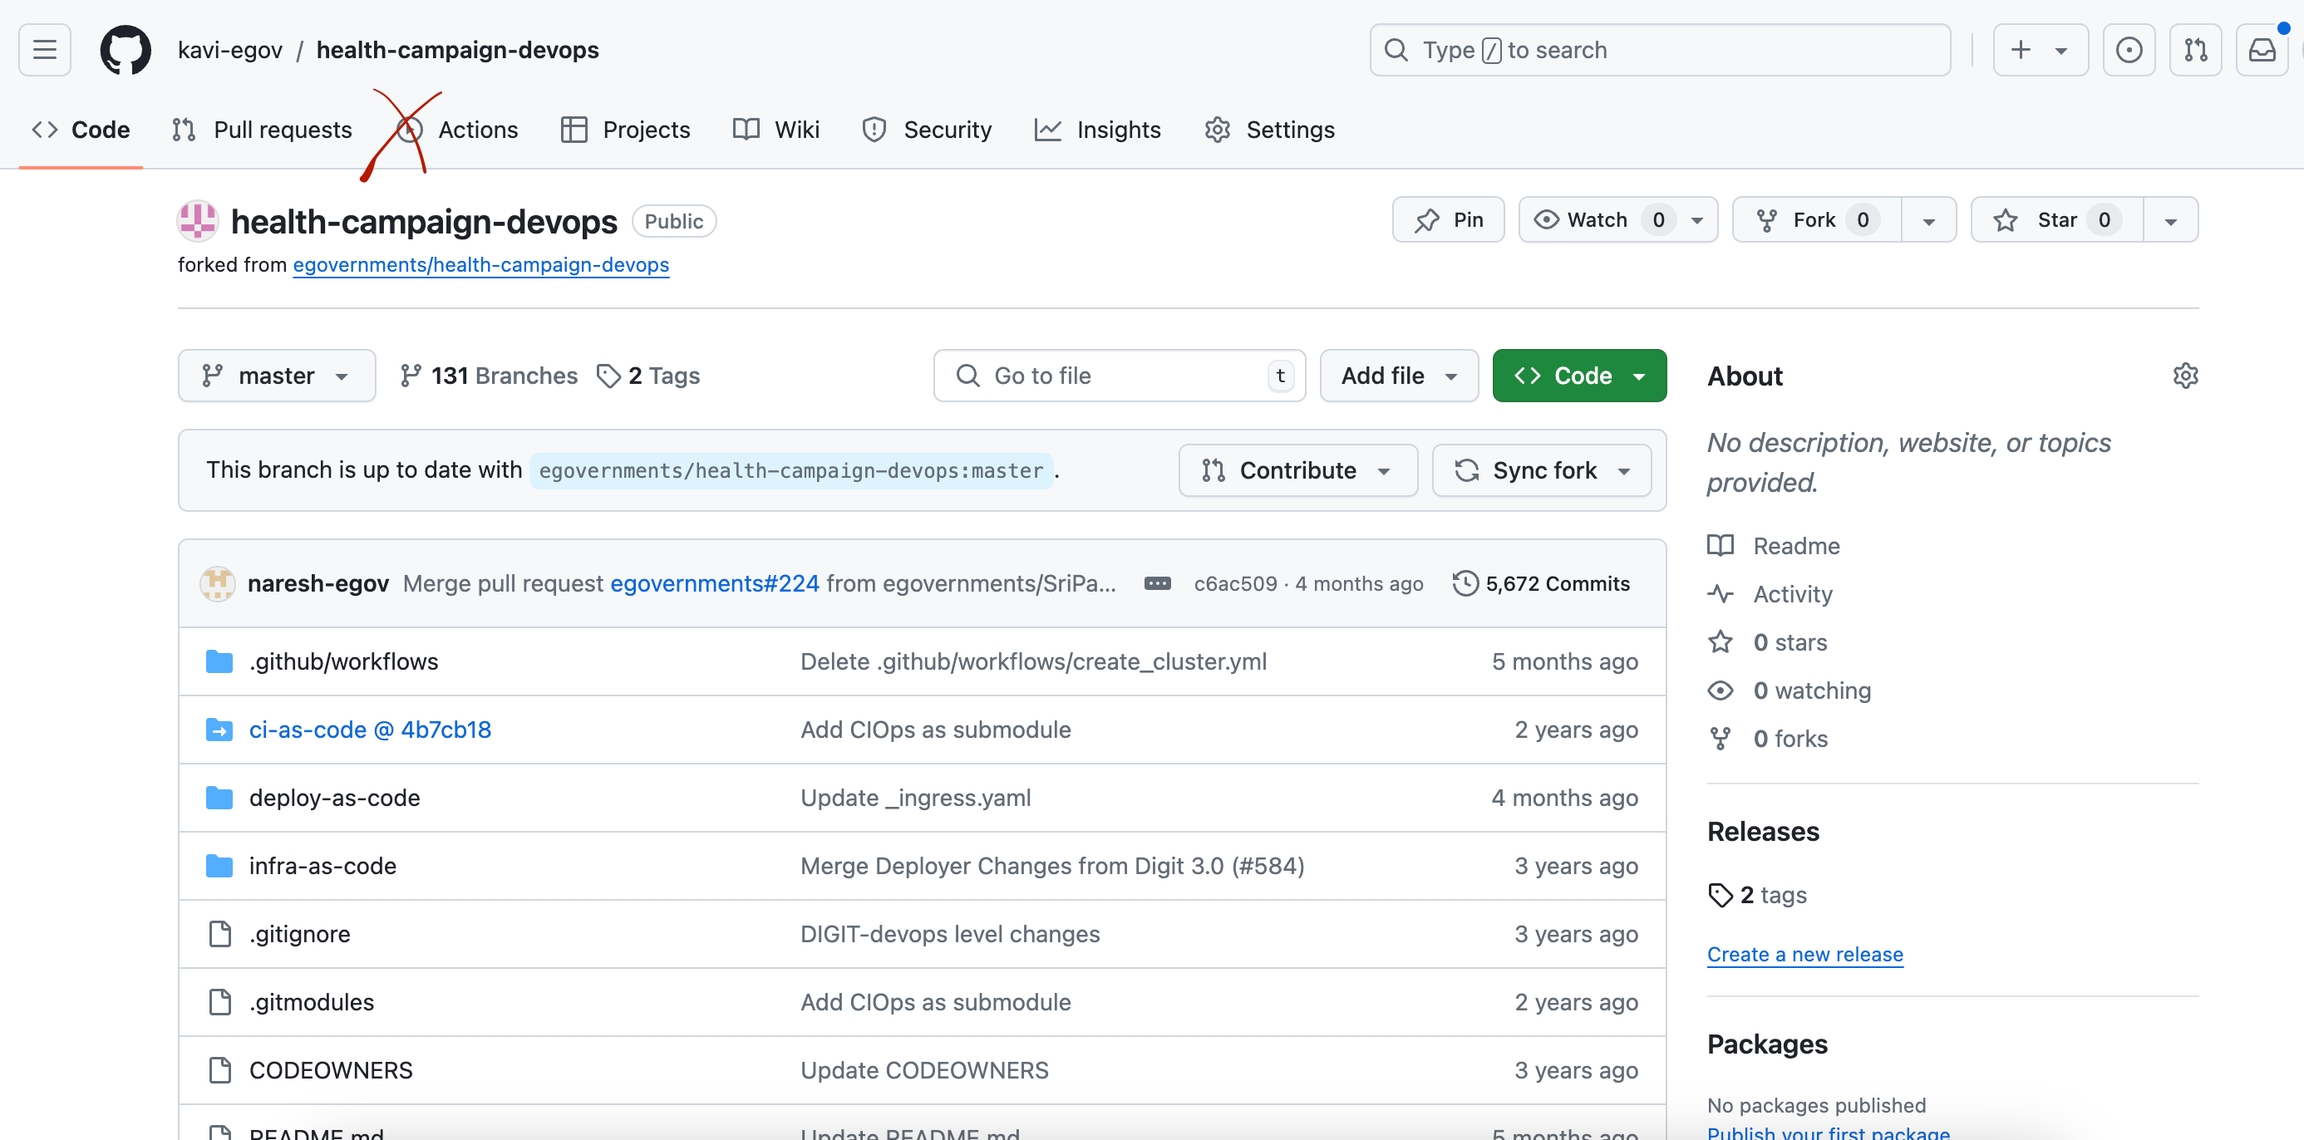
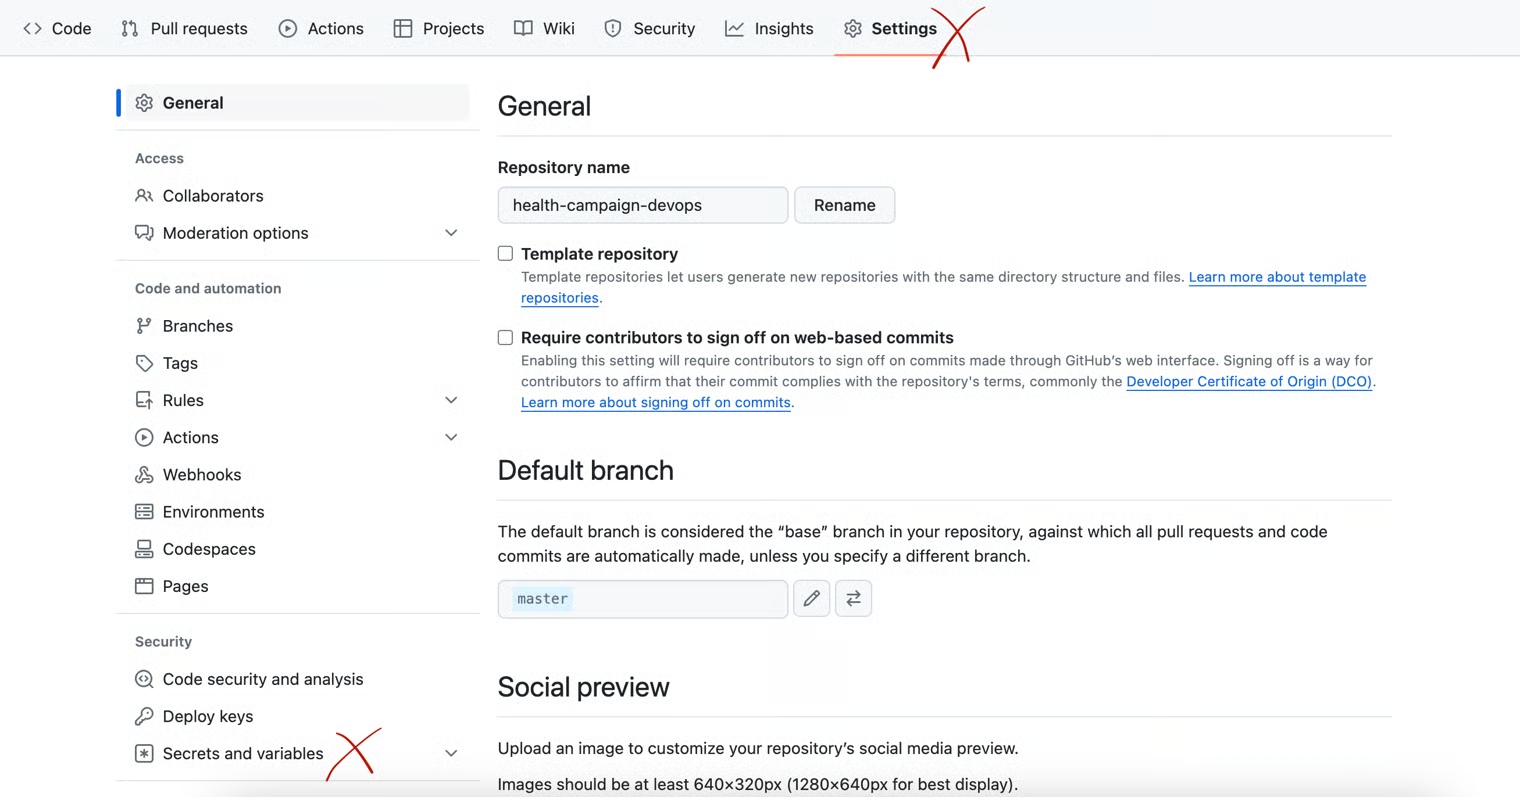
Fork the following repositories into your GitHub account: ✅ Health-campaign-devops ✅ Configs
Navigate to egov-demo.yaml (config-as-code/environments/egov-demo.yaml).
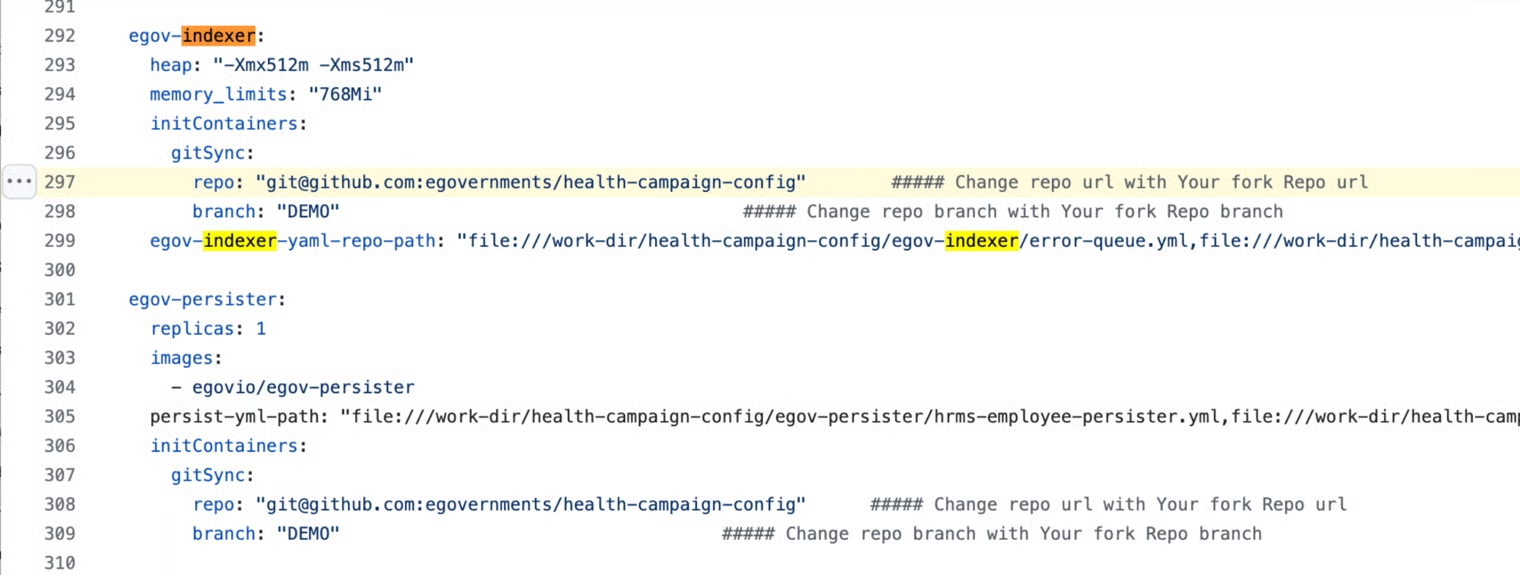
Under the egov-persister: change the gitsync link of the health-campaign-config repository to the forked config repository and the branch to DEMO.
Under the egov-indexer: change the gitsync link of the health-campaign-config repository to the forked config repository and the branch to DEMO.
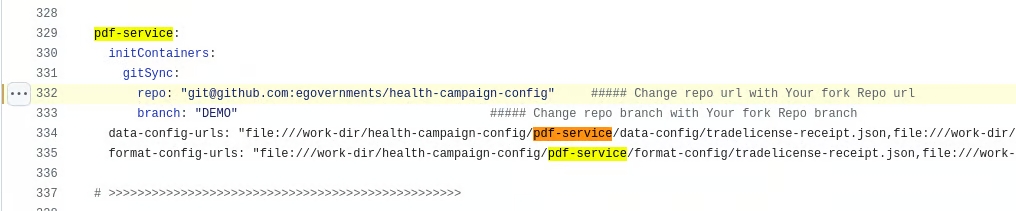
Under the pdf-service: change the git-sync link of the health-campaign-config repository to the forked config repository and the branch to DEMO.
Method A: Navigate to this website to generate the SSH Key Pair. (Note: This is not recommended for production setups, only for demo purposes.)
Method B: Use OpenSSL commands:
openssl genpkey -algorithm RSA -out private_key.pem
ssh-keygen -y -f private_key.pem > ssh_public_key
To view the key, run the commands or use any text editor to open the files
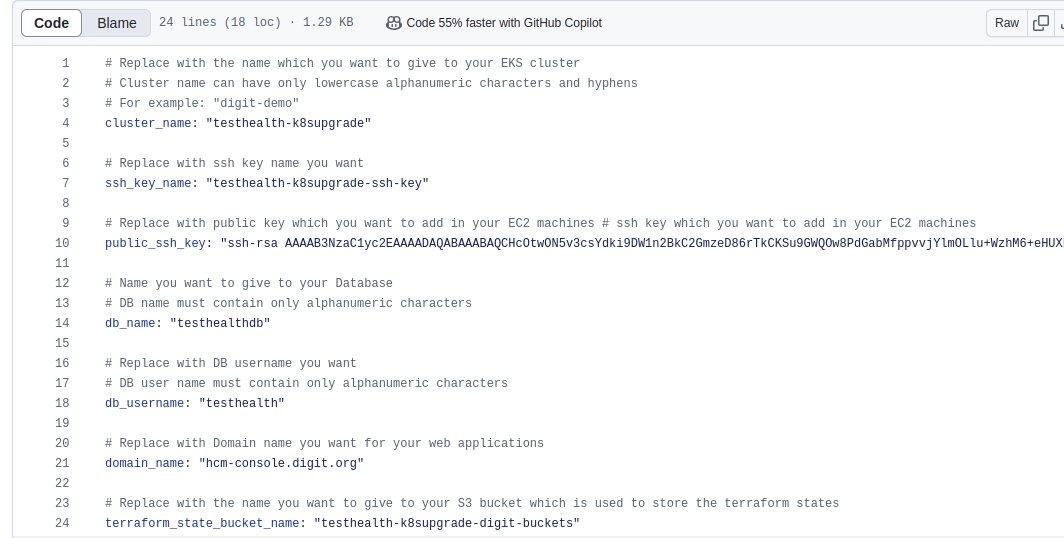
Once generated, navigate to config-as-code/environments
Open egov-demo-secrets.yaml
Search for PRIVATE KEY and replace -----BEGIN RSA PRIVATE KEY----- to -----BEGIN RSA PRIVATE KEY----- with private_key generated
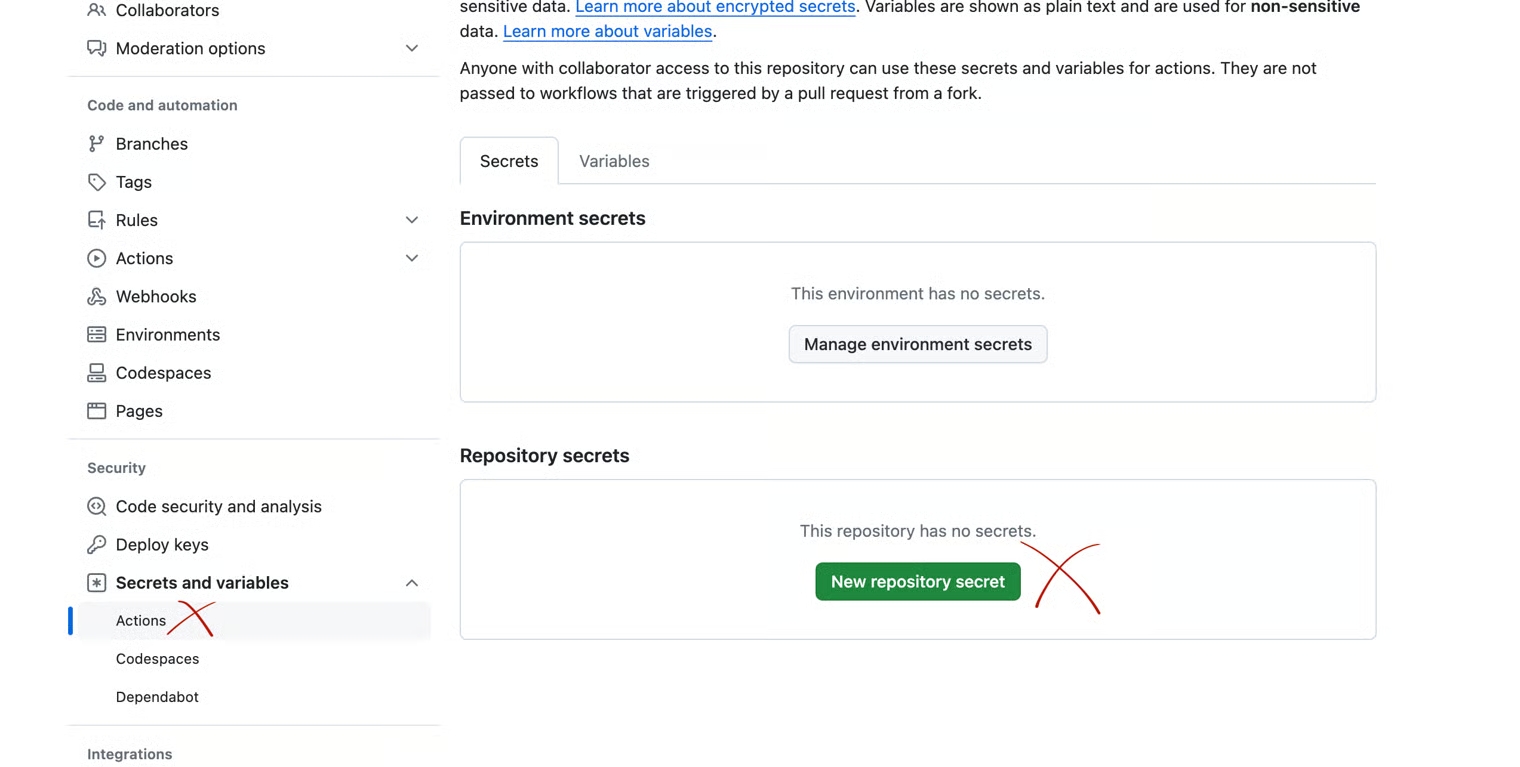
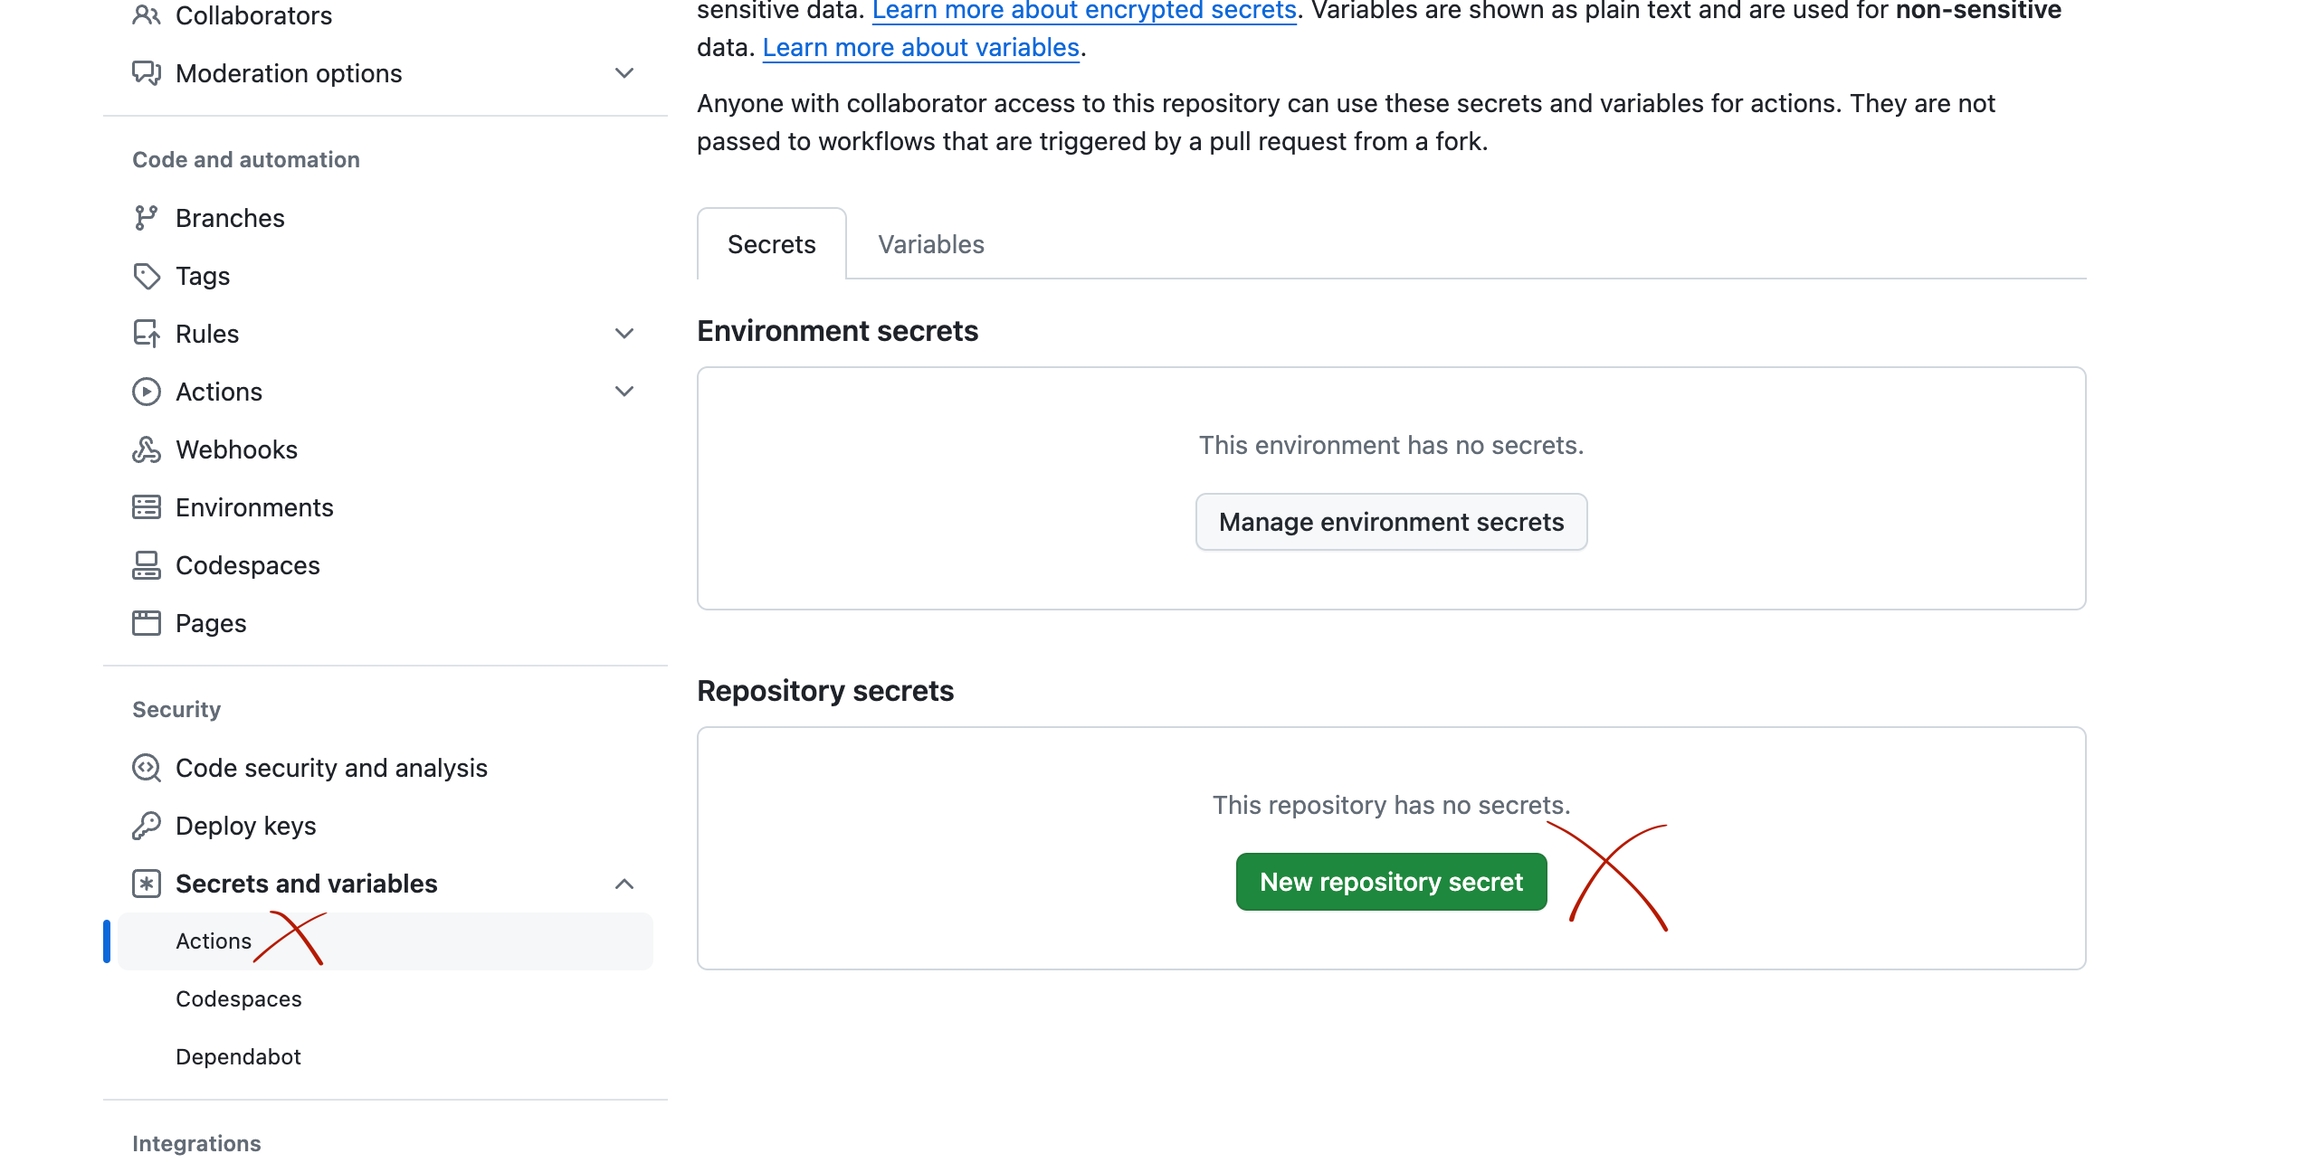
Add the public key to your GitHub account.
After connecting to the Kubernetes cluster, edit the deployment of the FileStore service using the following command:
The deployment.yaml for Filestore Service will open in VS Code, add the AWS key and secret key provided to you in the way shown below:
Close the deployment.yaml file opened in your VS Code editor. The deployment is updated.
aws eks update-kubeconfig --region ap-south-1 --name $CLUSTER_NAMEexport KUBE_EDITOR='code --wait'
kubectl edit deployment egov-filestore -n egovaws configure --profile {profilename} AWS_ACCESS_KEY_ID: <GENERATED_ACCESS_KEY>
AWS_SECRET_ACCESS_KEY: <GENERATED_SECRET_KEY>
AWS_DEFAULT_REGION: ap-south-1
export AWS_PROFILE={profilename}vi private_key.pem
vi ssh_public_key
AWS_ACCESS_KEY_ID: <GENERATED_ACCESS_KEY>
AWS_SECRET_ACCESS_KEY: <GENERATED_SECRET_KEY>
AWS_DEFAULT_REGION: ap-south-1
AWS_REGION: ap-south-1kubectl get svc nginx-ingress-controller -n egov -o jsonpath='{.status.loadBalancer.ingress[0].hostname}'