
Delivery Details
In the 'Delivery Details' step, users encounter 3 screens:
Cycles & Deliveries
Delivery Screen
Summary
1. Cycle Configuration Screen
On this screen, users specify the number of cycles and deliveries. The number of cycles must be at least 1 and can be up to 5. Once the user has defined the number of cycles and deliveries, they can proceed to enter the start and end dates for each cycle.
The number of cycles and deliveries are configurable based on project type. We can configure it in MDMS:
Link:
https://github.com/egovernments/egov-mdms-data/blob/UNIFIED-QA/data/mz/health/project-types.json
If data is configured, a user will see the number of cycles and deliveries as per the configuration. A user, however, can increase or decrease if they find it necessary.

The validations added for the start date and the end date of the cycles should not overlap to each other.
After filling in all the cycle details, a user can click on 'Next' and move to the delivery rules screen. Clicking on 'Next' enables a user to store the cycle data in the local storage.
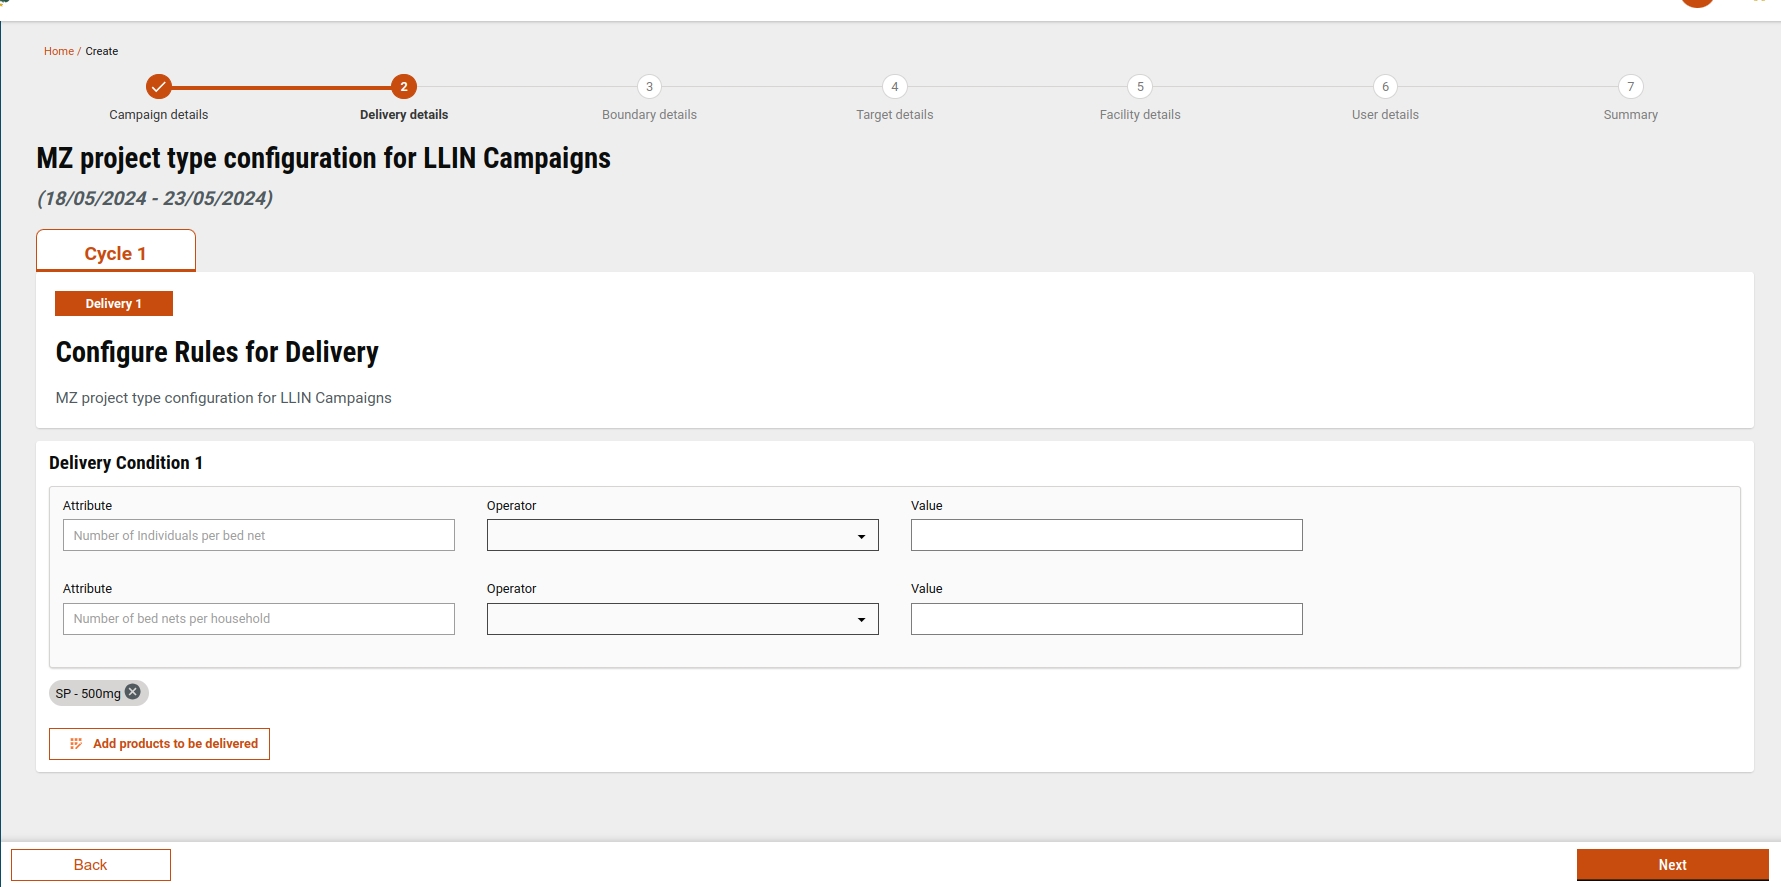
2. Delivery Screen
On this screen, users fill in all the delivery details (adding delivery rules, adding conditions in delivery rules, adding products in the delivery rules) of each cycle and delivery that the user has selected in the cycle details screen.
The delivery screen can also be configured based on project type. A user can configure the number of delivery conditions, their attributes, and products. If the data is configured correctly, a user can see the data preloaded in delivery rules and the user can change, remove, or add, if they find it necessary.

A user can add delivery rules up to 5. A user can add conditions in each delivery rule with attribute options having height, weight, gender, and age. For Project type, LLIN-mz configuration is passed in delivery rules in which two fixed attributes are present for the bednet campaign.

After filling in all the delivery rules details, when a user clicks on next, the data will be stored in the localStorage as well as in the draft API. The delivery rules data will be validated in the preview screen.
Reference files:
Delivery rule's screen file path: https://github.com/egovernments/DIGIT-Frontend/blob/campaign/micro-ui/web/micro-ui-internals/packages/modules/campaign-manager/src/pages/employee/deliveryRule/index.js
API call file path: https://github.com/egovernments/DIGIT-Frontend/blob/campaign/micro-ui/web/micro-ui-internals/packages/modules/campaign-manager/src/pages/employee/SetupCampaign.js
Select or Create a Product
If you click on configure resources on the delivery screen, a pop-up appears where a user can either select or create a product:
Product Screen: When a user clicks on "Add Products to be Delivered", a pop-up screen will appear with a list of product variants where a user can add the products and the number of counts in the delivery rules.
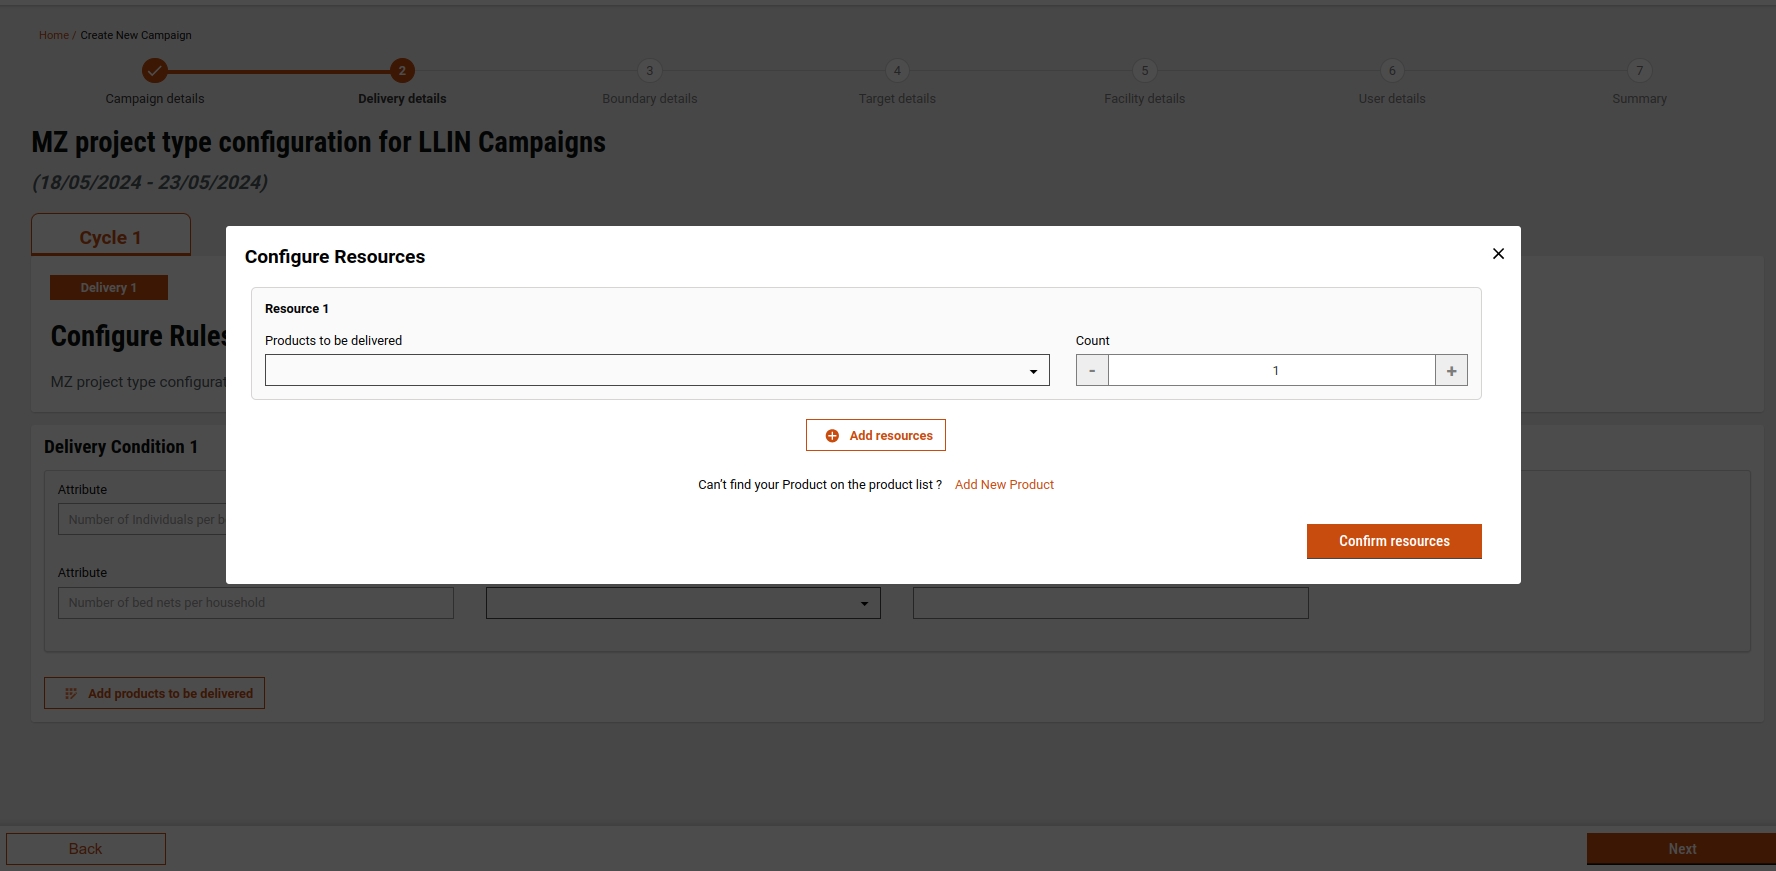
A user can add multiple products to the product screen after clicking on "add more resources" When the user clicks on confirm resources, products will be added to the delivery rules. The user can remove the products as well.
If the product is not present, a user can click on "Add New Product" to create a new product and variant, and subsequently add delivery rules. Clicking on "Add New Product" will open the Create Product screen.

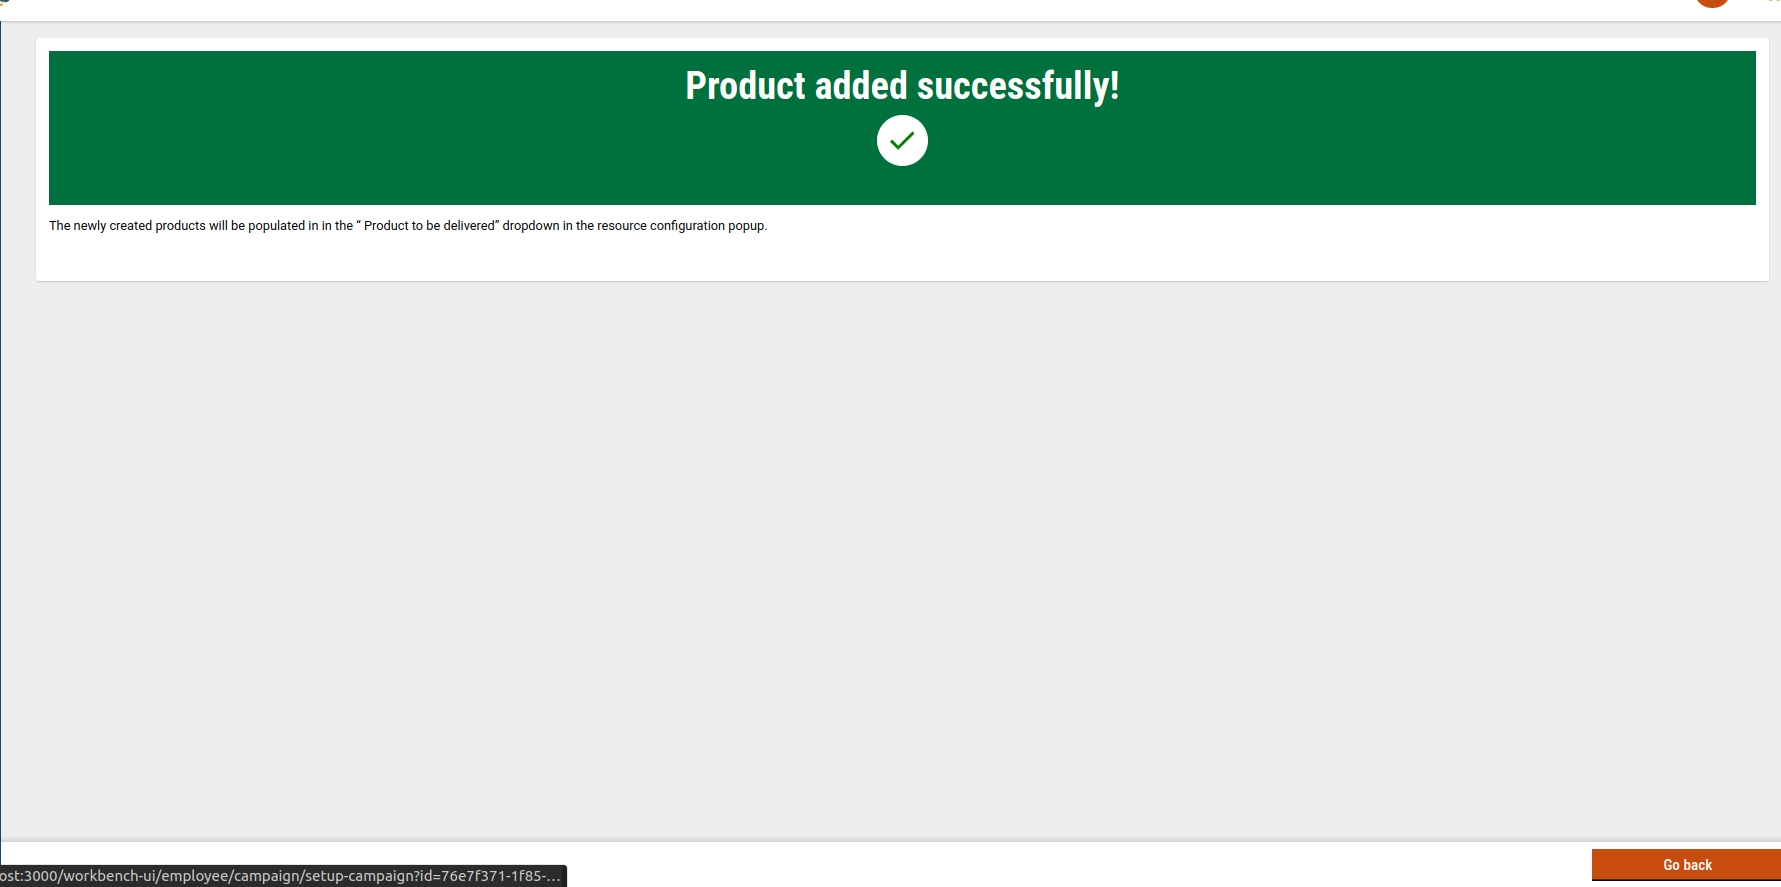
Users can enter product names, product variants, and product types which are sourced from MDMS data. Additionally, a user can create multiple products using the "Add Products" button. After clicking on 'Confirm,' the product will be created, followed by the creation of product variants.
After successful creation, users will be directed to a success response screen.
3. Summary
This screen will show the values the user has added in the cycle configuration screen and delivery screen.

Guide on Setting Up Delivery Configuration for the screen.
Here you can find the config of delivery based on project type and the same acts as the default template.
This MDMS schema is used to fetch the details for every product type, to convert the data to the required format used by the screen, we are writing the util.
The following is the structure for the delivery configuration:
```json
{
      "projectType": "MR-DN",
      "attrAddDisable": false,
      "deliveryAddDisable": false,
      "customAttribute": true,
      "cycleConfig": {
        "cycle": 3,
        "deliveries": 2
      },
      "deliveryConfig": [
        {
          "attributeConfig": [
            {
              "key": 1,
              "label": "Custom",
              "attrType": "dropdown",
              "attrValue": "Age",
              "operatorValue": "GREATER_THAN",
              "value": 10
            },
            {
              "key": 2,
              "label": "Custom",
              "attrType": "dropdown",
              "attrValue": "Height",
              "operatorValue": "LESS_THAN",
              "value": 50
            }
          ],
          "productConfig": [
            {
              "key": 1,
              "count": 1,
              "value": "PVAR-2024-05-15-000044",
              "name": "Paracetamol - 500mg"
            }
          ]
        },
        {
          "attributeConfig": [
            {
              "key": 1,
              "label": "Custom",
              "attrType": "dropdown",
              "attrValue": "Age",
              "operatorValue": "IN_BETWEEN",
              "toValue": 10,
              "fromValue": 20
            }
          ],
          "productConfig": [
            {
              "key": 1,
              "count": 1,
              "value": "PVAR-2024-05-15-000044",
              "name": "Paracetamol - 500mg"
            }
          ]
        }
      ]
    }
```
projectType: This will be the type of the project. If the selected project type is present in the MDMS, then we use that config.
attrAddDisable: if this is true, we are restricting a user that they cannot add any attribute.
deliveryAddDisable: if this is true, a user cannot add any further delivery rule conditions.
cycleConfig: This will be an object containing cycles and deliveries. This refers to the number of cycles and deliveries that will be shown on the cycle screen.
 "cycleConfig": {
        "cycle": 3, //no of cycle
        "deliveries": 2 // no of deliveries
      },
deliveryConfig: This will be an array of objects, each object representing one delivery condition.
```
"deliveryConfig": [
        {
          "attributeConfig": [ // this represent each attribute in a condition
            {
              "key": 1, // this should be always in sequential order
              "label": "Custom",  // this should be always set to custom
              "attrType": "dropdown", // this represnt the type of component
              "attrValue": "Age", // this is the value of the attribute which show in the attribute component
              "operatorValue": "GREATER_THAN", // this is operator value, it will show in operator component
              "value": 10 // this is the value which will show in value input component
            },
            ....
          ],
          "productConfig": [
            {
              "key": 1, // this will be always in sequential order
              "count": 1, // represent the count of the product
              "value": "PVAR-2024-05-15-000044", // variant id of the product. We need to be careful before adding the id that it should be present in the database
              "name": "Paracetamol - 500mg" // name should always be adding using "{productName} - {variant}"
            }
          ]
        },
```
]
Adding product config is a careful job, adding the wrong product in the config will cause issues while creating a product.
In Value, the product variant ID should be added in the value which will be getting in the below API:product/variant/v1/_search
The name will consist of the name of the product and the variant of the product separated with "-"
for name: product/v1/_search
for variant: product/variant/v1/_search
FilePath:
Reference links:
MDMS:
Product Type: https://github.com/egovernments/egov-mdms-data/blob/UNIFIED-DEV/data/mz/health/hcm-admin-console/productType.json
HOOKS:
New changes
We have added the Delivery type at each delivery condition showing the delivery type of the campaign.
It is configurable in mdms for the SMC project type. We can add a default delivery type for each condition.
```javascript
deliveryConfig: [
      {
        delivery: 1,
        conditionConfig: [
          {
            deliveryType: "DIRECT",
            attributeConfig: [
              {
                key: 1,
                label: "Custom",
                attrType: "dropdown",
                attrValue: "Age",
                operatorValue: "IN_BETWEEN",
                fromValue: 3,
                toValue: 11,
              },
            ],
            productConfig: [
              {
                key: 1,
                count: 1,
                value: "PVAR-2024-01-24-000079",
                name: "AQ - 75mg",
              },
              {
                key: 1,
                count: 1,
                value: "PVAR-2024-05-03-000305",
                name: "SP - 250mg",
              },
            ],
          },
          {
            deliveryType: "DIRECT",
            attributeConfig: [
              {
                key: 1,
                label: "Custom",
                attrType: "dropdown",
                attrValue: "Age",
                operatorValue: "IN_BETWEEN",
                fromValue: 12,
                toValue: 59,
              },
            ],
            productConfig: [
              {
                key: 1,
                count: 1,
                value: "PVAR-2024-01-24-000078",
                name: "AQ - 150mg",
              },
            ],
          },
        ],
      },
      {
        delivery: 2,
        conditionConfig: [
          {
            deliveryType: "INDIRECT",
            attributeConfig: [
              {
                key: 1,
                label: "Custom",
                attrType: "dropdown",
                attrValue: "Age",
                operatorValue: "IN_BETWEEN",
                fromValue: 3,
                toValue: 11,
              },
            ],
            productConfig: [
              {
                key: 1,
                count: 1,
                value: "PVAR-2024-01-24-000079",
                name: "AQ - 75mg",
              },
            ],
          },
          {
            deliveryType: "INDIRECT",
            attributeConfig: [
              {
                key: 1,
                label: "Custom",
                attrType: "dropdown",
                attrValue: "Age",
                operatorValue: "IN_BETWEEN",
                fromValue: 12,
                toValue: 59,
              },
            ],
            productConfig: [
              {
                key: 1,
                count: 1,
                value: "PVAR-2024-01-24-000078",
                name: "AQ - 150mg",
              },
            ],
          },
        ],
      },
      {
        delivery: 3,
        conditionConfig: [
          {
            deliveryType: "INDIRECT",
            attributeConfig: [
              {
                key: 1,
                label: "Custom",
                attrType: "dropdown",
                attrValue: "Age",
                operatorValue: "IN_BETWEEN",
                fromValue: 3,
                toValue: 11,
              },
            ],
            productConfig: [
              {
                key: 1,
                count: 1,
                value: "PVAR-2024-01-24-000079",
                name: "AQ - 75mg",
              },
            ],
          },
          {
            deliveryType: "INDIRECT",
            attributeConfig: [
              {
                key: 1,
                label: "Custom",
                attrType: "dropdown",
                attrValue: "Age",
                operatorValue: "IN_BETWEEN",
                fromValue: 12,
                toValue: 59,
              },
            ],
            productConfig: [
              {
                key: 1,
                count: 1,
                value: "PVAR-2024-01-24-000078",
                name: "AQ - 150mg",
              },
            ],
          },
        ],
      },
    ],
```
deliveryConfig: It will contain the default data of all deliveries.
conditionConfig: It will contain default data of each delivery condition of each delivery.
deliveryType: Default value of delivery type.
API Details
product/variant/v1/_search
CAMPAIGN_MANAGER
product/v1/_search
CAMPAIGN_MANAGER
product/v1/_create
CAMPAIGN_MANAGER
product/variant/v1/_create
CAMPAIGN_MANAGER
project-factory/v1/project-type/update
CAMPAIGN_MANAGER
Last updated
Was this helpful?