
Manage Boundary Data
Overview
Boundary Management in the HCM Console is based on the HierarchySchema configuration.
The default hierarchy is defined using
"type": "default".The editable hierarchy (where boundary data can be created or updated) is defined using
"type": "campaign".
Refer to this config section to explore details.
Steps
On the Boundary Management landing page, you will see three buttons:
Create Boundary
Edit Boundary (disabled if no boundary exists yet)
View Boundary
Create Boundary
When you click on Create, the system provides two options:
Use Default Boundary (GeoPoDe Data)
Loads the default hierarchy.
Prompts you to add additional levels.
Create a New Boundary from Scratch
Requires you to manually add all hierarchy levels.
Once levels are created, they cannot be edited.
The following APIs are triggered after clicking the Create button:
Upsert:
/localization/messages/v1/_upsertall the names of the level localised into a new module namedhcm-boundary-${hierarchyName}Create:
/boundary-service/boundary-hierarchy-definition/_createDownload:
/project-factory/v1/data/_downloadA polling mechanism is introduced here, which keeps on calling the above api until the status is “completed”Create:
/project-factory/v1/data/_createThe data Create API is called if it’s a new hierarchy, and here, a polling mechanism is installed, which calls the API./project-factory/v1/data/_searchcontinuously at a fixed interval until the status is “completed”
The system automatically redirects to the View Hierarchy screen.
If any level matches the default hierarchy, its data will be reused.
You can upload a complete Excel sheet for all hierarchy levels:
Download the template.
Fill in all required levels.
Upload the file.
⚠️ Note: Once created, hierarchy levels cannot be edited.

Upload Boundary Data via Excel
Download Template
Use the provided template to fill in boundary details for all hierarchy levels.
Upload Excel File
After filling in the template, upload it to the Boundary Management screen.
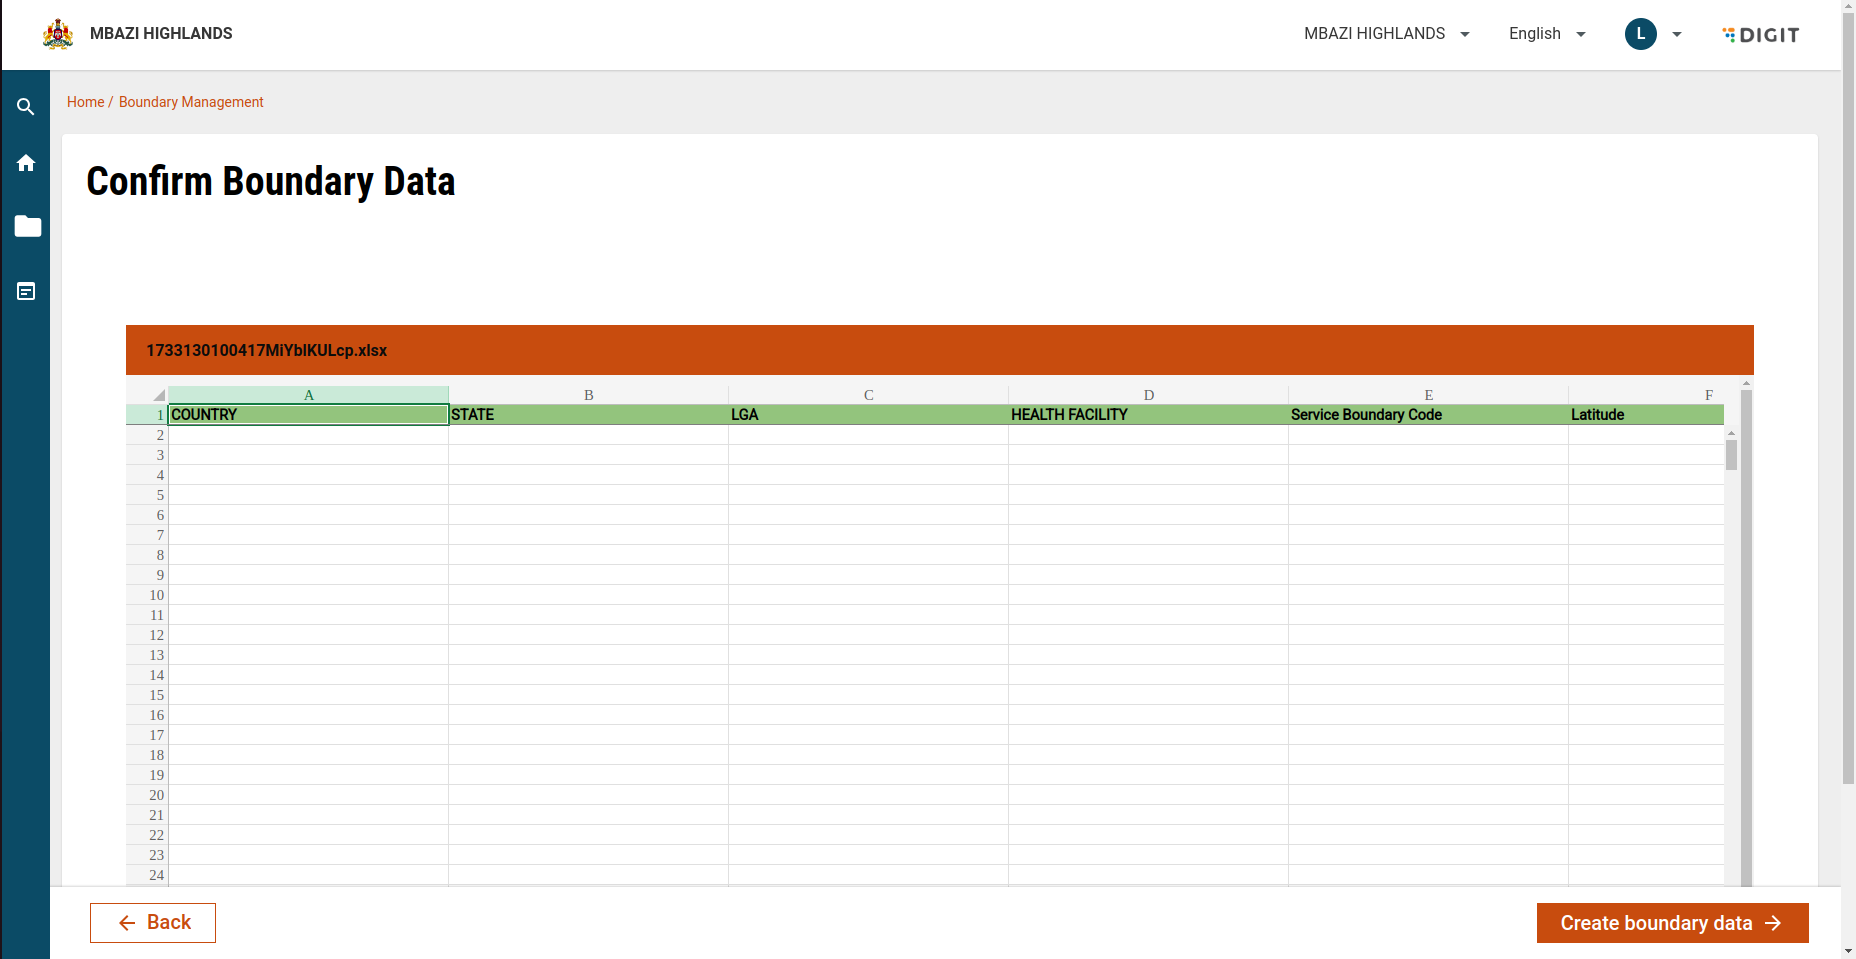
Review Uploaded Data
Once the file is uploaded, you will be redirected to the View Data page.
Here, the system displays all the uploaded boundary details.
Carefully review and confirm the data before proceeding.
Submit Data
Click Submit to finalise the boundary creation.
On submission, the system triggers the data creation process and stores the uploaded boundaries.
Edit Boundary
Available once a boundary has been created.
Redirects to the View Hierarchy page.
Allows users to add new data to an existing hierarchy.
The following APIs are called after clicking on “Create Boundary”:
Create:
/project-factory/v1/data/_createthe uploaded data in excel is sent to the data Create API with a polling mechanism applied.The search API
/project-factory/v1/data/_searchis called repeatedly with frequency depending on the size of data and network latency, taken from the mdms data using the master name“baseTimeout”from a module namedHCM-ADMIN-CONSOLEuntil status is “completed”.
API Details
project-factory/v1/data/_create
BOUNDARY_MANAGER
project-factory/v1/data/_search
BOUNDARY_MANAGER
project-factory/v1/data/_download
BOUNDARY_MANAGER
localization/messages/v1/_upsert
BOUNDARY_MANAGER
boundary-service/boundary-hierarchy-definition/_create
BOUNDARY_MANAGER
boundary-service/boundary-hierarchy-definition/_search
BOUNDARY_MANAGER
boundary-service/boundary-relationships/_search
BOUNDARY_MANAGER
Last updated
Was this helpful?