Install Using GitHub Actions in AWS
Prerequisites
Before you begin, ensure you have the following: ✅ GitHub account (to fork repositories and manage workflows) ✅ AWS account (to deploy infrastructure) ✅ AWS CLI installed (for authentication & deployment) ✅ Kubectl installed (for managing Kubernetes) ✅ Postman installed (for API testing) ✅ Domain hosting provider (e.g., GoDaddy) for server domain configuration.
Steps
Install AWS
Prepare AWS IAM User
Create an IAM User in your AWS account.
Generate ACCESS_KEY and SECRET_KEY for the IAM user.
Assign administrator access to the IAM user.
Use the below command to set up the AWS profile locally:
aws configure --profile {profilename}Fill in the key values at the respective prompts
 AWS_ACCESS_KEY_ID: <GENERATED_ACCESS_KEY>
 AWS_SECRET_ACCESS_KEY: <GENERATED_SECRET_KEY>
 AWS_DEFAULT_REGION: ap-south-1
 export AWS_PROFILE={profilename}
Ensure the AWS Account has S3 Bucket access to the Filestore service.
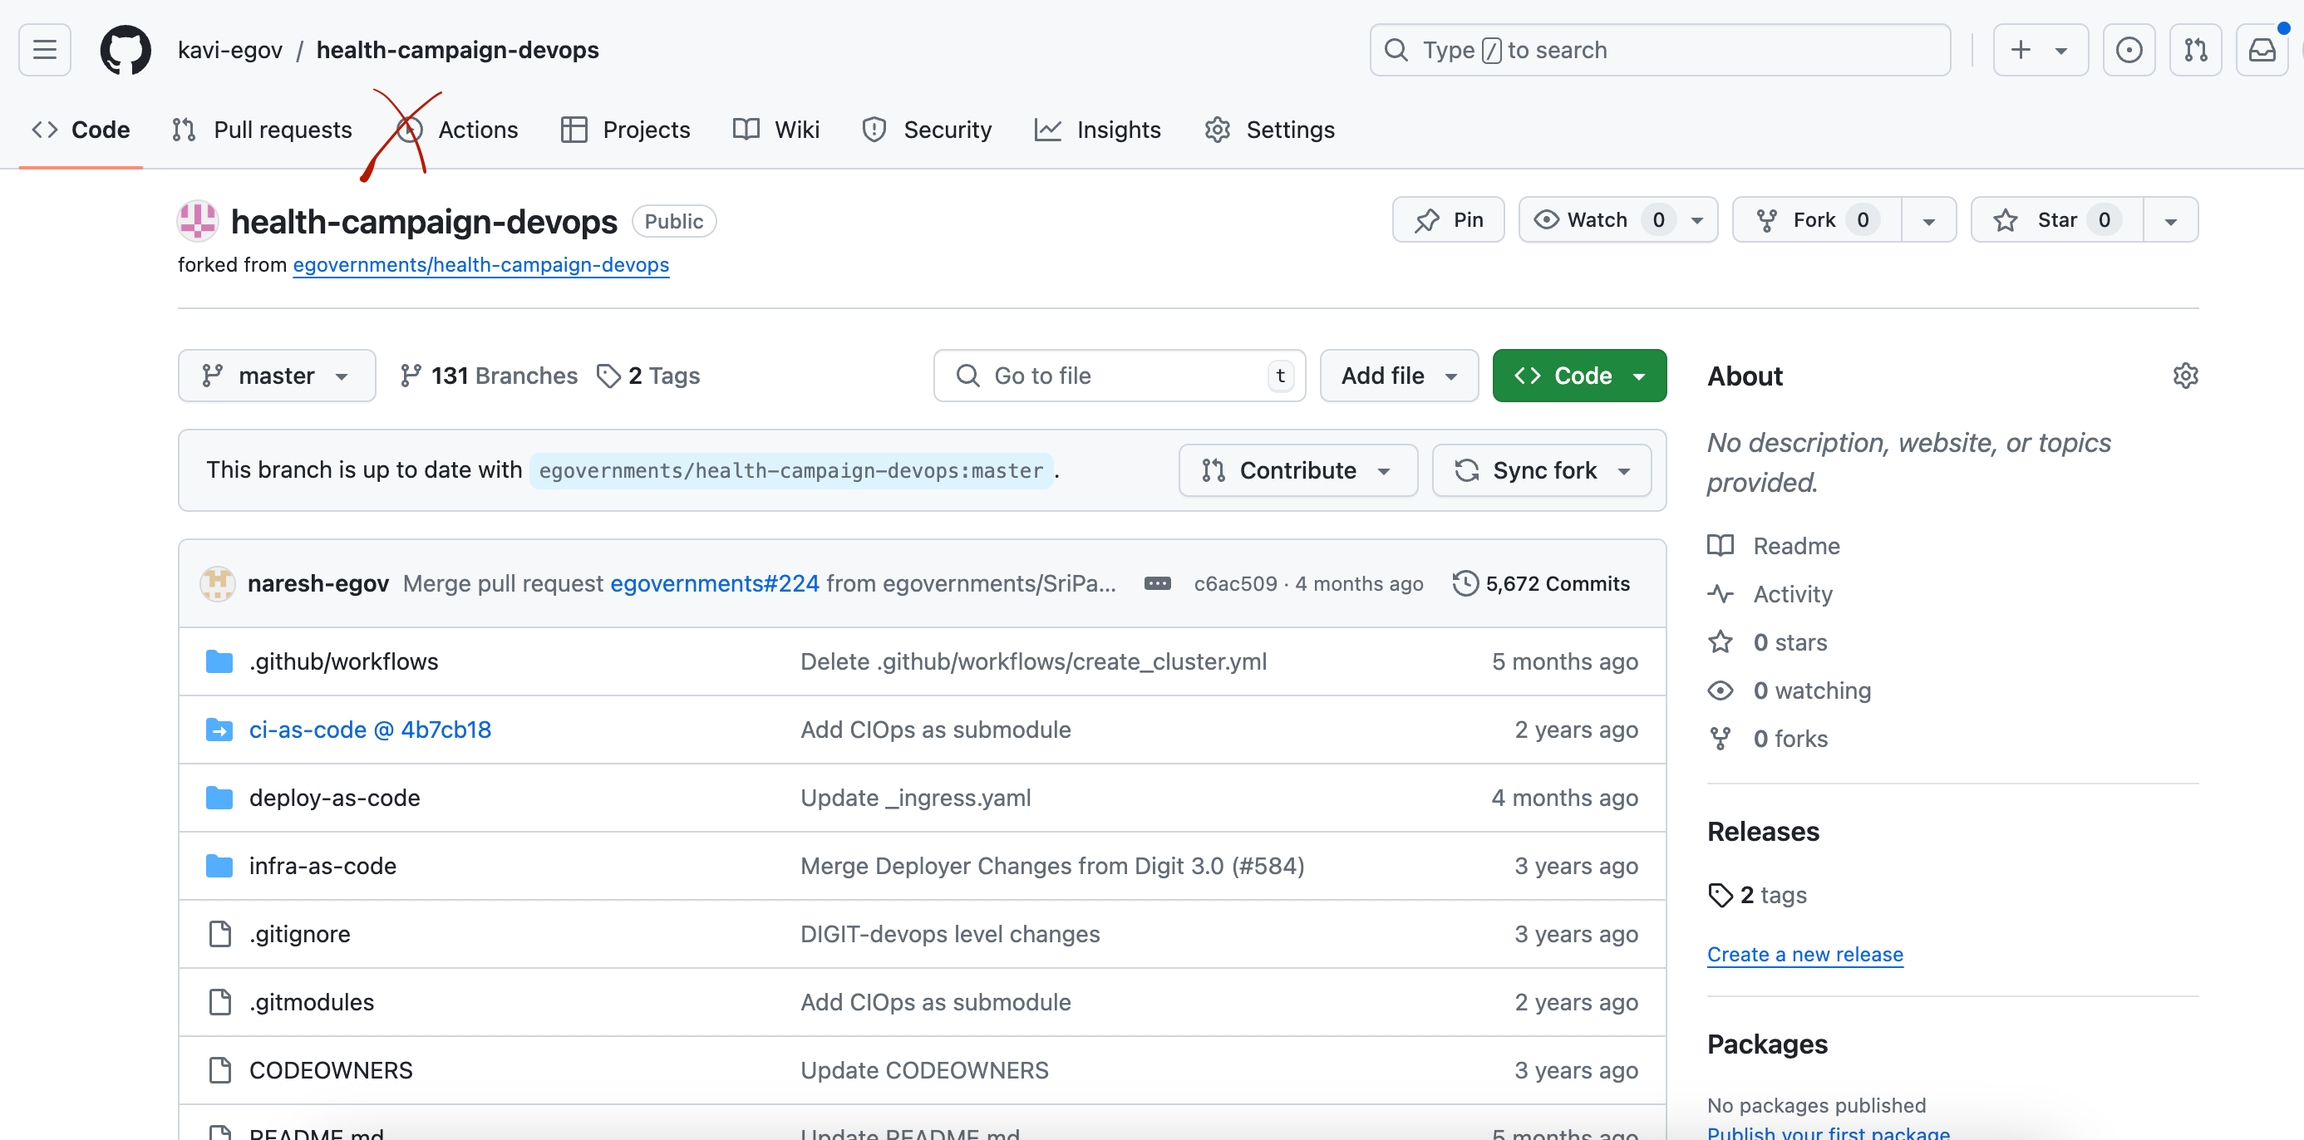
Fork GitHub Repositories
Fork the following repositories into your GitHub account: ✅ Health-campaign-devops ✅ Configs
Add AWS Keys to GitHub Repository
Go to the forked health-campaign-devops repository and navigate to the repository settings.

Navigate to Secrets and Variables.

Add the following secrets under repository secrets:
AWS_ACCESS_KEY_ID: <GENERATED_ACCESS_KEY>
AWS_SECRET_ACCESS_KEY: <GENERATED_SECRET_KEY>
AWS_DEFAULT_REGION: ap-south-1
AWS_REGION: ap-south-1
Ensure AWS keys are added to the forked DevOps repository.
Modify Configuration Files
Navigate to egov-demo.yaml (config-as-code/environments/egov-demo.yaml).
Under the egov-persister: change the gitsync link of the health-campaign-config repository to the forked config repository and the branch to DEMO.
Under the egov-indexer: change the gitsync link of the health-campaign-config repository to the forked config repository and the branch to DEMO.


Under the pdf-service: change the git-sync link of the health-campaign-config repository to the forked config repository and the branch to DEMO.
Generate SSH Key Pair
Method A: Navigate to this website to generate the SSH Key Pair. (Note: This is not recommended for production setups, only for demo purposes.)
Method B: Use OpenSSL commands:
openssl genpkey -algorithm RSA -out private_key.pemssh-keygen -y -f private_key.pem > ssh_public_keyTo view the key, run the commands or use any text editor to open the files
vi private_key.pemvi ssh_public_key
Once generated, navigate to config-as-code/environments
Open egov-demo-secrets.yaml
Search for
PRIVATE KEYand replace-----BEGIN RSA PRIVATE KEY-----to-----BEGIN RSA PRIVATE KEY-----with private_key generated
Add the public key to your GitHub account.
Configure Domain Name
Connect to the Kubernetes cluster from your local machine using the command below:
aws eks update-kubeconfig --region ap-south-1 --name $CLUSTER_NAMEGet the CNAME of the nginx-ingress-controller
kubectl get svc nginx-ingress-controller -n egov -o jsonpath='{.status.loadBalancer.ingress[0].hostname}'The output of this will be something like this:
ae210873da6ff4c03bde2ad22e18fe04-233d3411.ap-south-1.elb.amazonaws.com
Add the displayed CNAME to your domain provider against your domain name. e.g. GoDaddy domain provider
Enable Filestore Service
After connecting to the Kubernetes cluster, edit the deployment of the FileStore service using the following command:
export KUBE_EDITOR='code --wait'
kubectl edit deployment egov-filestore -n egov
The deployment.yaml for Filestore Service will open in VS Code, add the AWS key and secret key provided to you in the way shown below:

Close the deployment.yaml file opened in your VS Code editor. The deployment is updated.
Last updated
Was this helpful?


