Setup Kibana Dashboard

This document outlines the steps required to create and configure health campaign dashboards in a different space within Kibana.

Pre-requisites:

Steps to Create and Configure Health Dashboards in Kibana

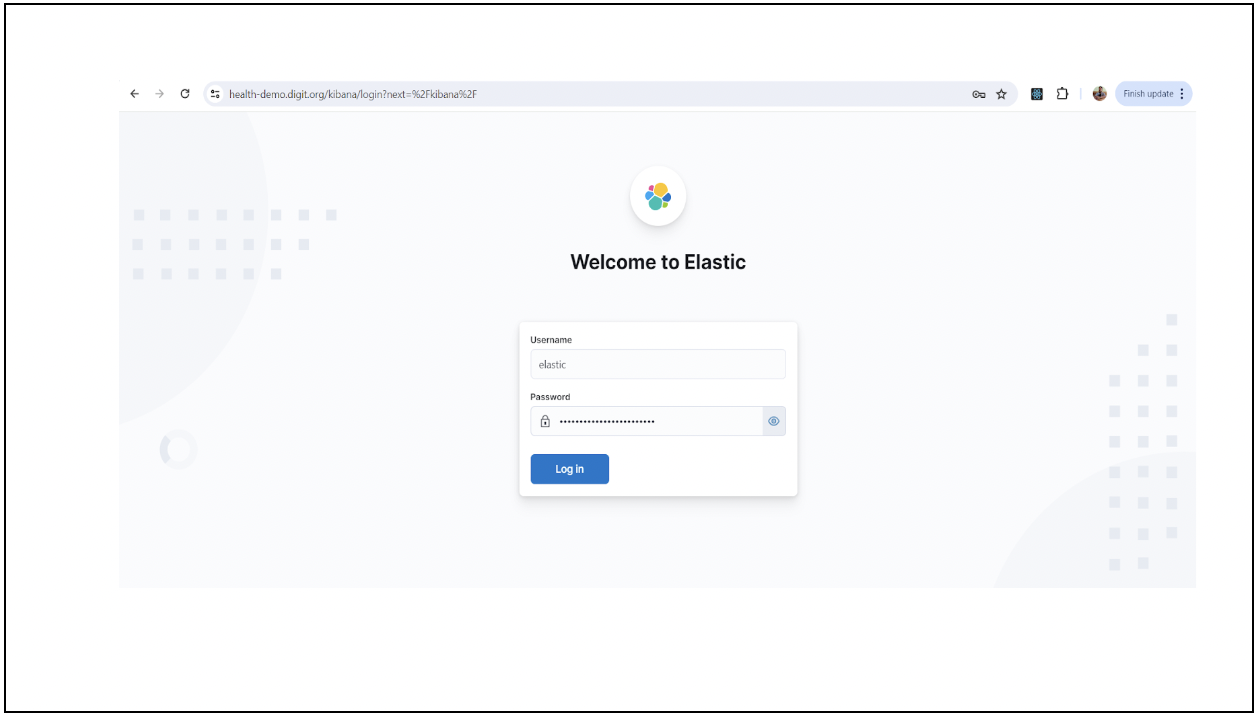
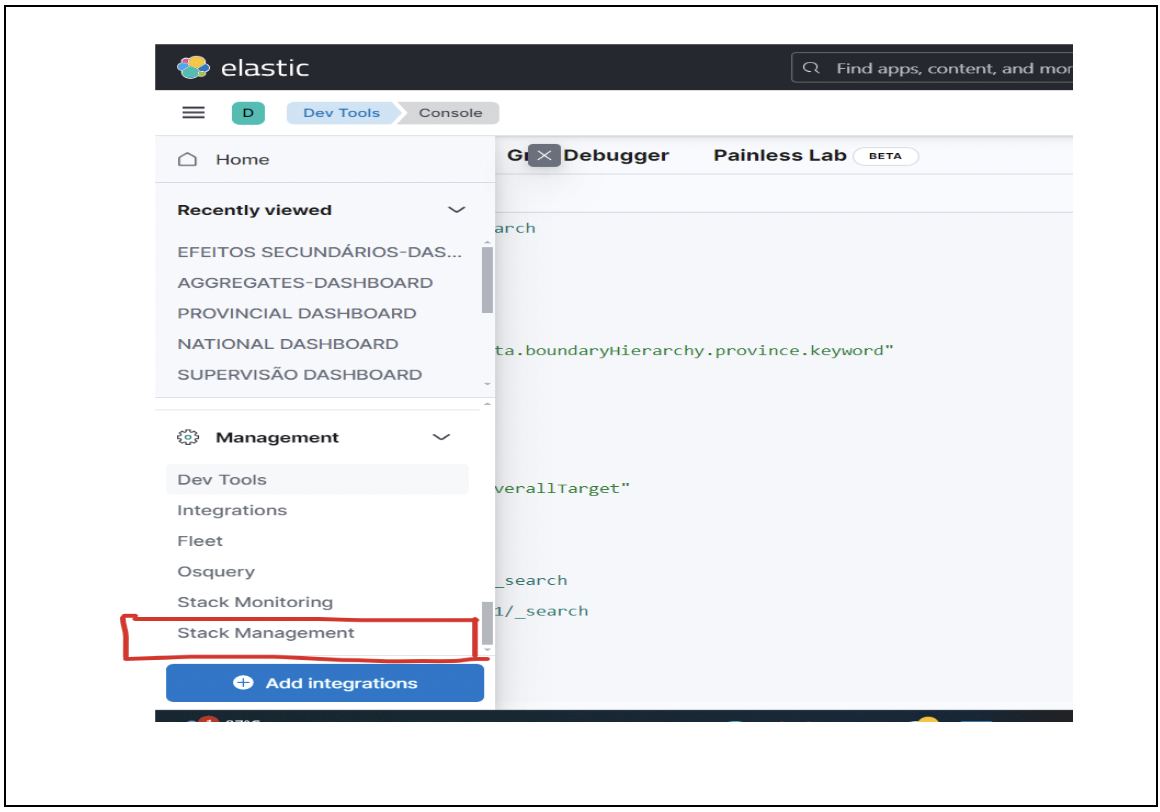
1. Access to Kibana:

  • URL: {{HOST NAME}}/kibana

  • Replace the {{HOST NAME}} with your domain URL.

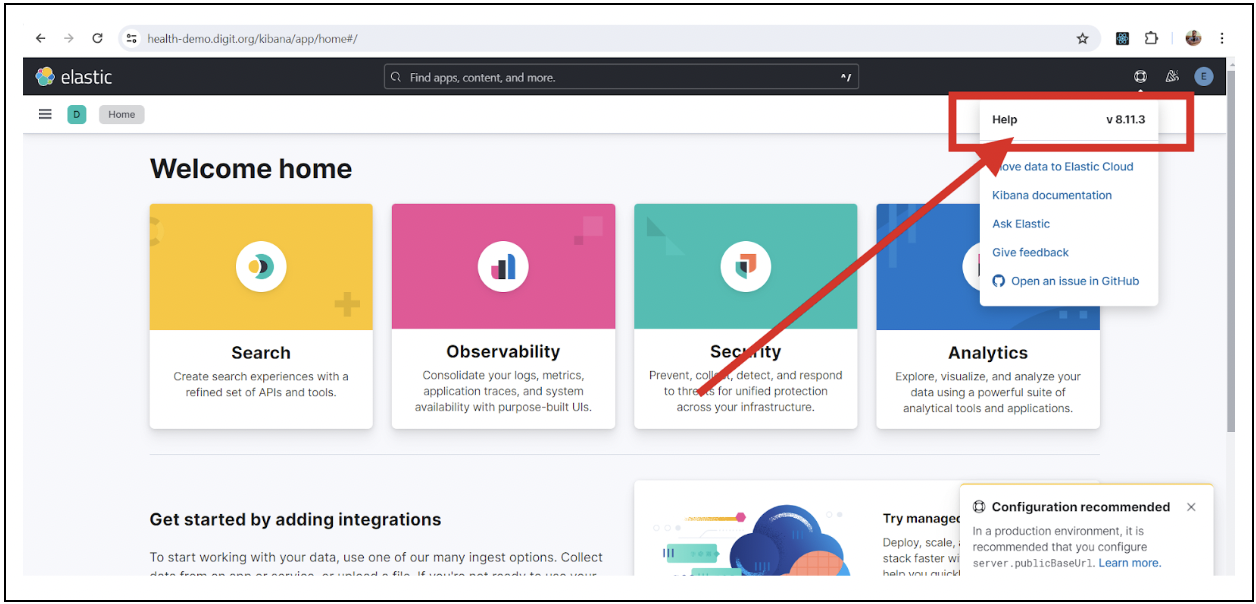
2. Verify installation and services setup:

  • Check the Kibana version through UI in the ‘Help’ section.

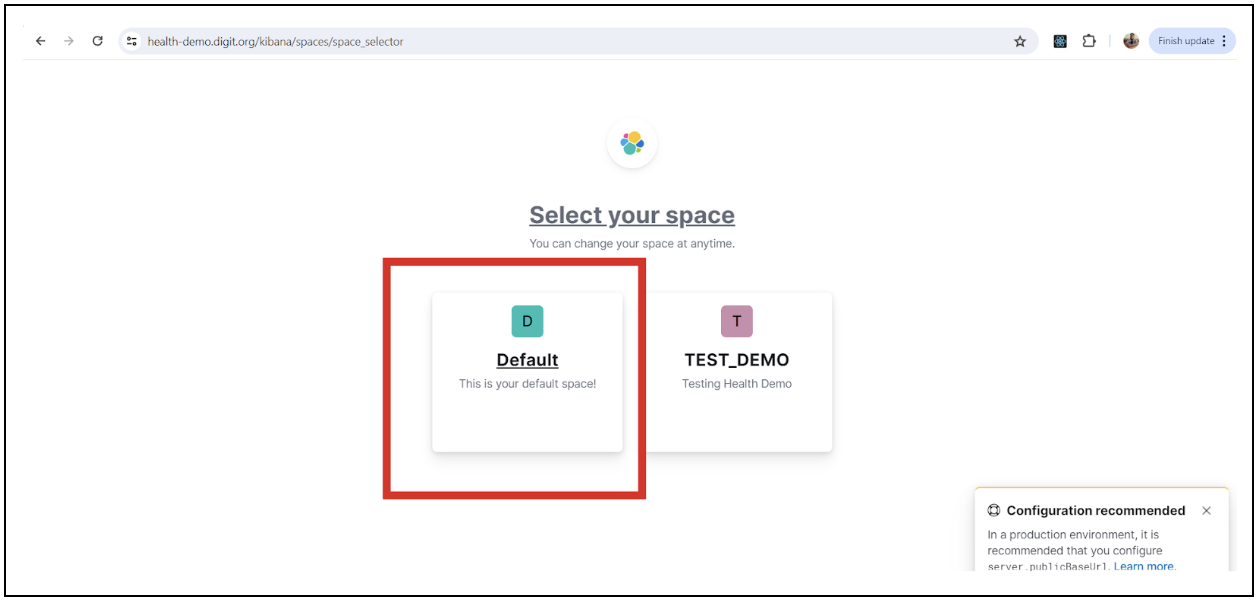
3. Create or select a space

  • By default, users will have access to the default space.

  • To create a new space or edit, open the main menu, then click Stack Management → Spaces for an overview of your spaces. This view provides actions to create, edit, and delete spaces.

  • Switch to or create a new space where the dashboards will be configured.

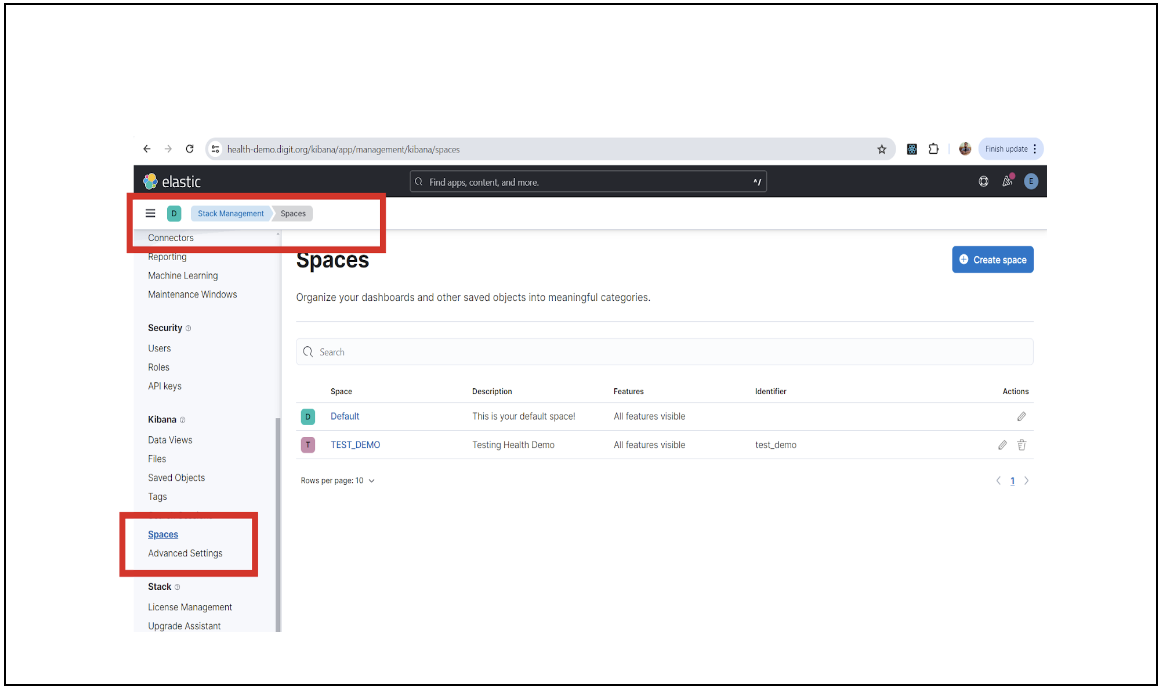
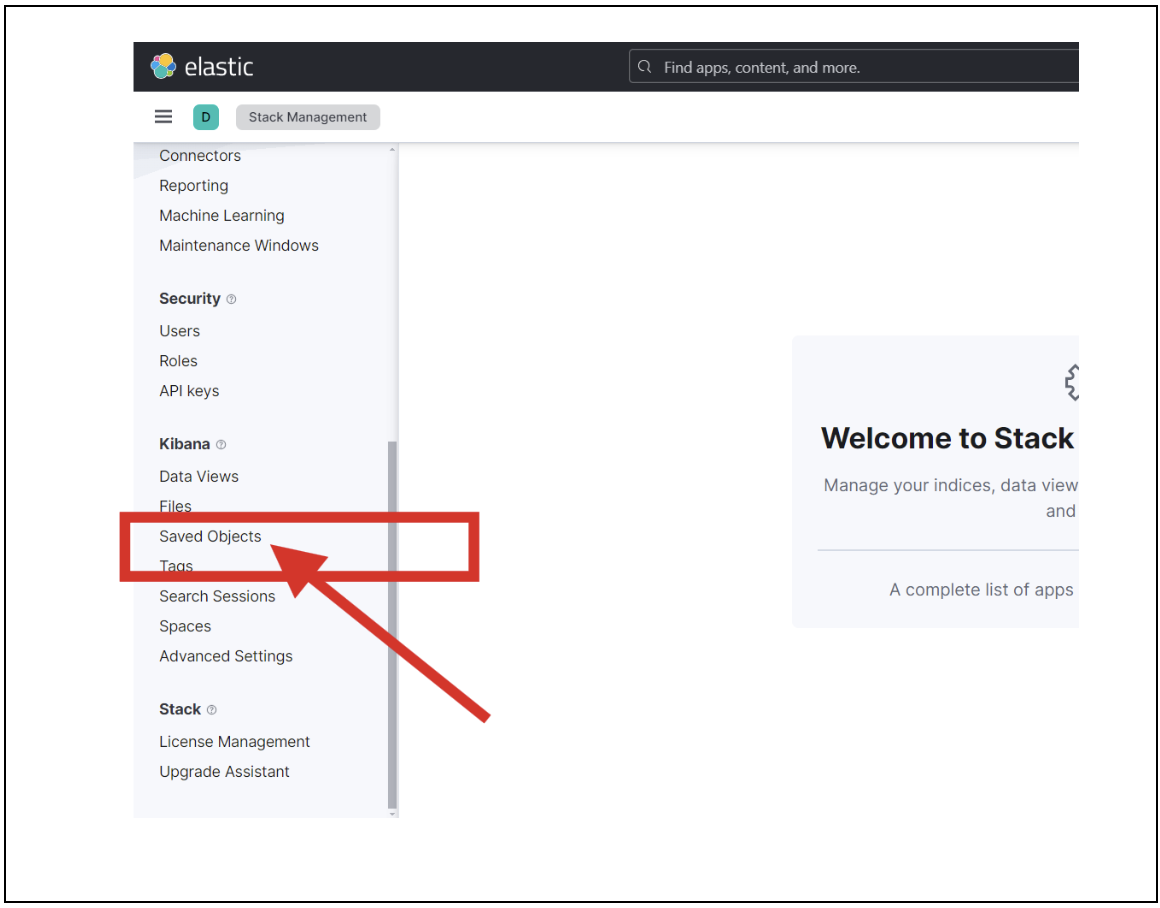
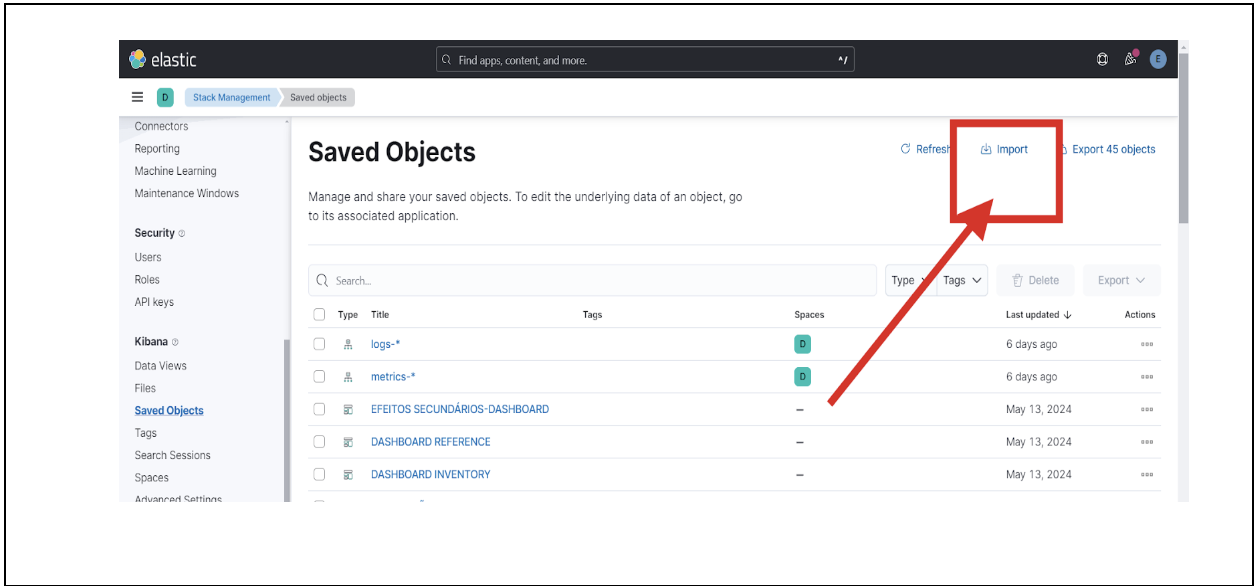
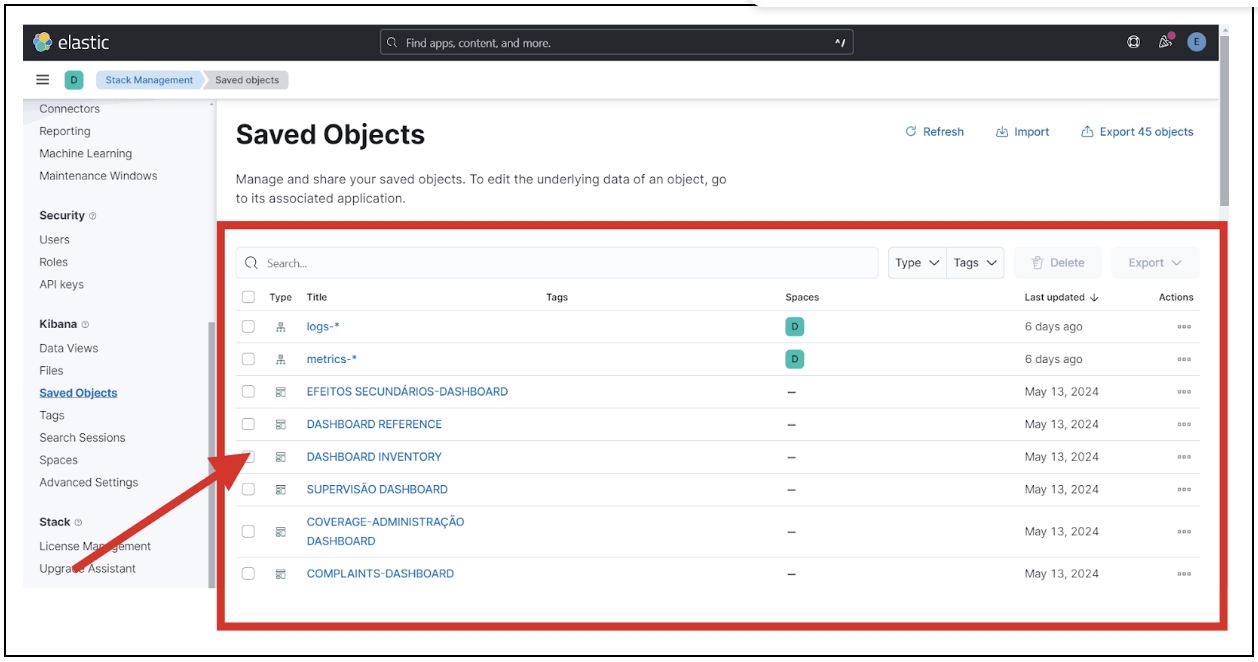
4. Visualisation of data views and dashboards

  • We have existing data views and dashboards from the product environment that you can import and use. To import existing data views, follow the steps below:

  • Navigate to the “Stack Management” in the sidebar.

  • Click on “Saved Objects” under Kibana.

  • Import the data views file here. Data views contain the queries and charts needed to fetch data from the indexes. The file to be imported:

file-download
700KB

Was this helpful?