Install Using GitHub Actions in AWS
Overview
This guide provides step-by-step instructions for installing DIGIT using GitHub Actions in an AWS environment.
Pre-requisites
Github account - signup
Kubectl installed in the system - installation guide
AWS account - signup
Install AWS CLI locally - installation guide
Postman - installation guide and import data guide
A domain host - (like Go Daddy to configure your server to a domain)
Install
Prepare AWS IAM User
Create an IAM User in your AWS account - official document
Generate ACCESS_KEY and SECRET_KEY for the IAM user - AWS document
Assign administrator access to the IAM user for necessary permissions.
Set up the AWS profile locally by running the following commands:
aws configure --profile {profilename}
fill in the key values as they are prompted
AWS_ACCESS_KEY_ID: <GENERATED_ACCESS_KEY>
AWS_SECRET_ACCESS_KEY: <GENERATED_SECRET_KEY>
AWS_DEFAULT_REGION: ap-south-1
export AWS_PROFILE={profilename}
Note: AWS Account should have S3 Bucket access to make Filestore service to work
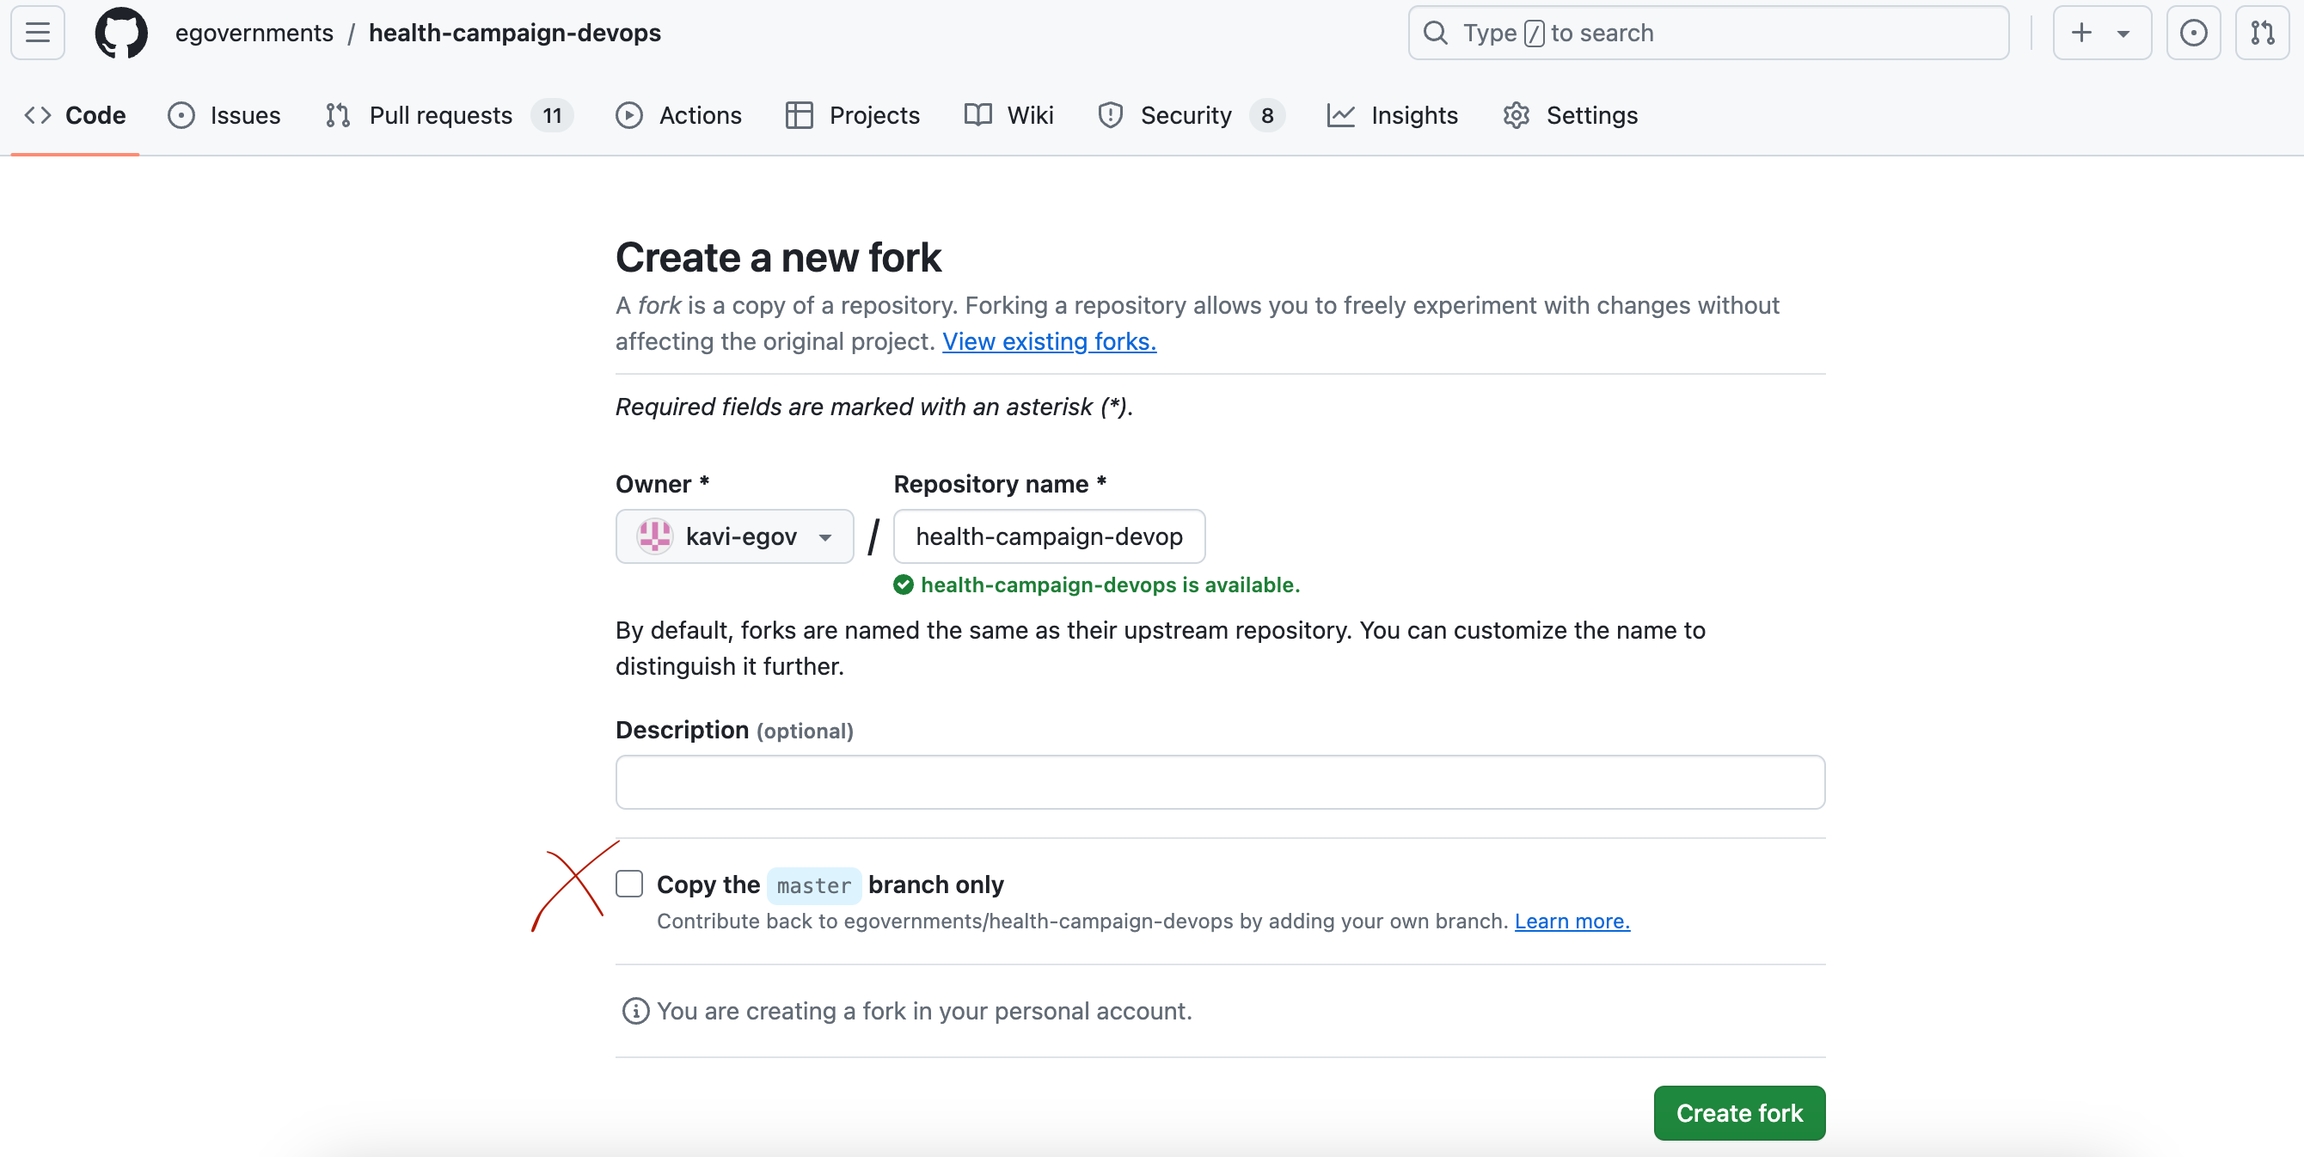
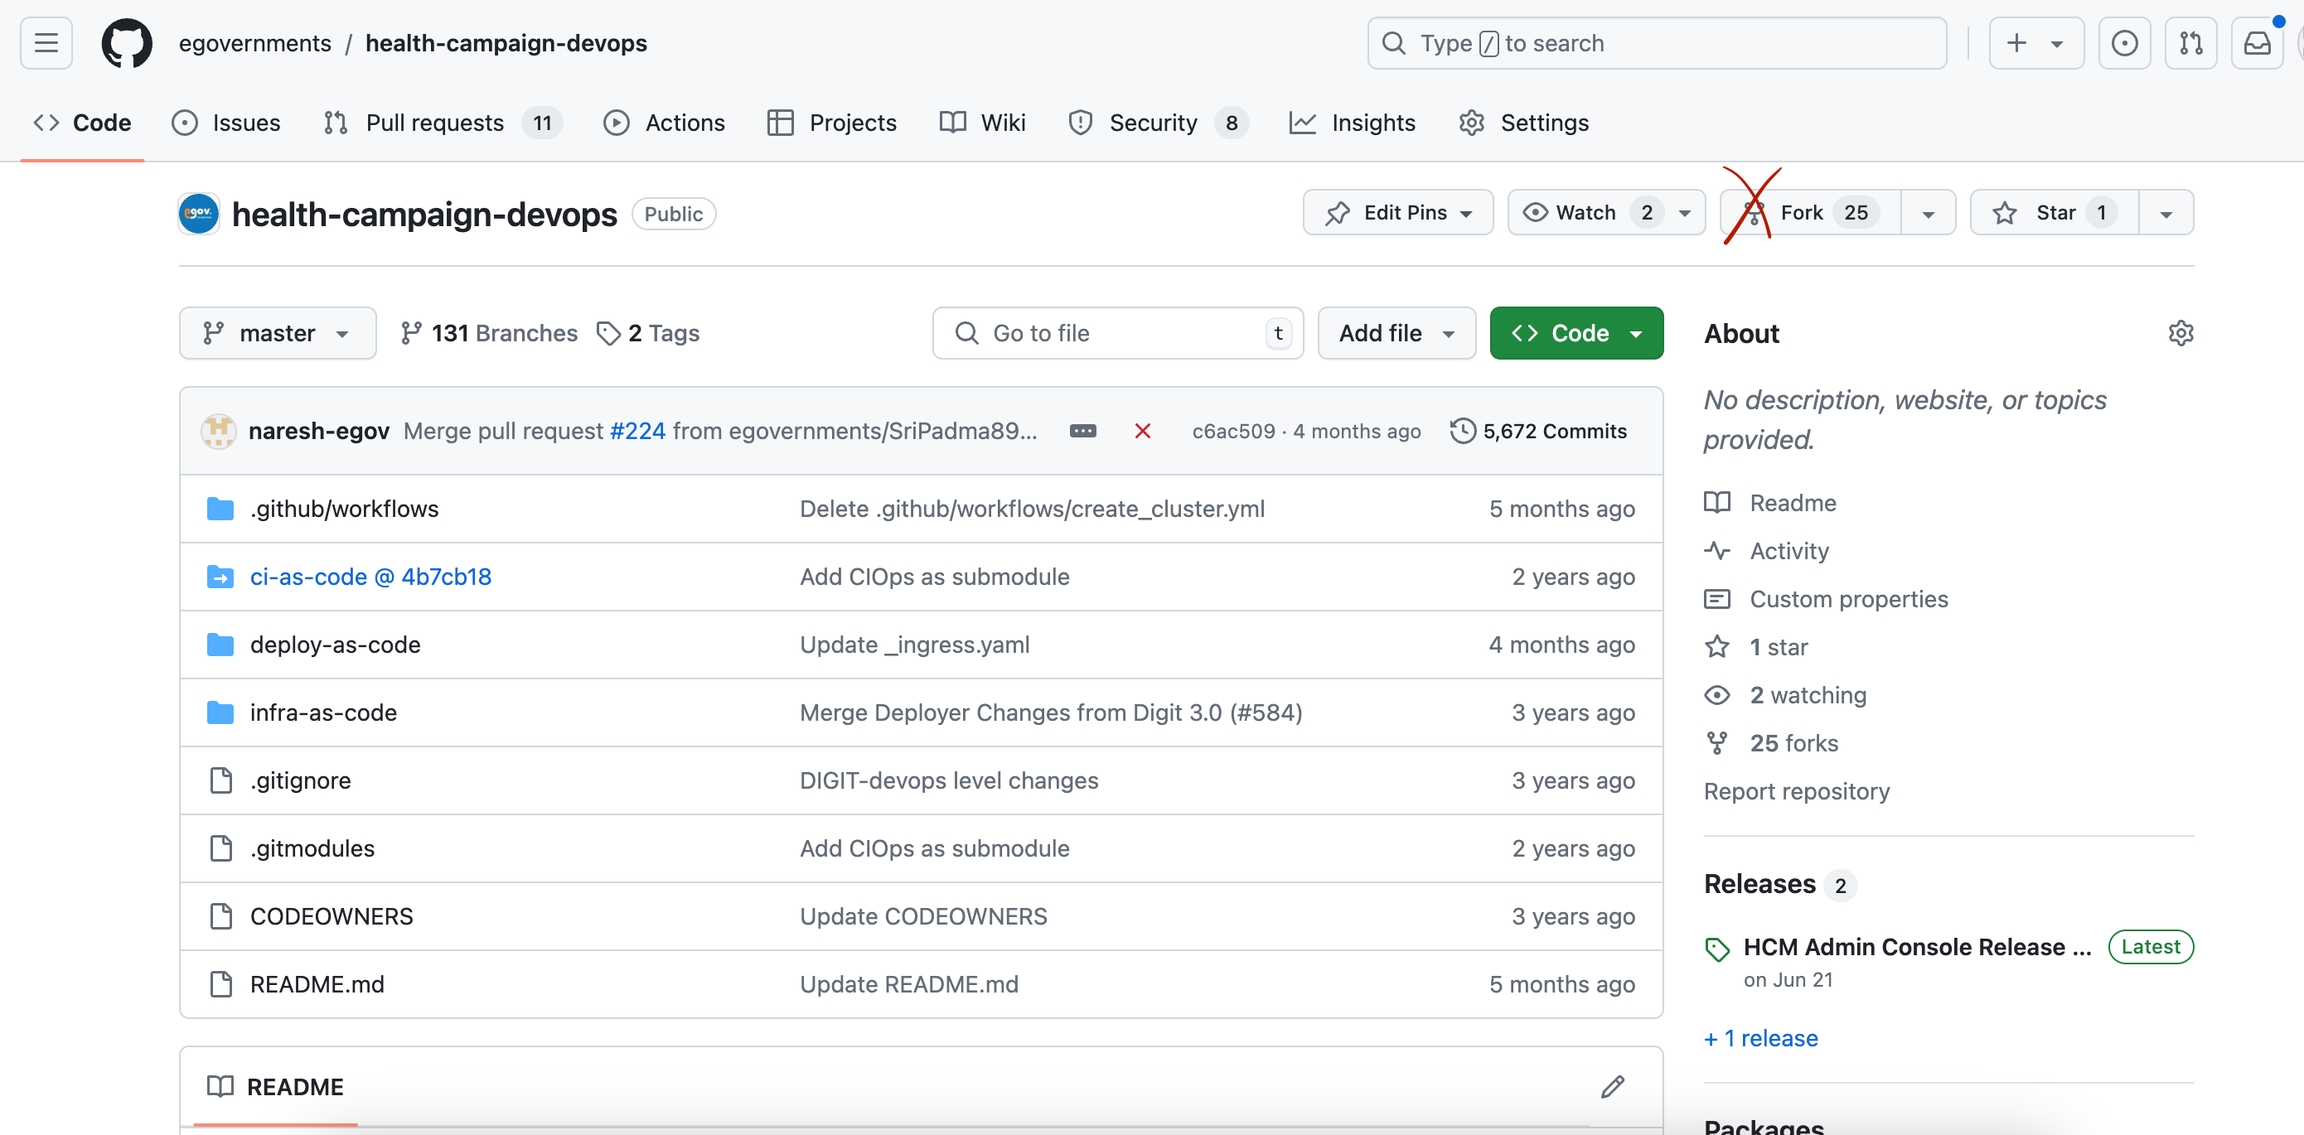
Fork the GitHub Repositories
Fork the following repositories with all the branches into your organisation account on GitHub:
Master data (We don't need a master data repo since we use mdms-v2 by default with data seeded)
Uncheck the copy, the master-only box, as shown below:
Adding AWS Keys to the Repository
Go to the forked health-campaign-devops repository:
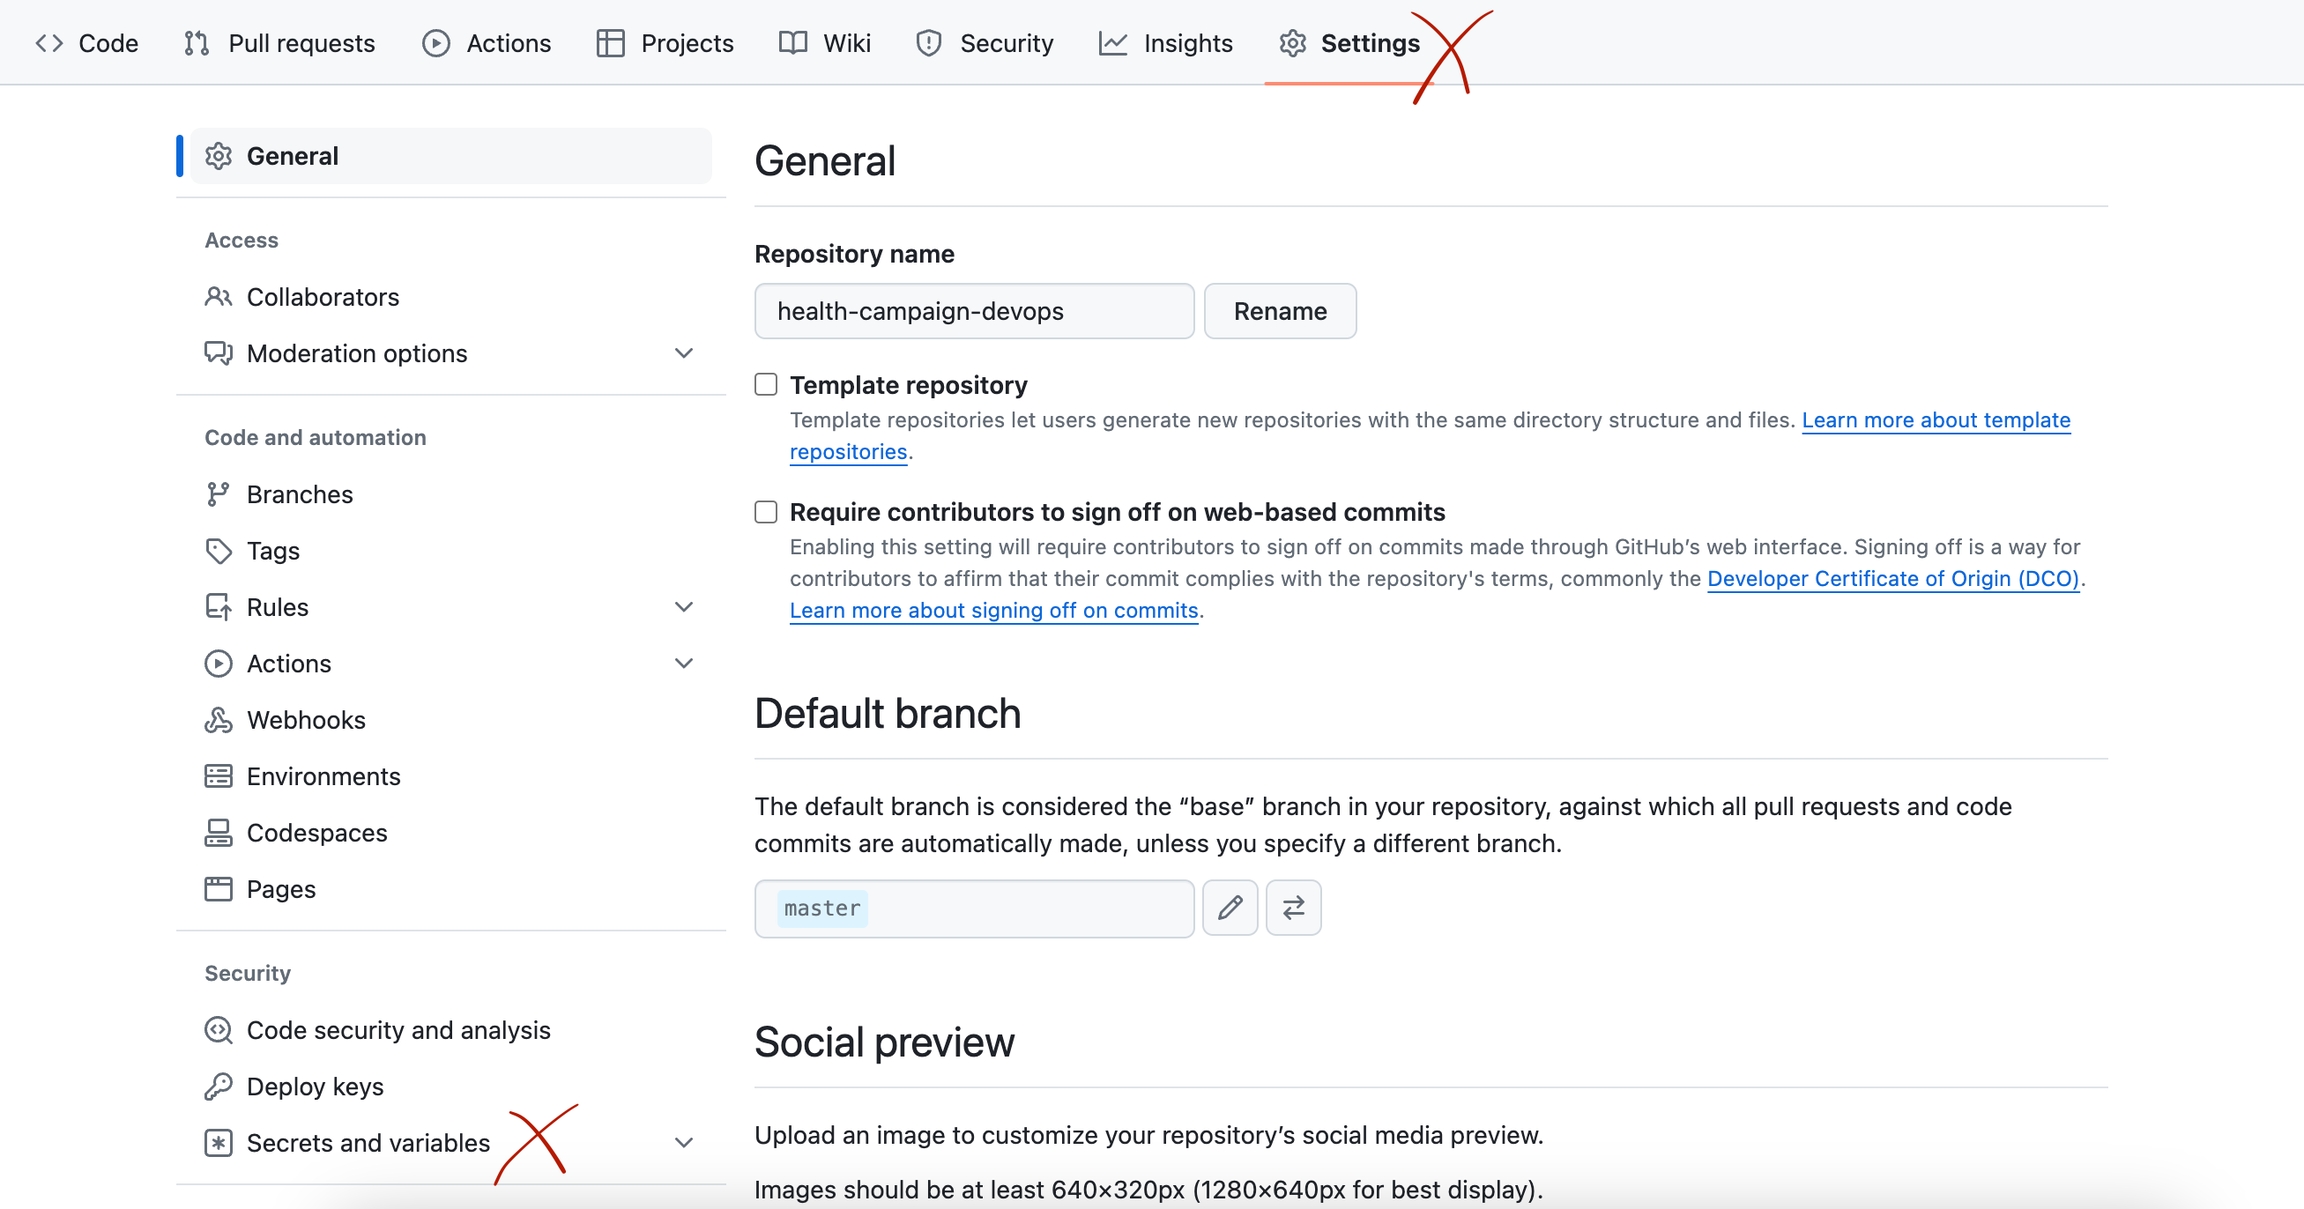
Navigate to the repository settings.
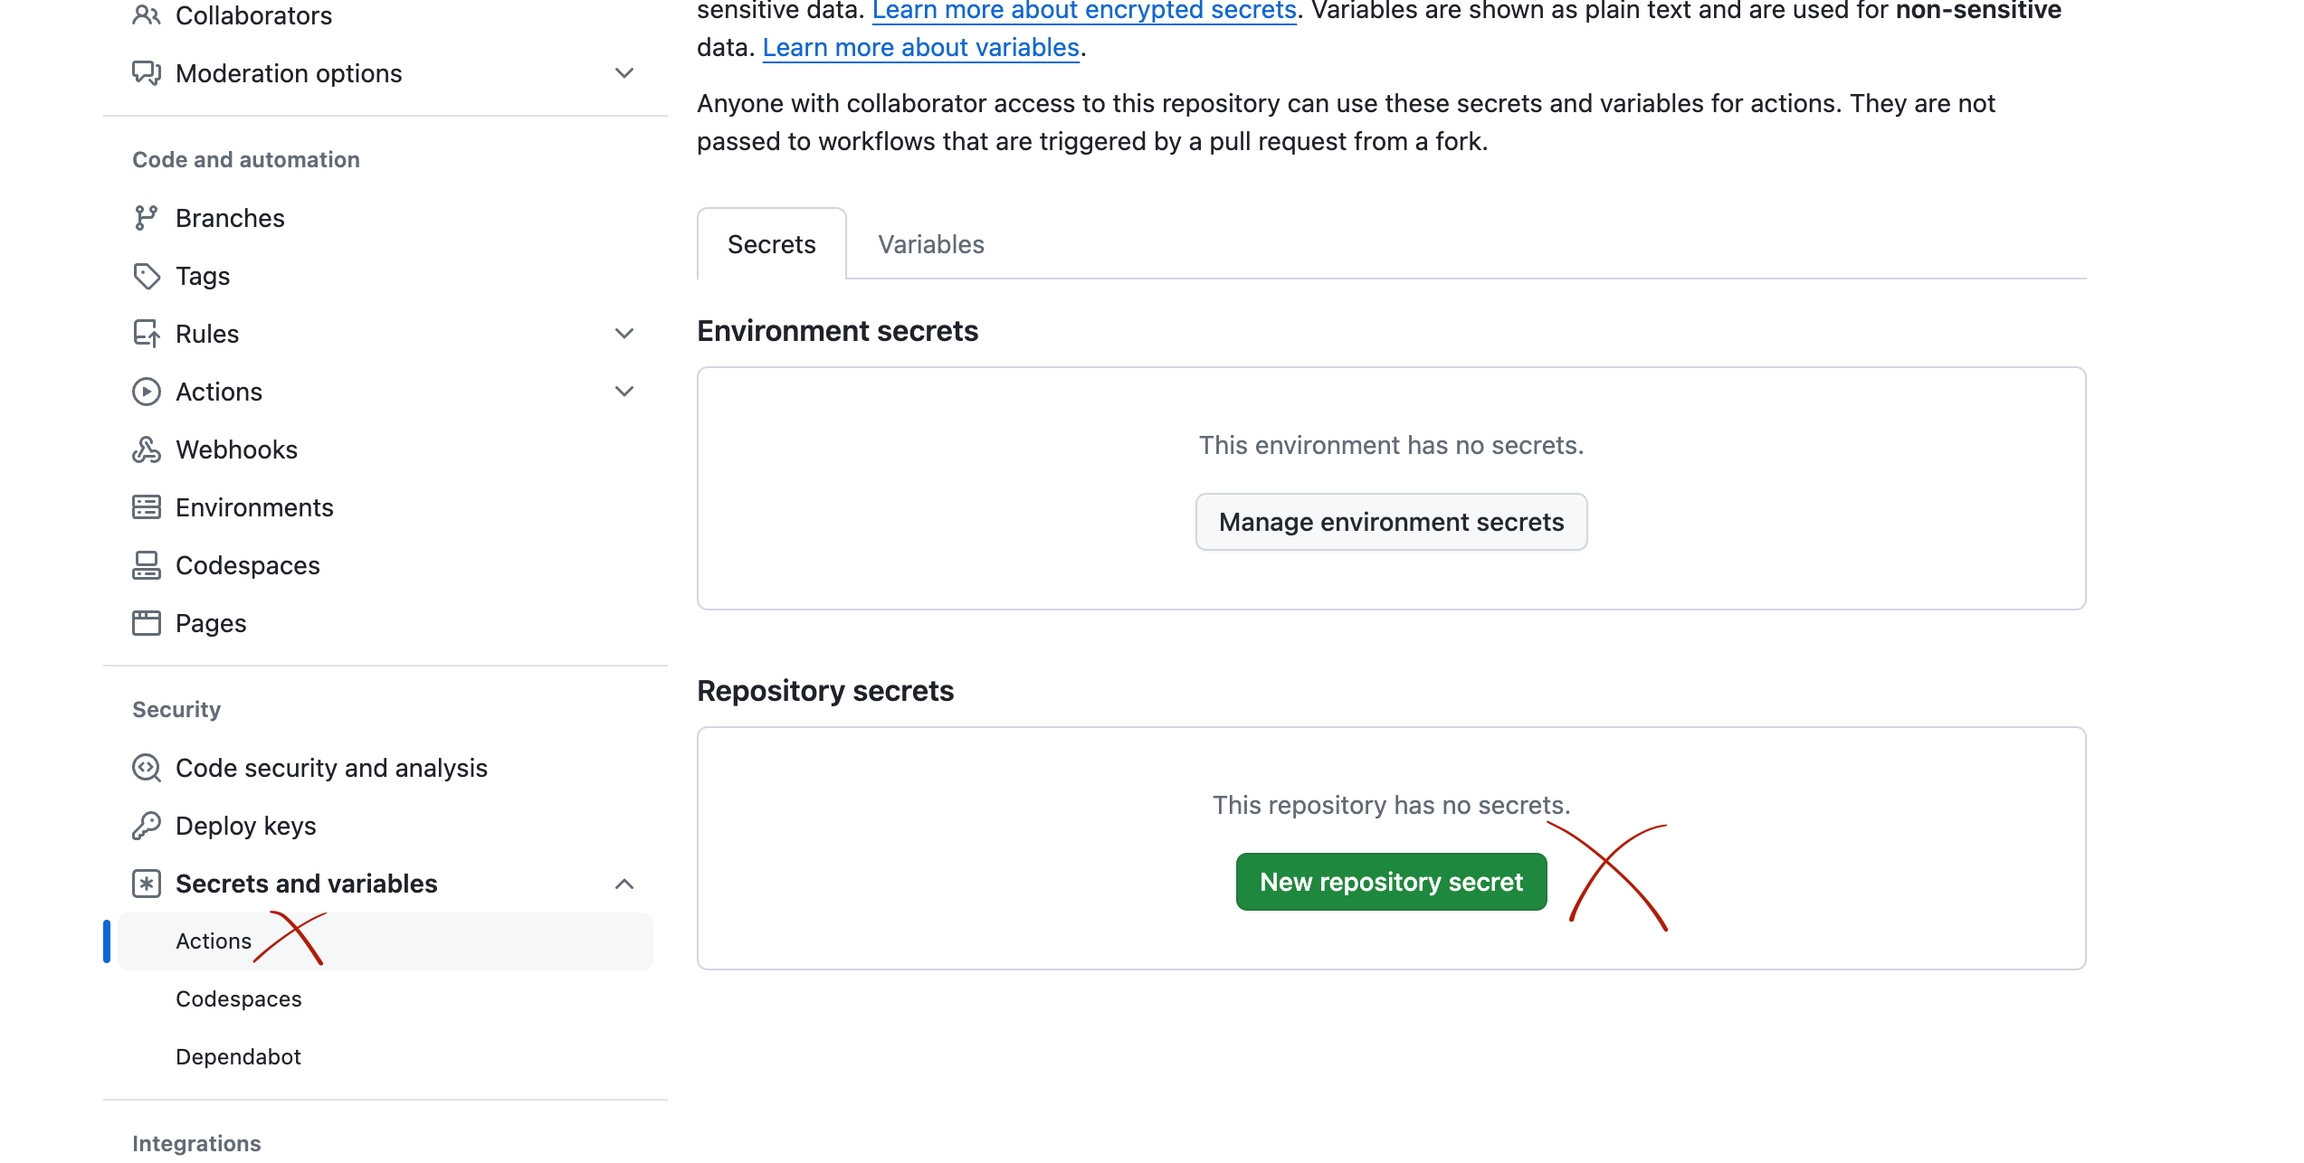
Go to Secrets and Variables.
Click on the actions options below secrets and variables.
On the new page, choose the new repository secret option in repository secrets and add the following keys mentioned below:
AWS_ACCESS_KEY_ID: <GENERATED_ACCESS_KEY>
AWS_SECRET_ACCESS_KEY: <GENERATED_SECRET_KEY>
AWS_DEFAULT_REGION: ap-south-1
AWS_REGION: ap-south-1
Changes to be Made in the Repository
Navigate to the release-githubactions branch in the forked DevOps repository.
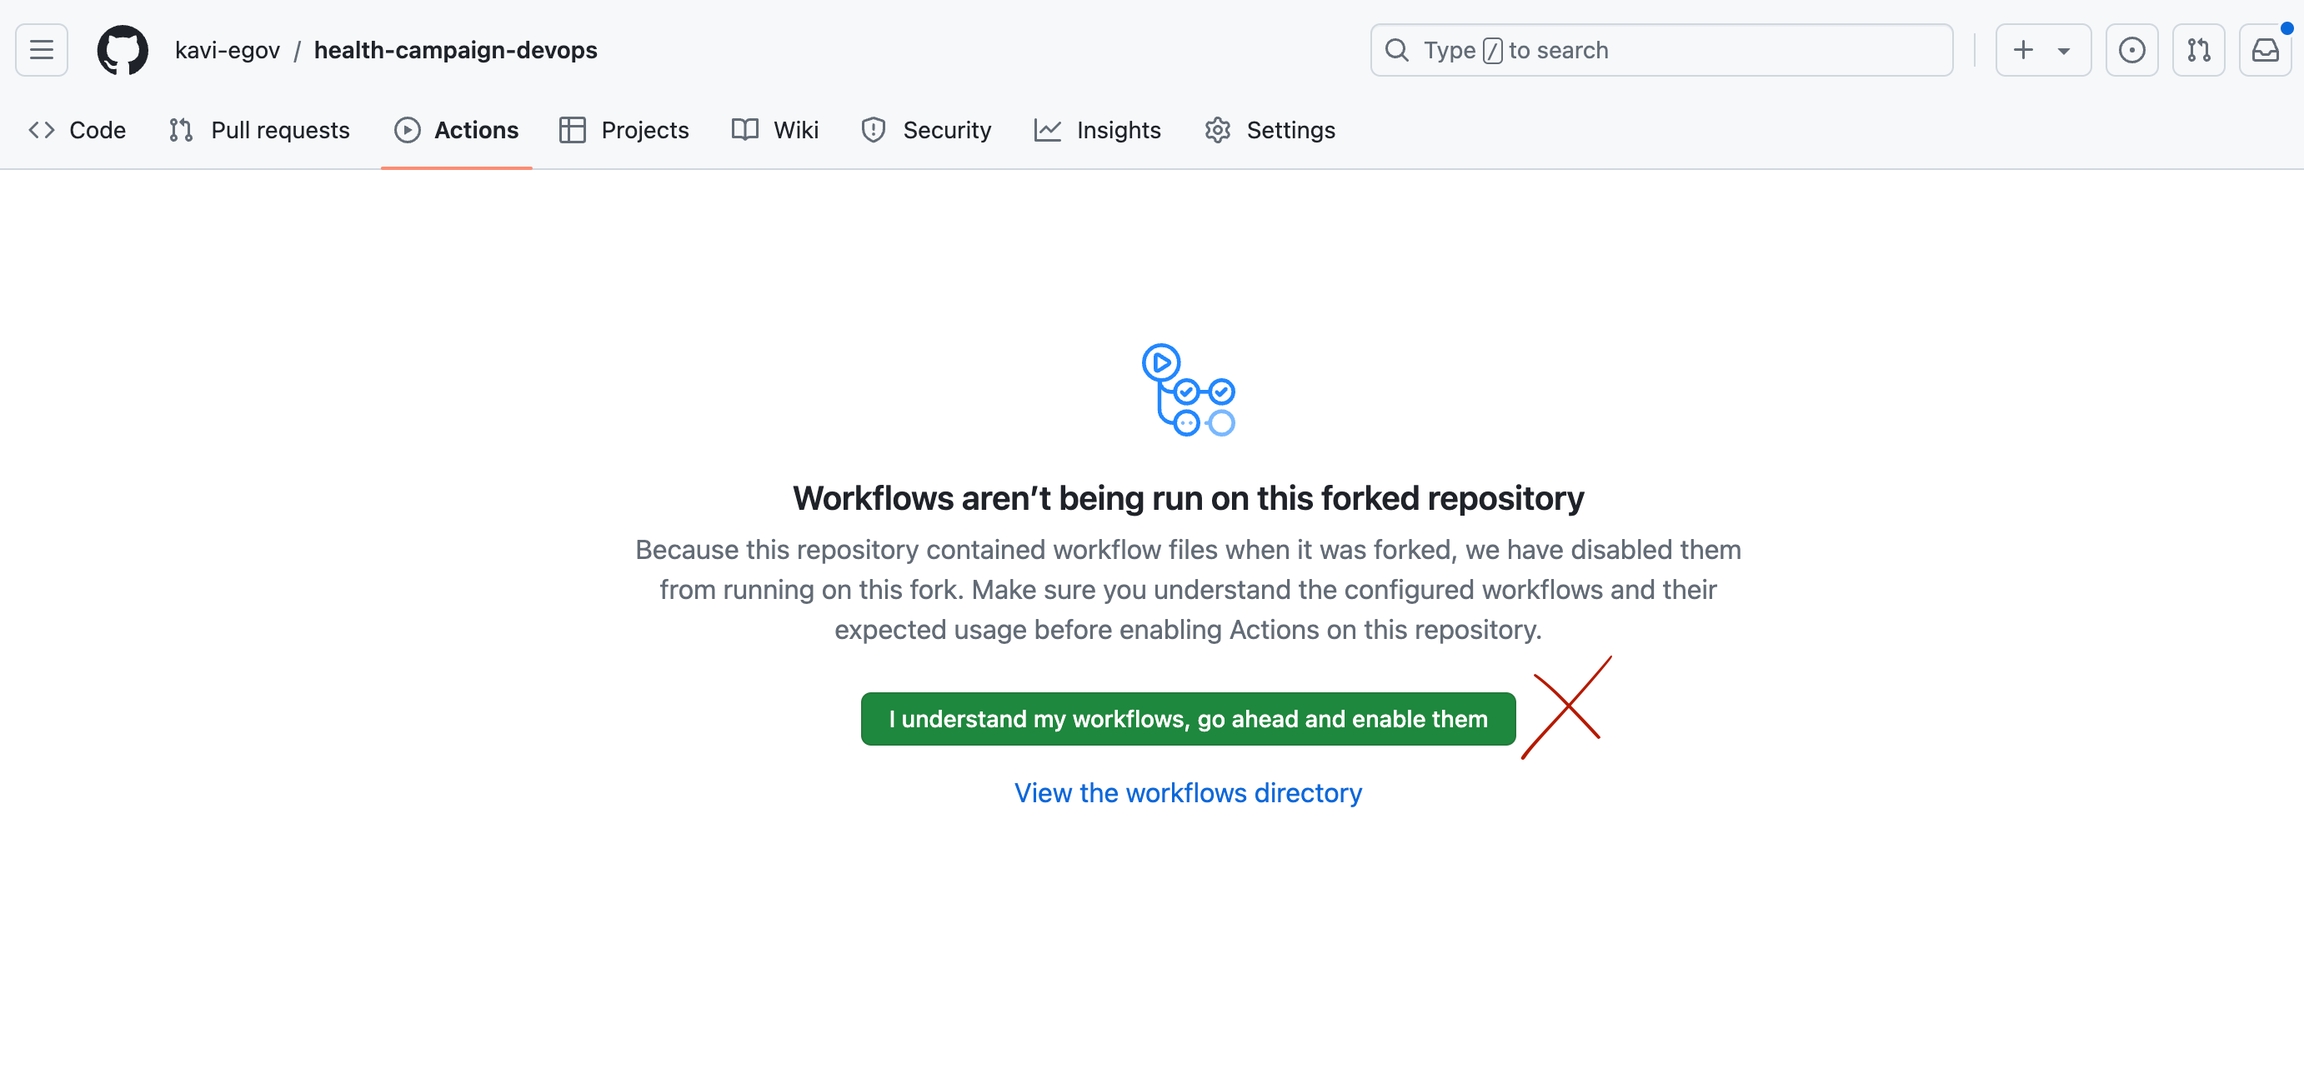
Enable GitHub Actions.
Click on Actions, then click on "I understand my workflows, go ahead and enable them":
How to Edit the GitHub Files
The following steps can be done either directly in the browser or the local system if you are familiar with Git usage.
Before following any of the steps switch to the release-githubactions branch.
Steps to edit the git repository in the browser - Git guide
Steps to edit in the local system if you are familiar with Git basics:
Git clone {forked DevOps repolink}
Follow the below steps and make changes
Then commit and push to the release-githubactions branch
NOTE: Complete all changes at once then commit and push the code to remote to trigger the installation.
Replace the Master and Configuration Repositories
Note: Make these repository/branch changes before installation; making changes to the configuration repository link in the DevOps repository after installation without understanding what impact they may have will lead to failure in the application functionality.
Navigate to egov-demo.yaml (config-as-code/environments/egov-demo.yaml).
Under the egov-persister: change the gitsync link of the health-campaign-config repository to the forked config repository and the branch to DEMO.
Follow the same as above for dashboard-analytics, dashboard-ingest, egov-indexer
Configure infrastructure-as-code
Navigate to infra-as-code/terraform/sample-aws.
Open input.yaml and enter details such as domain_name, cluster_name, bucket_name, and db_name.
Configure application secrets
Generate SSH key pair.
How to Generate SSH Key Pair - choose one of the following methods to generate an SSH key pair:
Method a: Use an online website. (Note: This is not recommended for production setups, only for demo purposes): https://8gwifi.org/sshfunctions.jsp
Method b: Use OpenSSL commands:
openssl genpkey -algorithm RSA -out private_key.pemssh-keygen -y -f private_key.pem > ssh_public_key
To view the key run the commands or use any text editor to open the files
vi private_key.pemvi ssh_public_key
Once generated Navigate to config-as-code/environments
Open the egov-demo-secrets.yaml
Search for
PRIVATE KEYand replace from-----BEGIN RSA PRIVATE KEY-----to-----BEGIN RSA PRIVATE KEY-----with private_key generated (note: please make sure the private key is indented as given)Add the public_key to your GitHub account - Git guide
Finalise Installation
Once all details are entered, push these changes to the remote GitHub repository. Open the Actions tab in your GitHub account to view the workflow. You should see that the workflow has started, and the pipelines are completed successfully.
Configure domain name
Connect to the Kubernetes cluster, from your local machine by using the following command:
Get the CNAME of the nginx-ingress-controller
The output of this will be something like this:
ae210873da6ff4c03bde2ad22e18fe04-233d3411.ap-south-1.elb.amazonaws.com
Add the displayed CNAME to your domain provider against your domain name. e.g. GoDaddy domain provider - https://www.godaddy.com/en-in/help/add-a-cname-record-19236
Last updated

