Payments User Manual
Steps
Proximity Supervisor
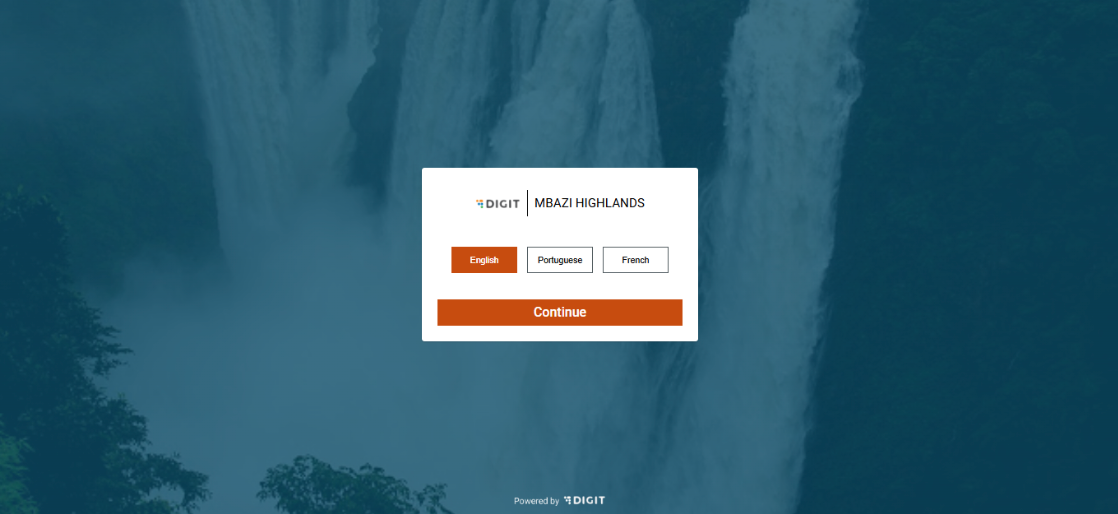
Select the language before you can log in. Currently, three languages are supported:
English
Portuguese
French
Select the desired language and click on Continue to access the Login page.
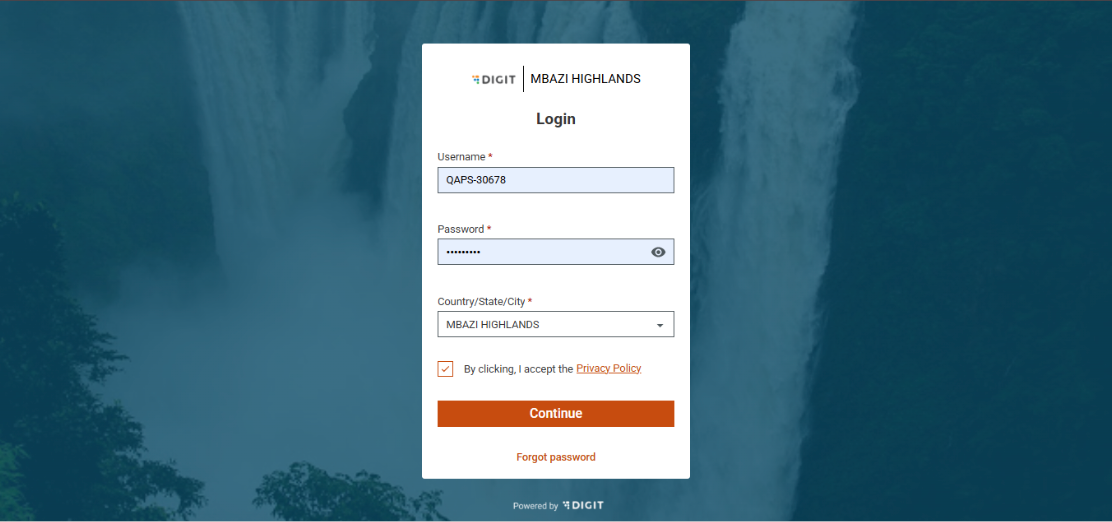
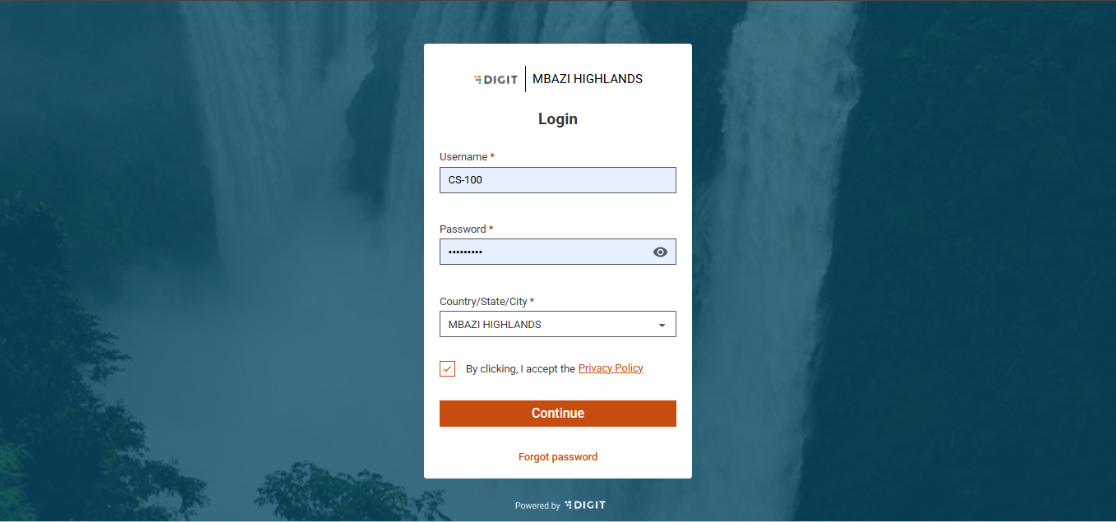
Enter the credentials for a proximity supervisor and select the assigned boundary.
Read the Privacy Policy statement, select the checkbox to accept the terms and conditions and then click on Continue to proceed to the landing page.
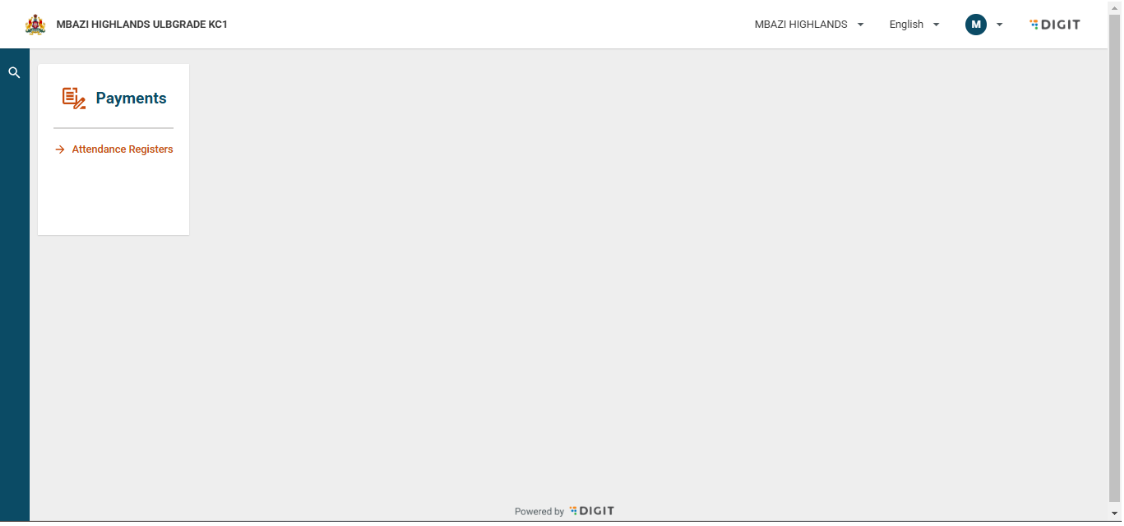
Click on the Attendance Registers option in the Payments card to access project-specific attendance registers.
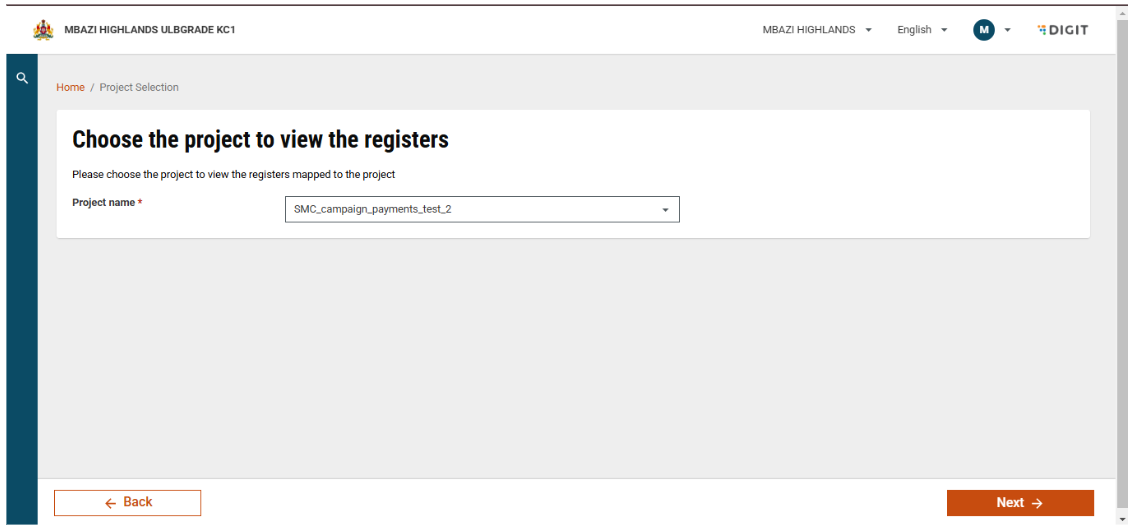
Select the desired project name (event name) from the options in the dropdown and click Next to proceed.
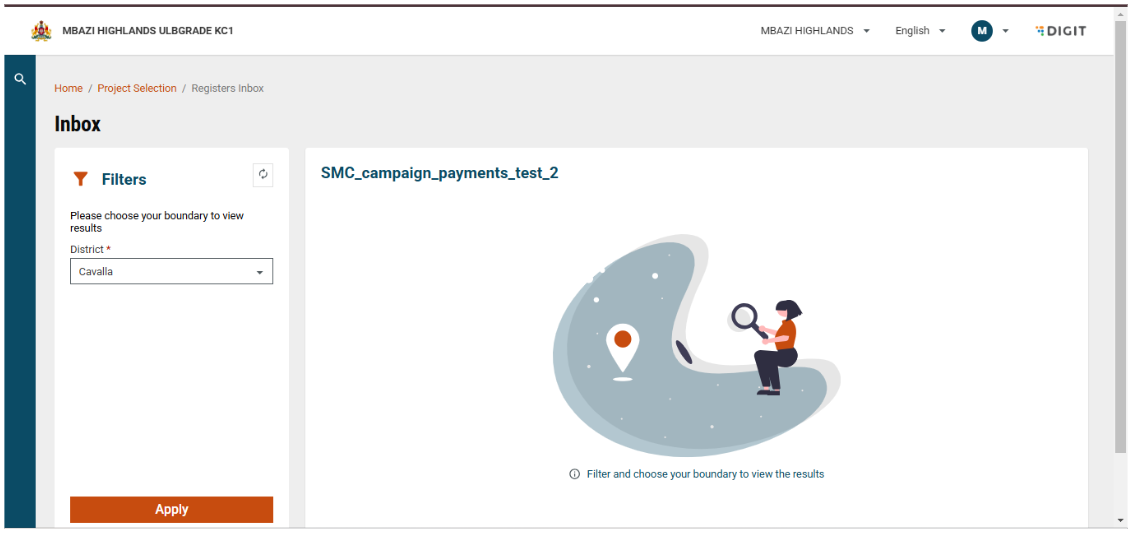
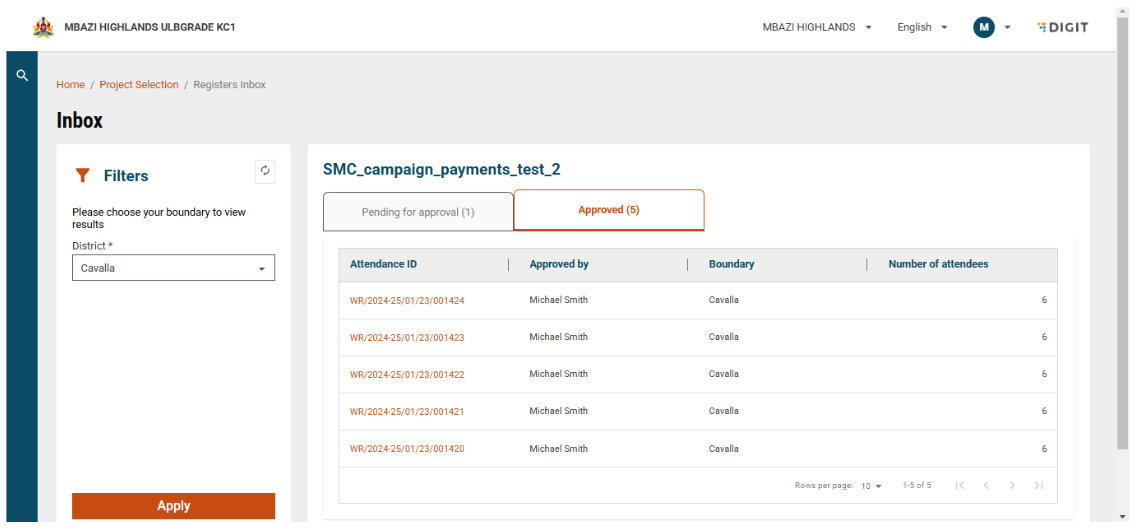
After selecting the project name, the Inbox screen is shown, where no attendance registers are shown by default. To view attendance registers, a desired boundary must be selected through a boundary filter (in this case, District). Once the desired boundary is selected, click on Apply to proceed.
After selecting a boundary, the user is directed to a screen displaying attendance registers.
The screen shows two categories:
Pending for Approval (#) – displayed by default
Approved (#) – accessible by toggling
Depending on the selected status type, the registers are displayed in a tabular format with the following details:
Attendance ID
Attendance marked by
Boundary
Number of attendees
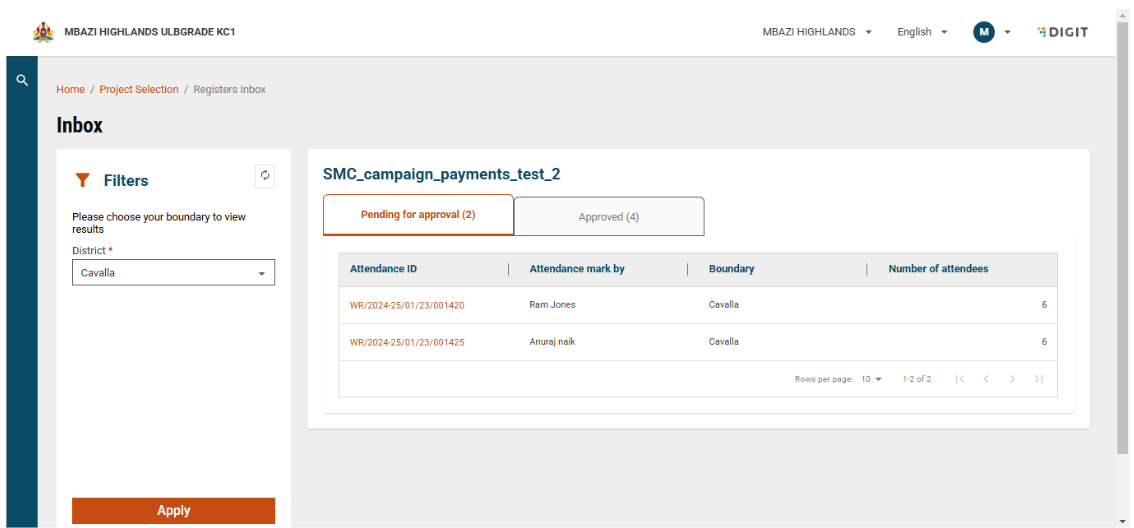
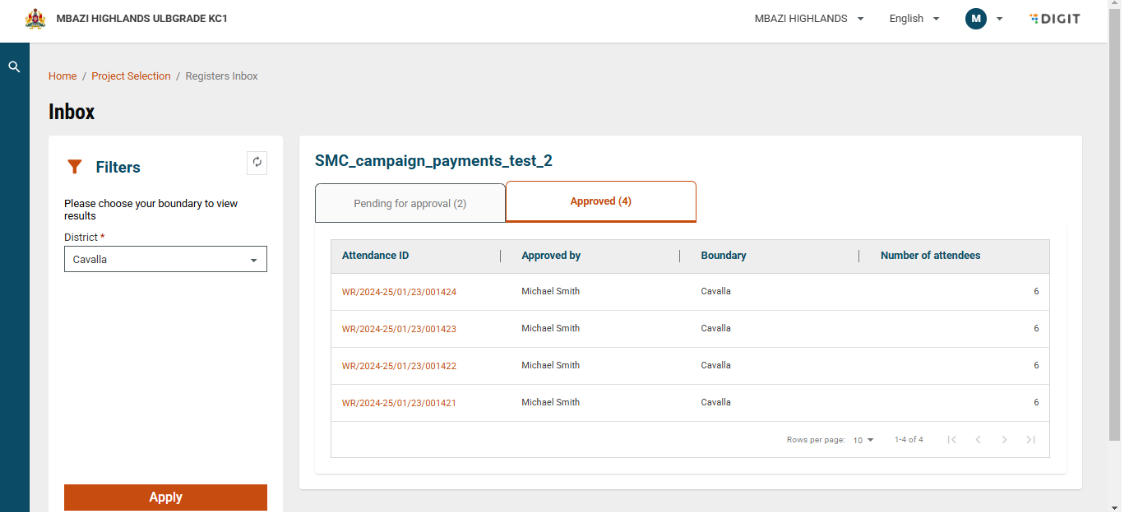
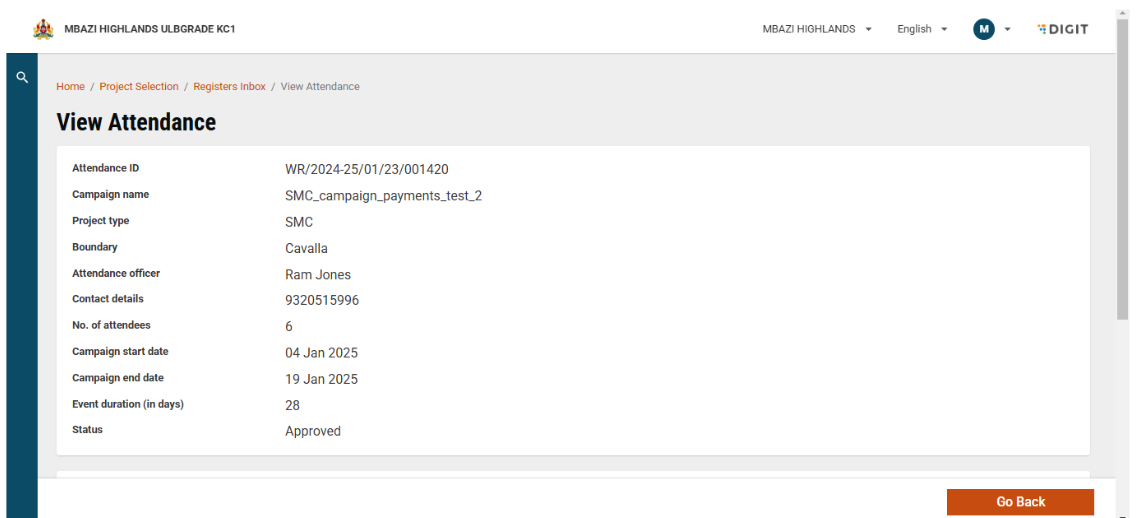
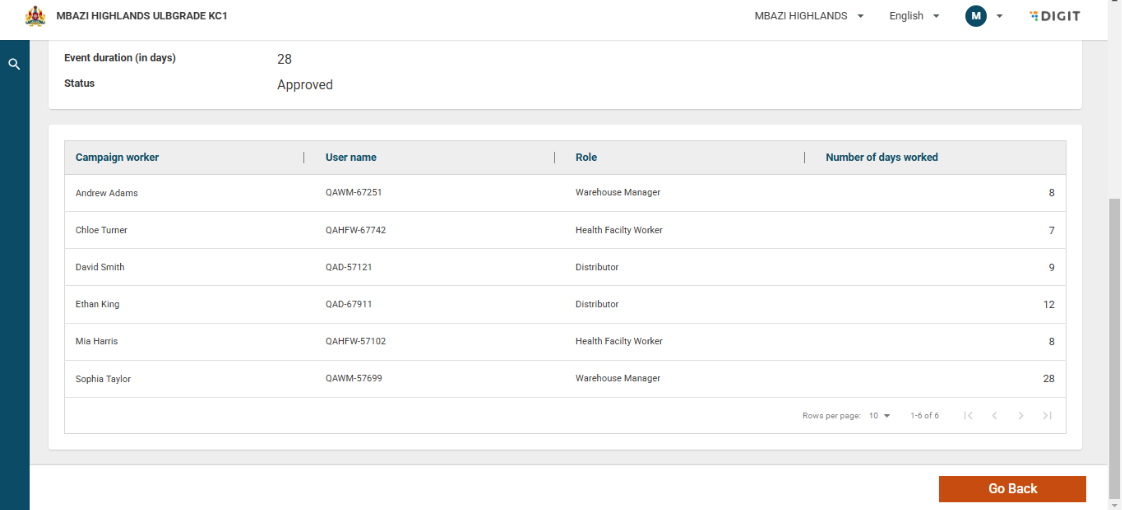
Click on the Attendance ID. This opens the View Attendance screen, which will provide all the campaign-related details of the registrant and their attendance summary.
Click on the Action button to either Edit Attendance or Approve the submitted data.
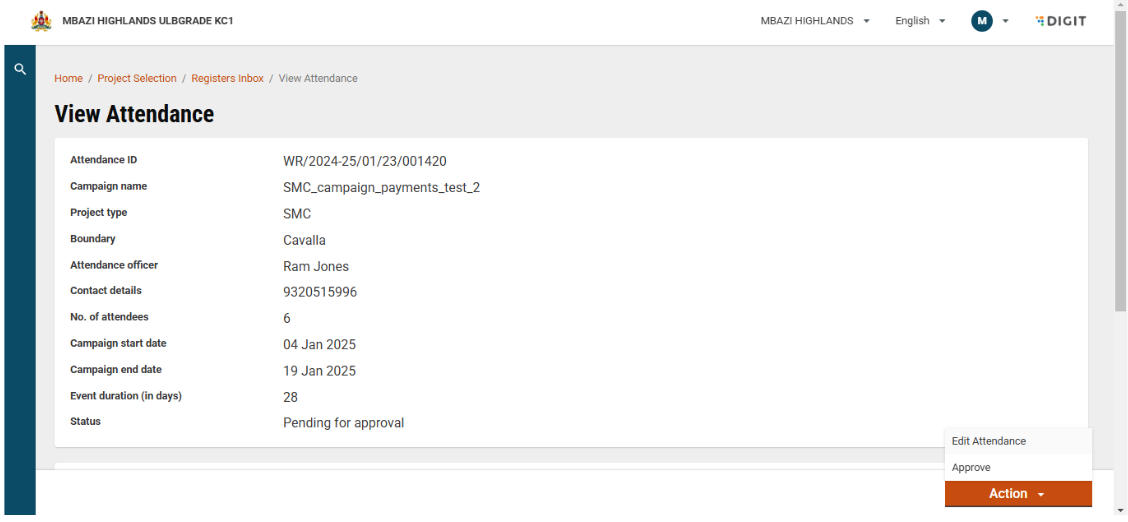
Click Edit Attendance on the register.
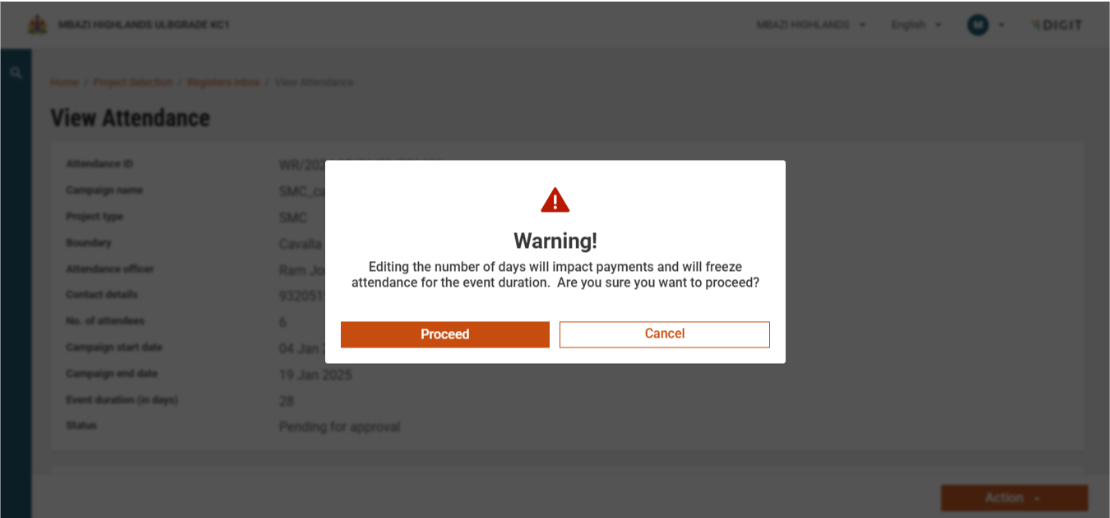
A warning message appears, informing the proximity supervisor that:
Editing the attendance data will impact payments.
The data will be frozen for the entire event duration.
Any future attendance marked by the field supervisor will not be updated in the register.
Review the confirmation question in the warning message.
Choose one of the options:
Proceed → Confirm editing the attendance data.
Cancel → Return to the View Attendance page without making changes.
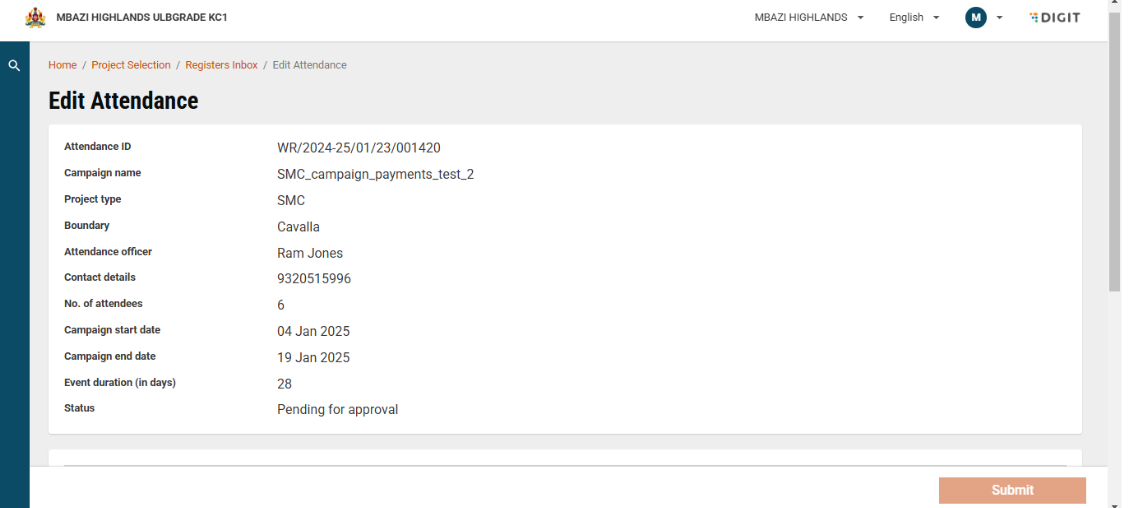
After confirmation, the Edit Attendance page is displayed.
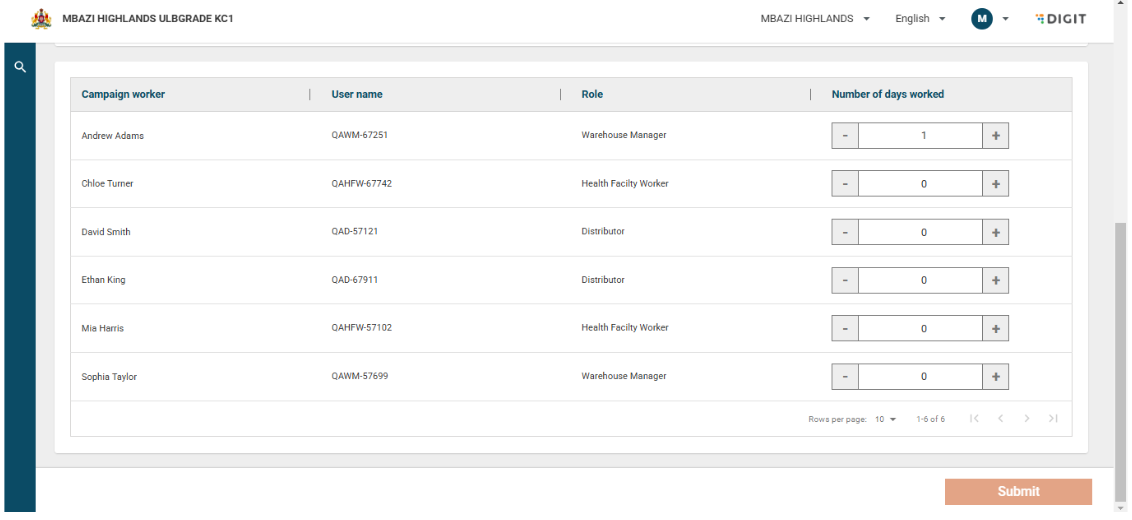
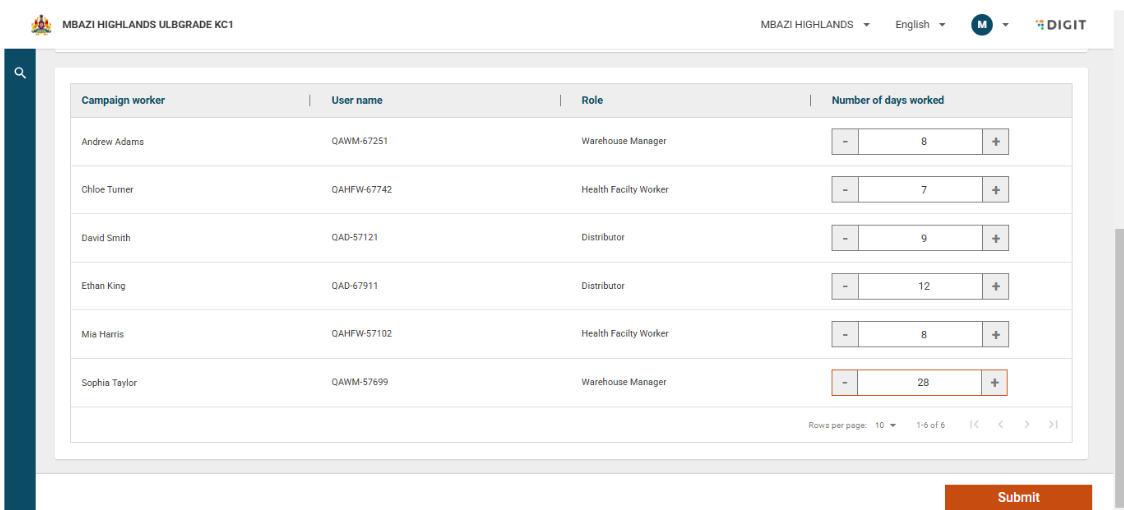
On this page, the proximity supervisor can update the attendance for each field supervisor by:
Using the ‘+’ or ‘–’ buttons, or
Entering the count directly in the data entry field.
The Submit button remains disabled until attendance is updated for at least one field supervisor.
In case the “number of days worked” entered exceeds the event duration while updating, an error message is shown informing the proximity supervisor.
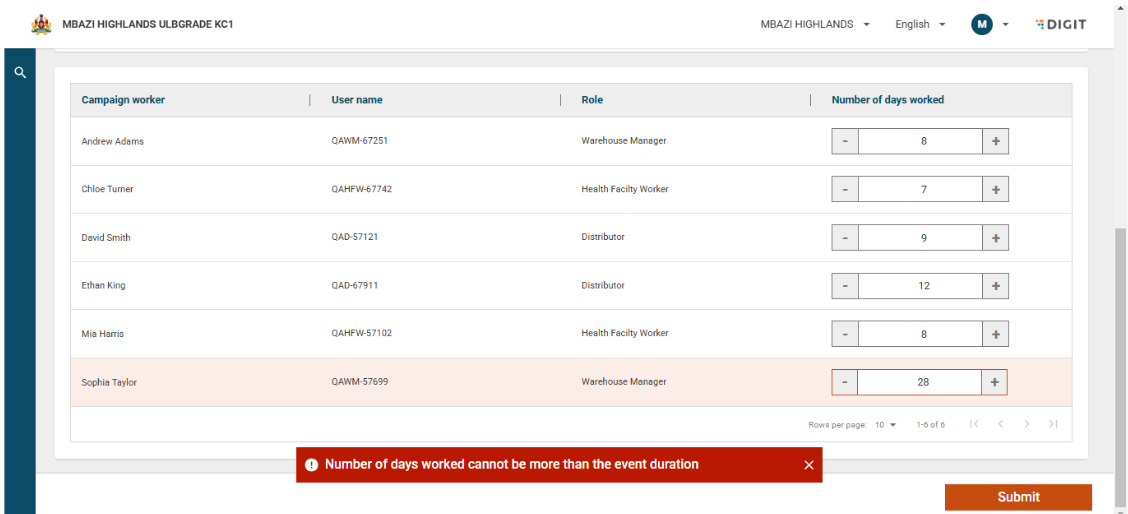
Once the new attendance data is entered, click on the Submit button to proceed.
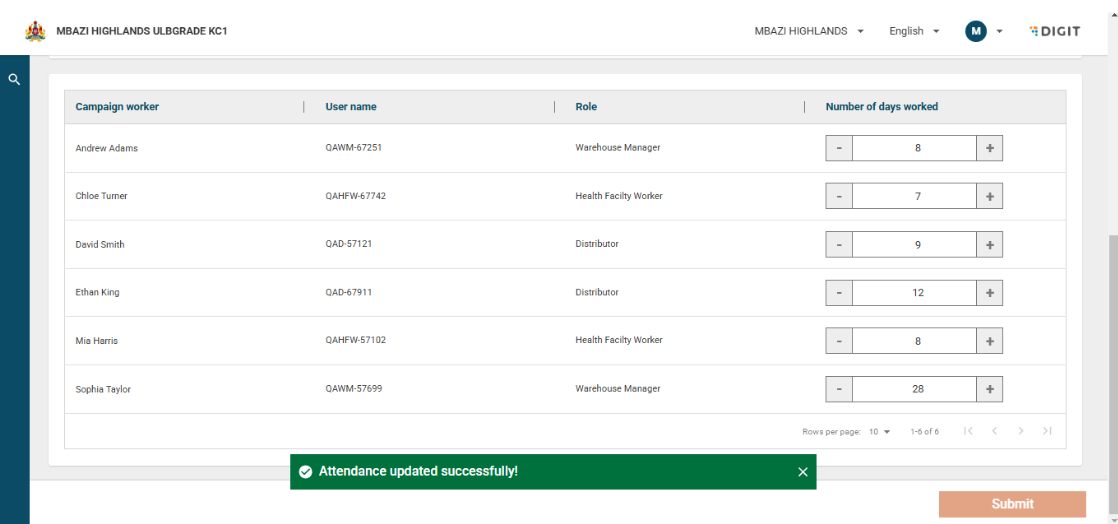
Subsequently, a toast message is displayed indicating that attendance has been updated successfully. The attendance data can be modified as many times as required until it is approved.
Following the successful submission of the new data, the View Attendance page appears, reflecting the updated attendance data.
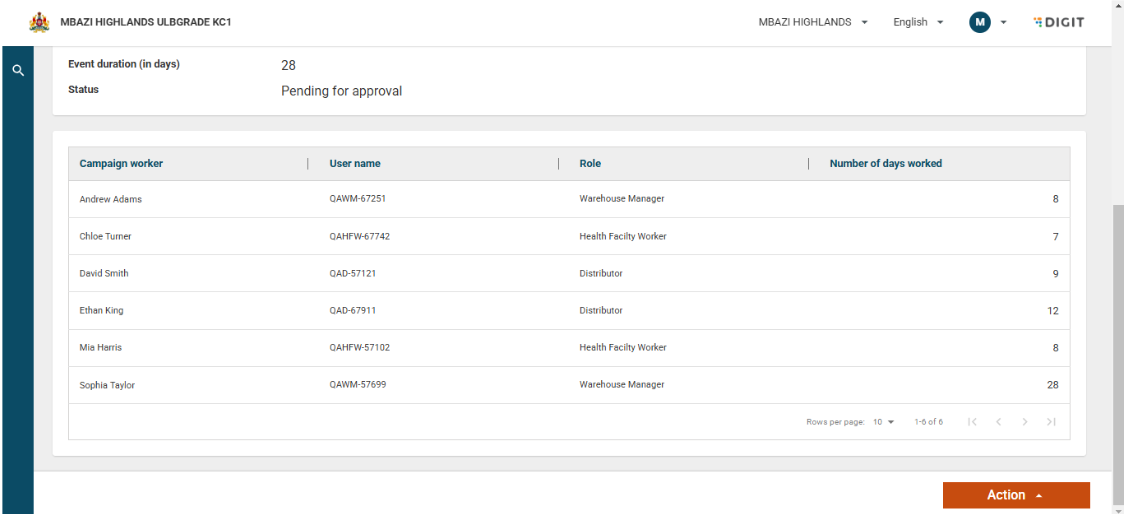
Click on the Action button for the selected register.
Choose the Approve option.
A dialogue box appears, prompting users to:
Enter mandatory comments to proceed.
Click Approve again to confirm and complete the approval process.
Or click Cancel to exit without approving.
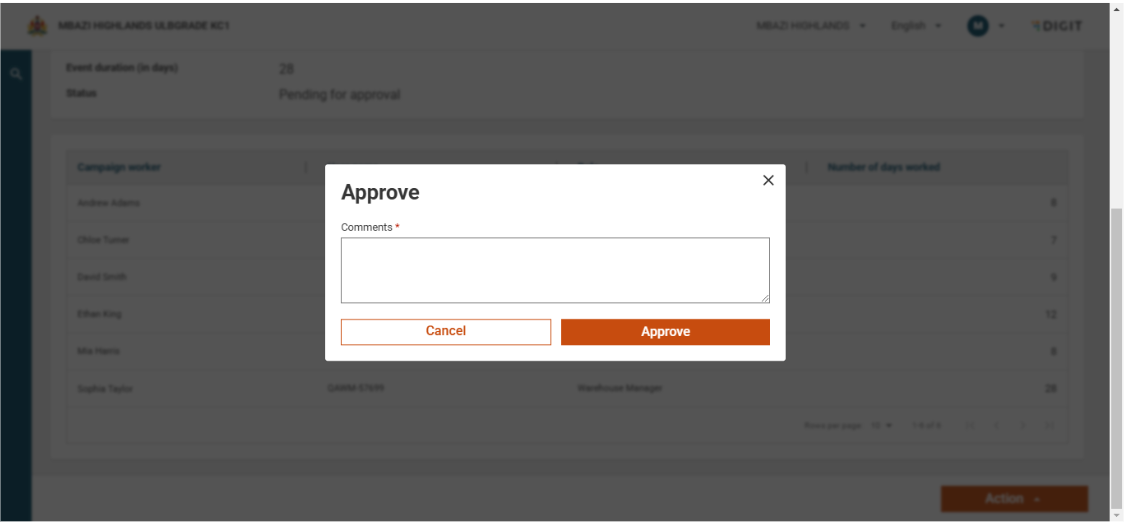
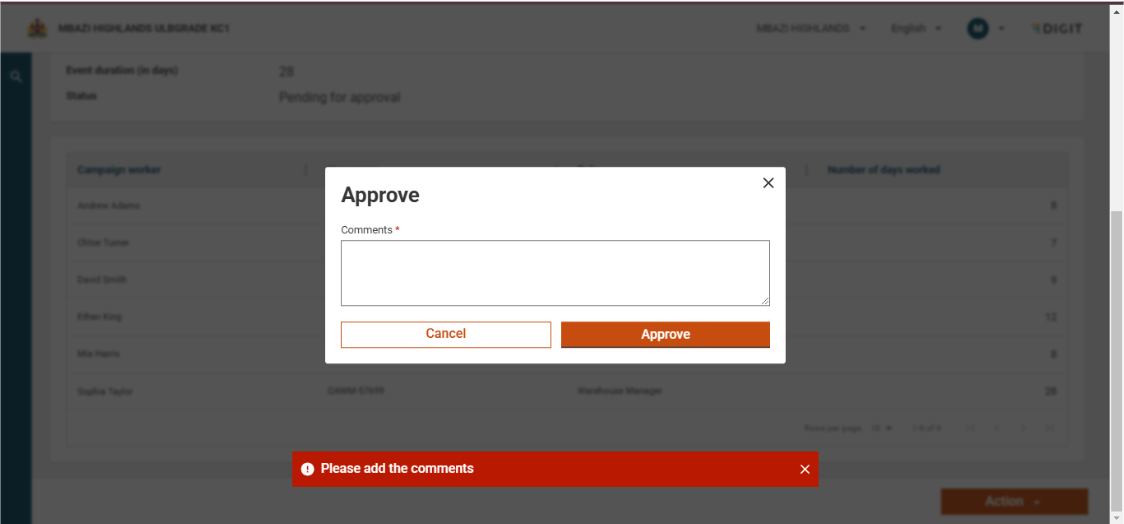
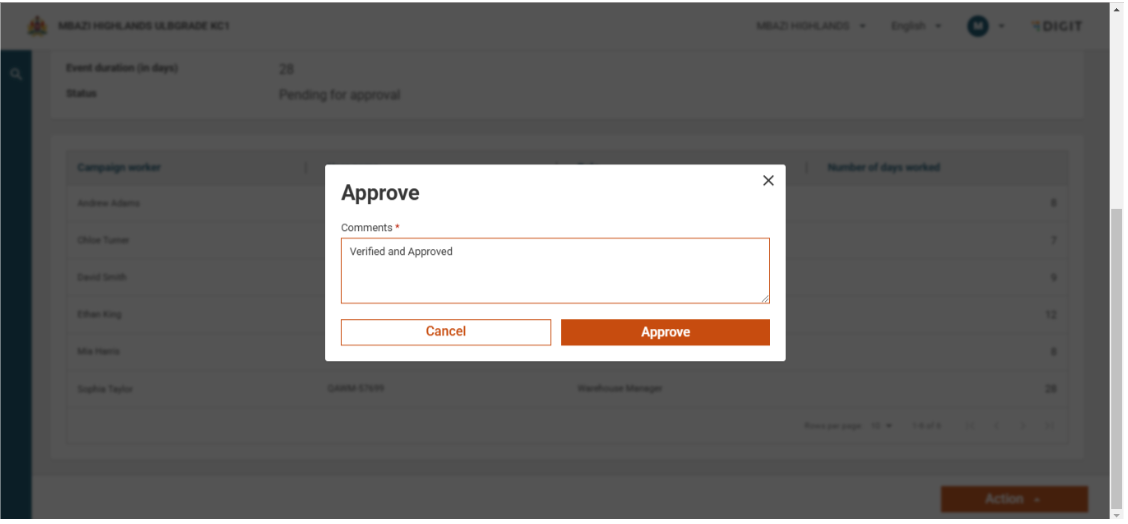
After entering the mandatory comments and selecting Approve, a confirmation pop-up appears.
The pop-up message highlights that once approved, the data cannot be modified.
Review the message carefully before proceeding.
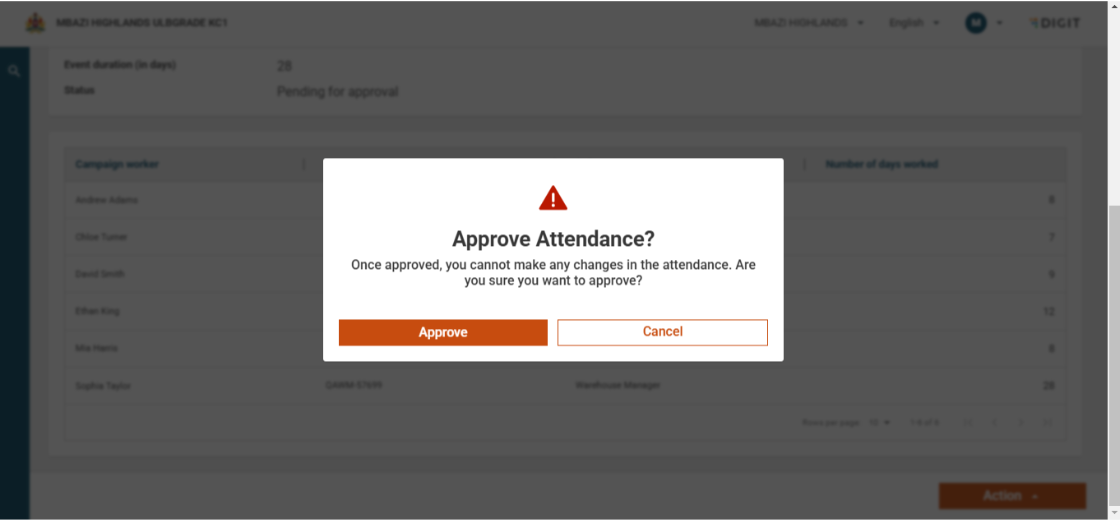
Click Approve on the confirmation pop-up.
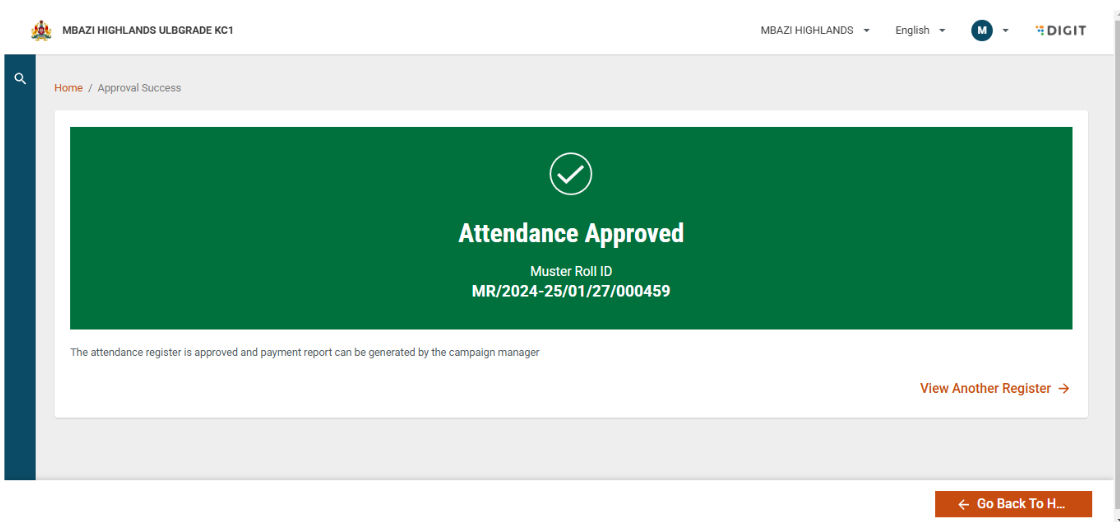
A success screen will be displayed, confirming the approval.
The muster roll will be generated and shown on the screen.
From here, you can:
Click View Another Register to work on a different register, or
Click Go Back to Home to return to the main page.
Go to the Inbox page.
The status of the register will now be shown as Approved.
When you open an approved register, no further actions are available.
The only option provided is Go Back.
Payments Approver
The payment approver is responsible for generating and downloading the final payment bill, which is further used to disburse the payments to all the campaign workers.
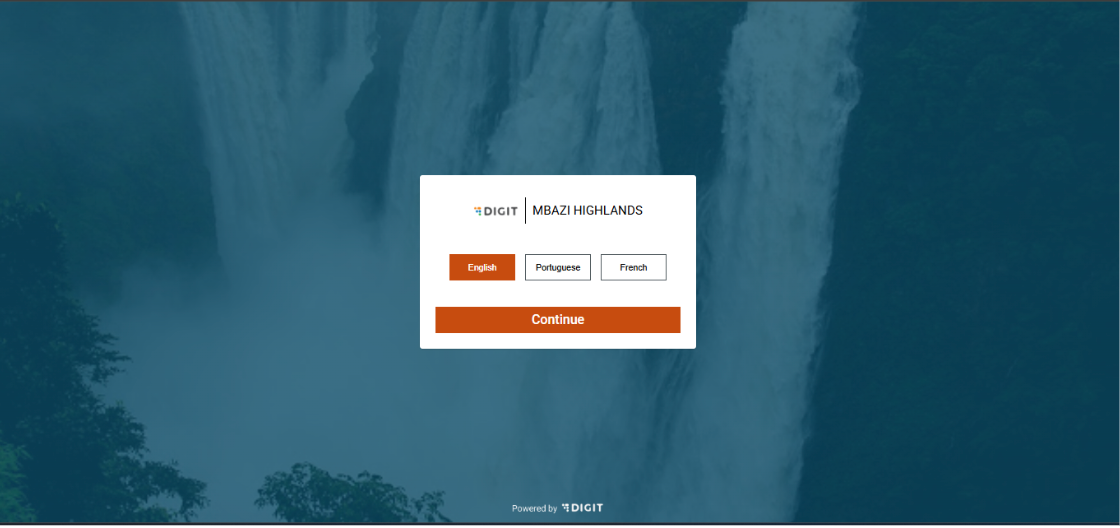
Before logging in, select the preferred language.
Currently, three languages are supported:
English
Portuguese
French
After selecting the desired language, click Continue to proceed to the Login page.
On the Login page, enter the credentials for the campaign supervisor.
Select the assigned boundary from the list.
Review the Privacy Policy statement carefully.
Tick the checkbox to indicate acceptance.
Click Continue to proceed.
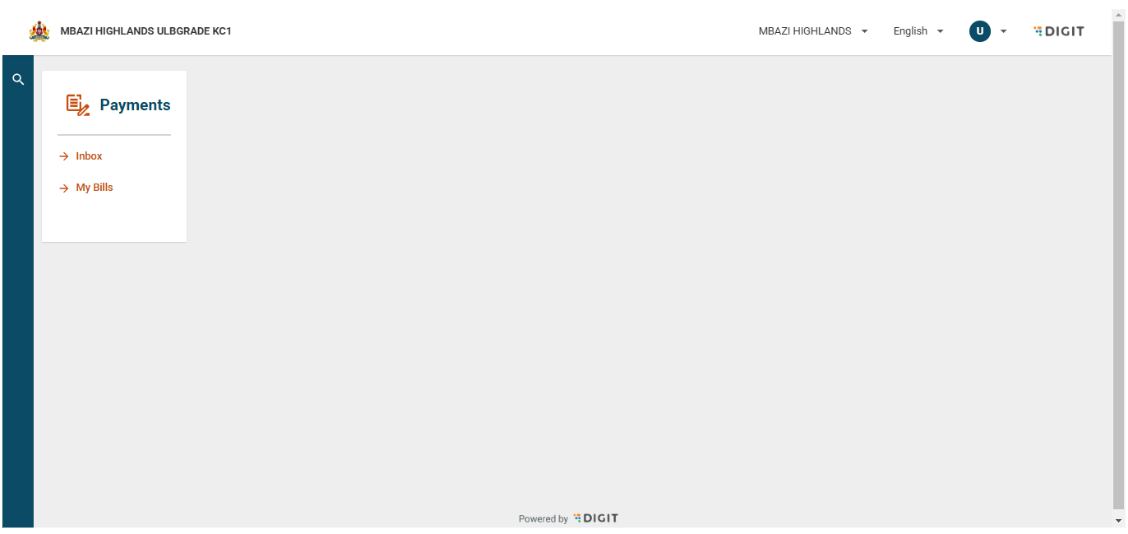
On the landing page, a Payments card is displayed with two options:
Inbox → Generate bills
My Bills → View and download already generated bills
Click on Inbox to proceed.
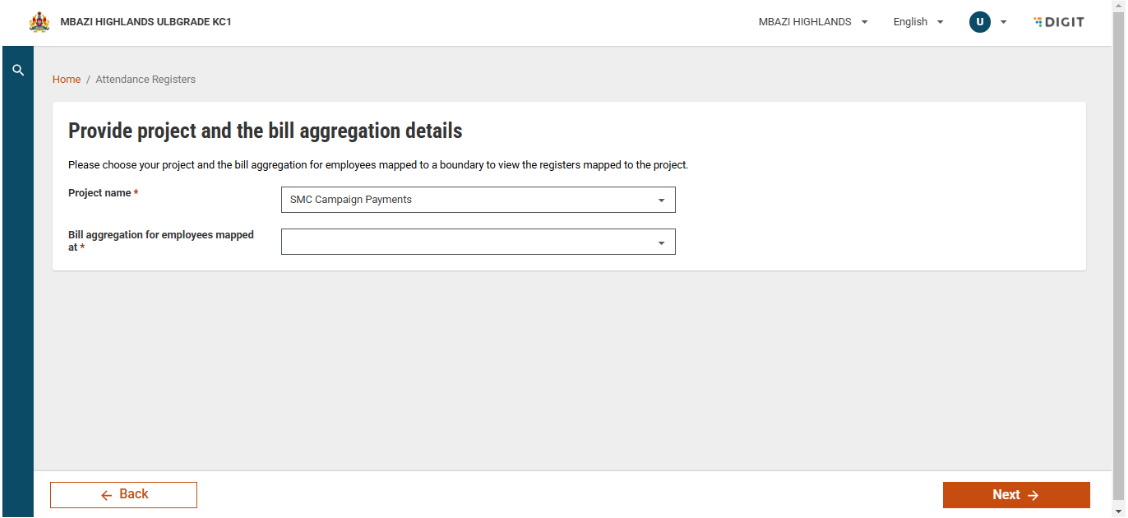
On the Inbox page, select the Project Name (event type name) from the available options.
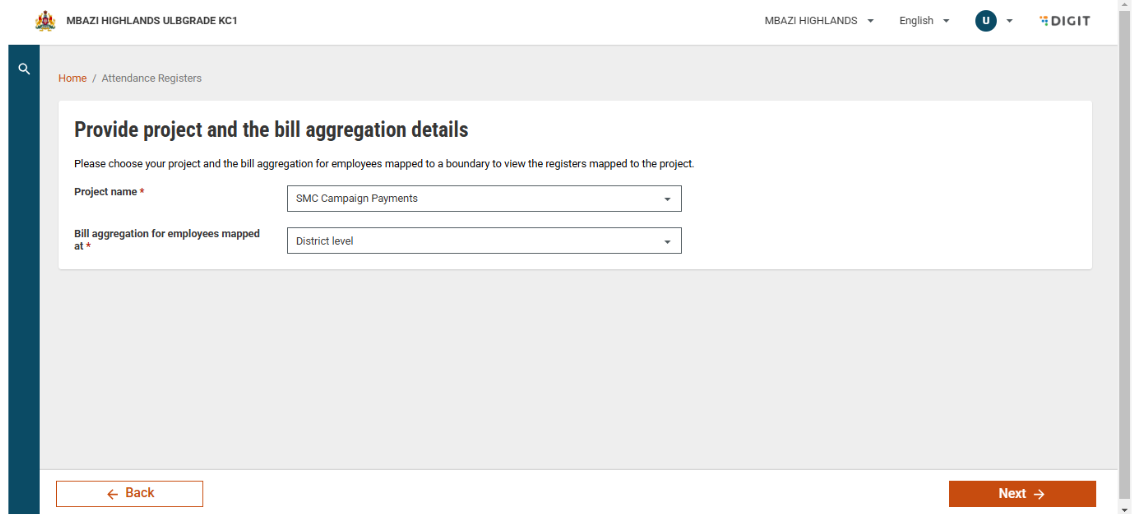
Choose the Aggregation Boundary Level for the bill:
National
Province/State
District
After selecting the required aggregation level, click Next to continue.
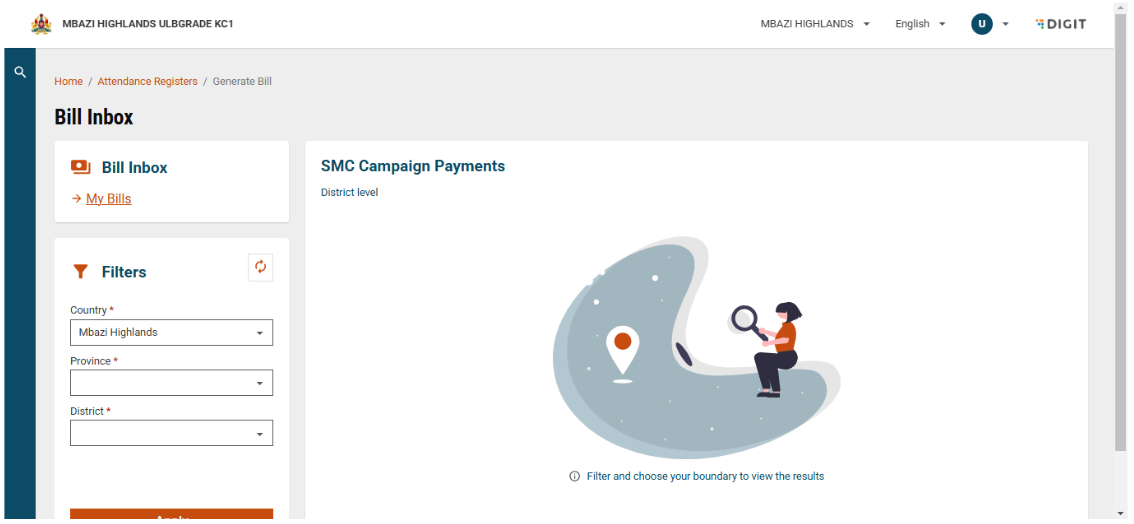
After selecting the aggregation boundary, the Bill Inbox page will open.
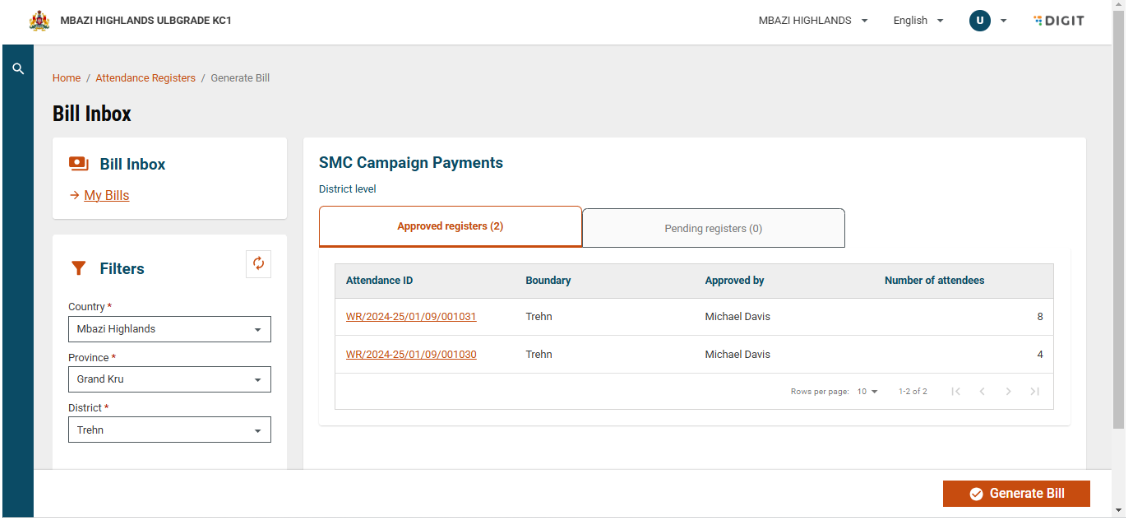
Use the filter to choose the specific boundary for which the bill needs to be generated.
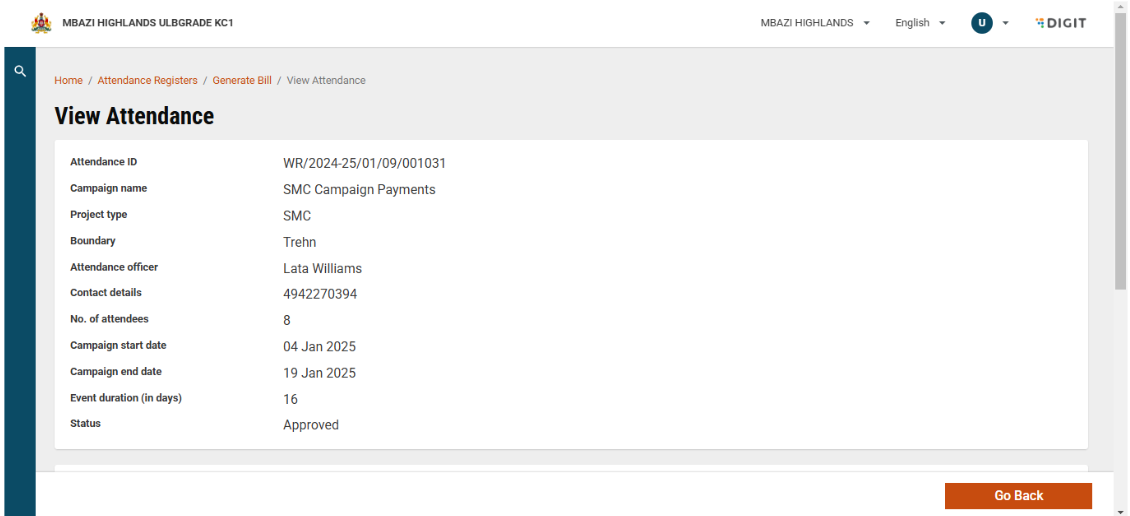
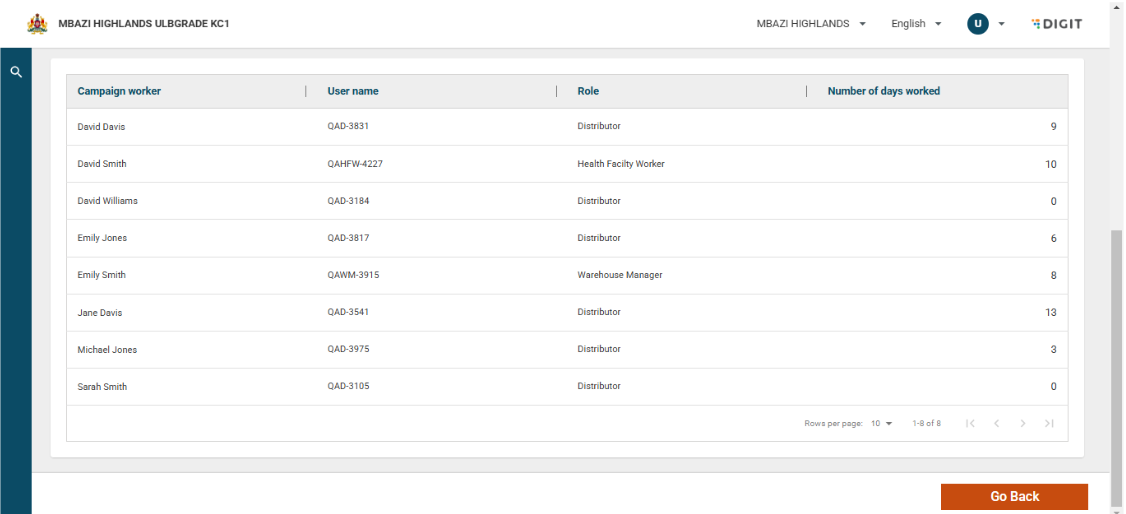
The page will display all attendance registers (both Approved and Pending Approval).
These registers can only be viewed by the campaign supervisor.
To proceed, click on Generate Bill.
A bill can be generated only once per boundary, and only after all registers in that boundary are approved.
When you click Generate Bill, a confirmation pop-up will appear.
The message will indicate that the bill cannot be generated again for the selected boundary.
To continue, click Generate Bill on the pop-up.
If you do not wish to proceed, close the pop-up to cancel the action.
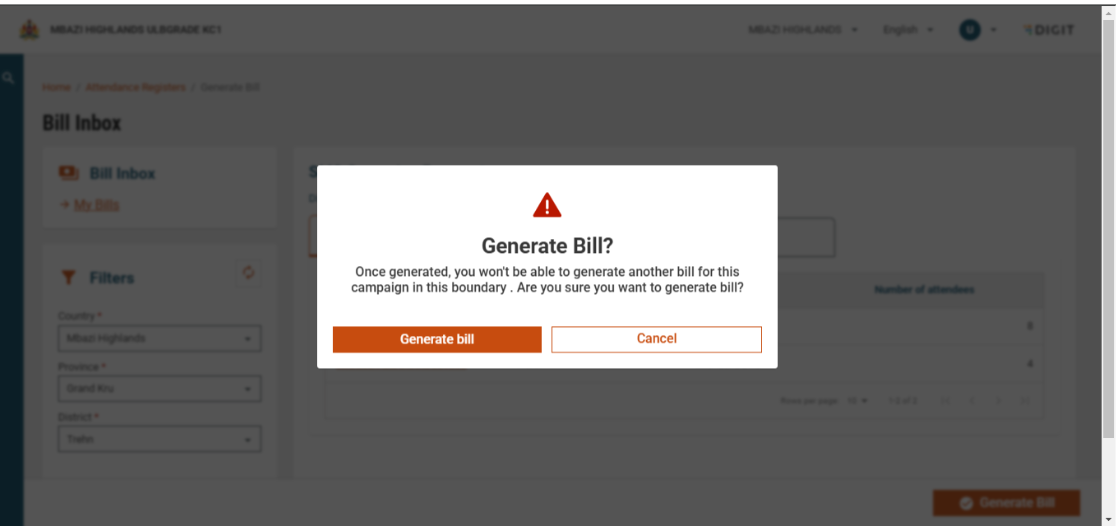
Click on Generate Bill to start the bill generation process.
A toast message appears, indicating the expected wait time for completion.
Once the process is initiated, click My Bills to view and manage generated bills.
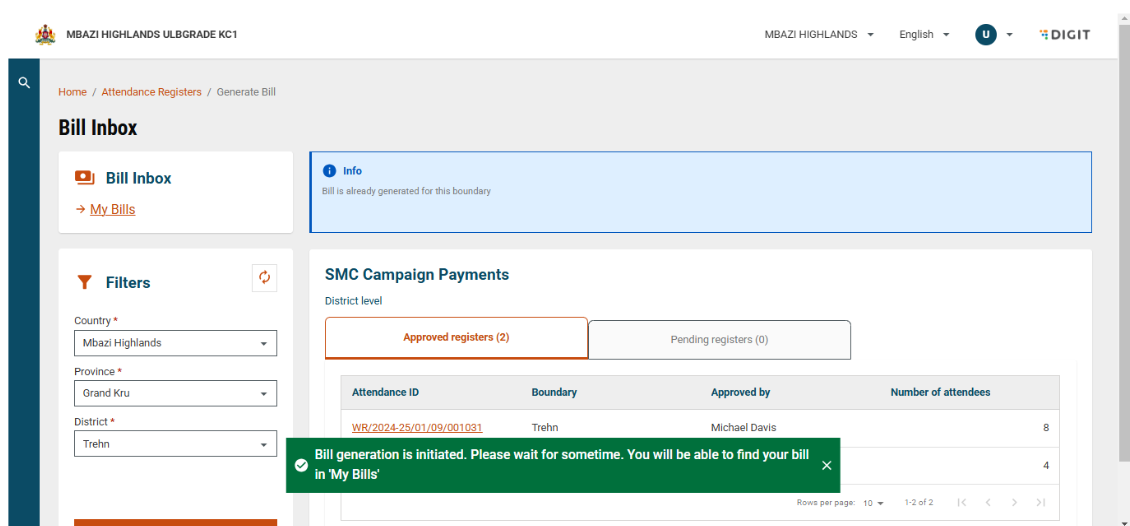
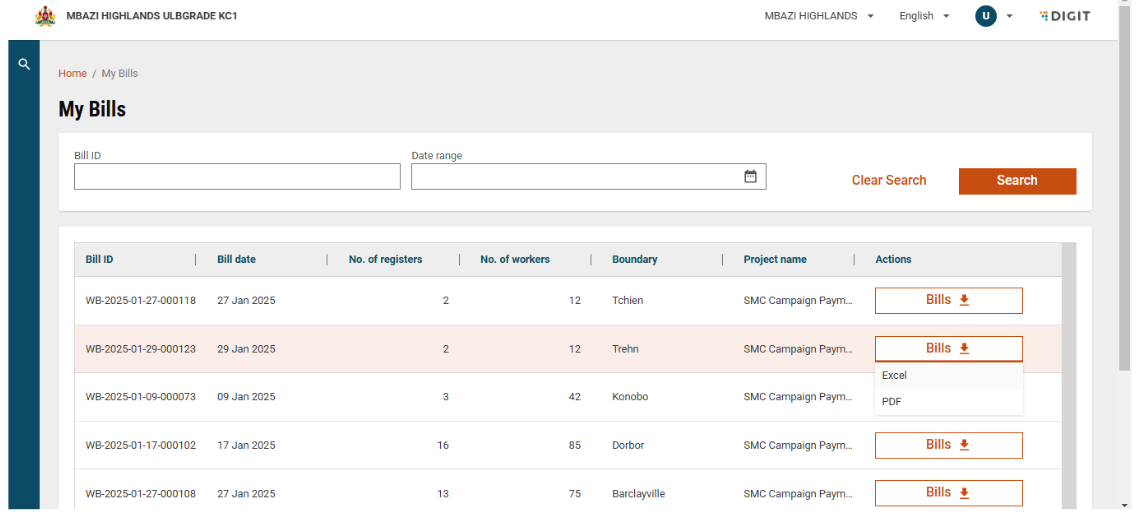
Click on My Bills to open the Bill Inbox page.
Use the search options to find bills by:
Bill ID, or
Date range (based on generation date)
Bills that are still being generated can be identified in the Actions column.
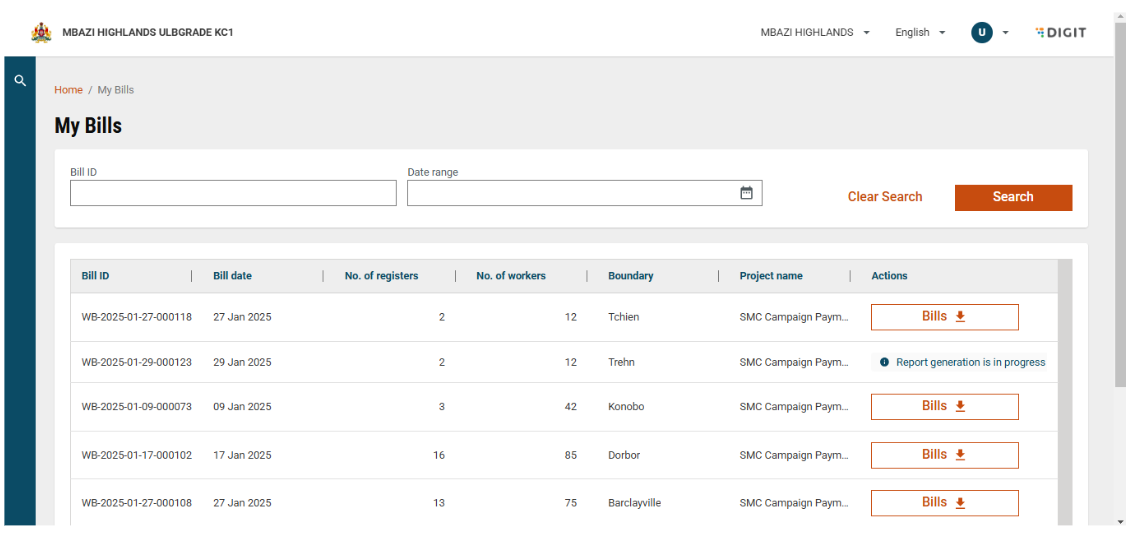
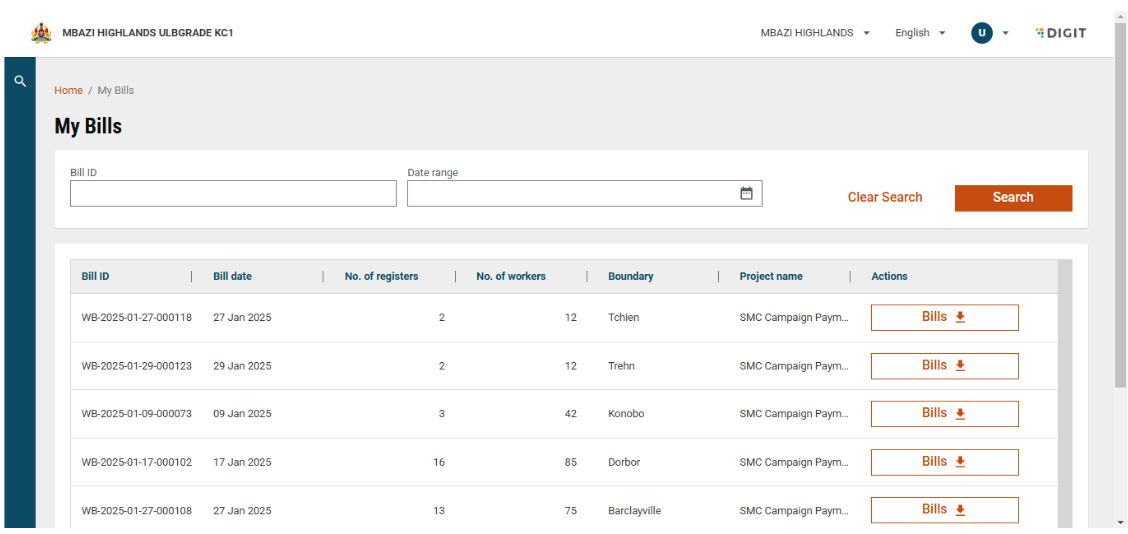
After a bill has been successfully generated, locate it in the My Bills page.
Choose the desired format to download the bill. Available download formats:
Excel or
PDF
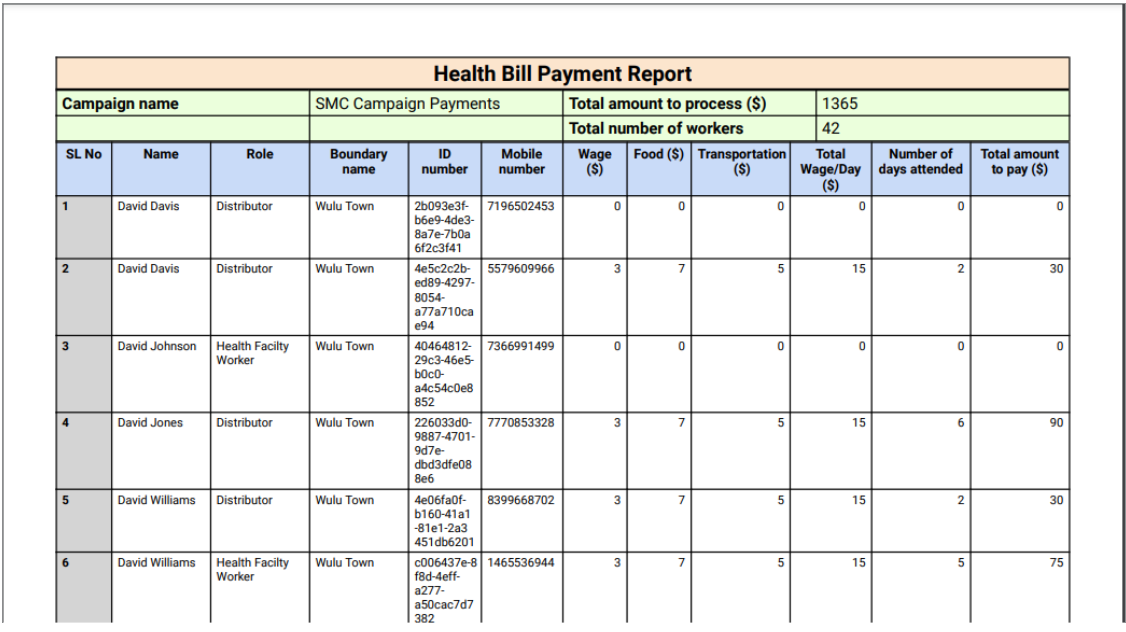
Find below an illustration of the PDF report. The report provides the following information: total amount to be processed, details of each individual, different cost heads that are applicable based on the assigned role, and the sum of the amount to be paid based on the number of days attended.
Last updated
Was this helpful?