Apply For New Trade Licence
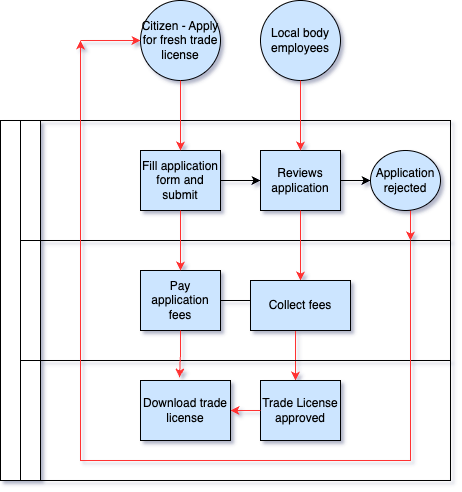
Citizens or CEs can apply for a new trade licence through the DIGIT web portal or the DIGIT mobile app. To apply for a new trade licence click on the Trade Licence card available in the Citizen Services section of the DIGIT home page.
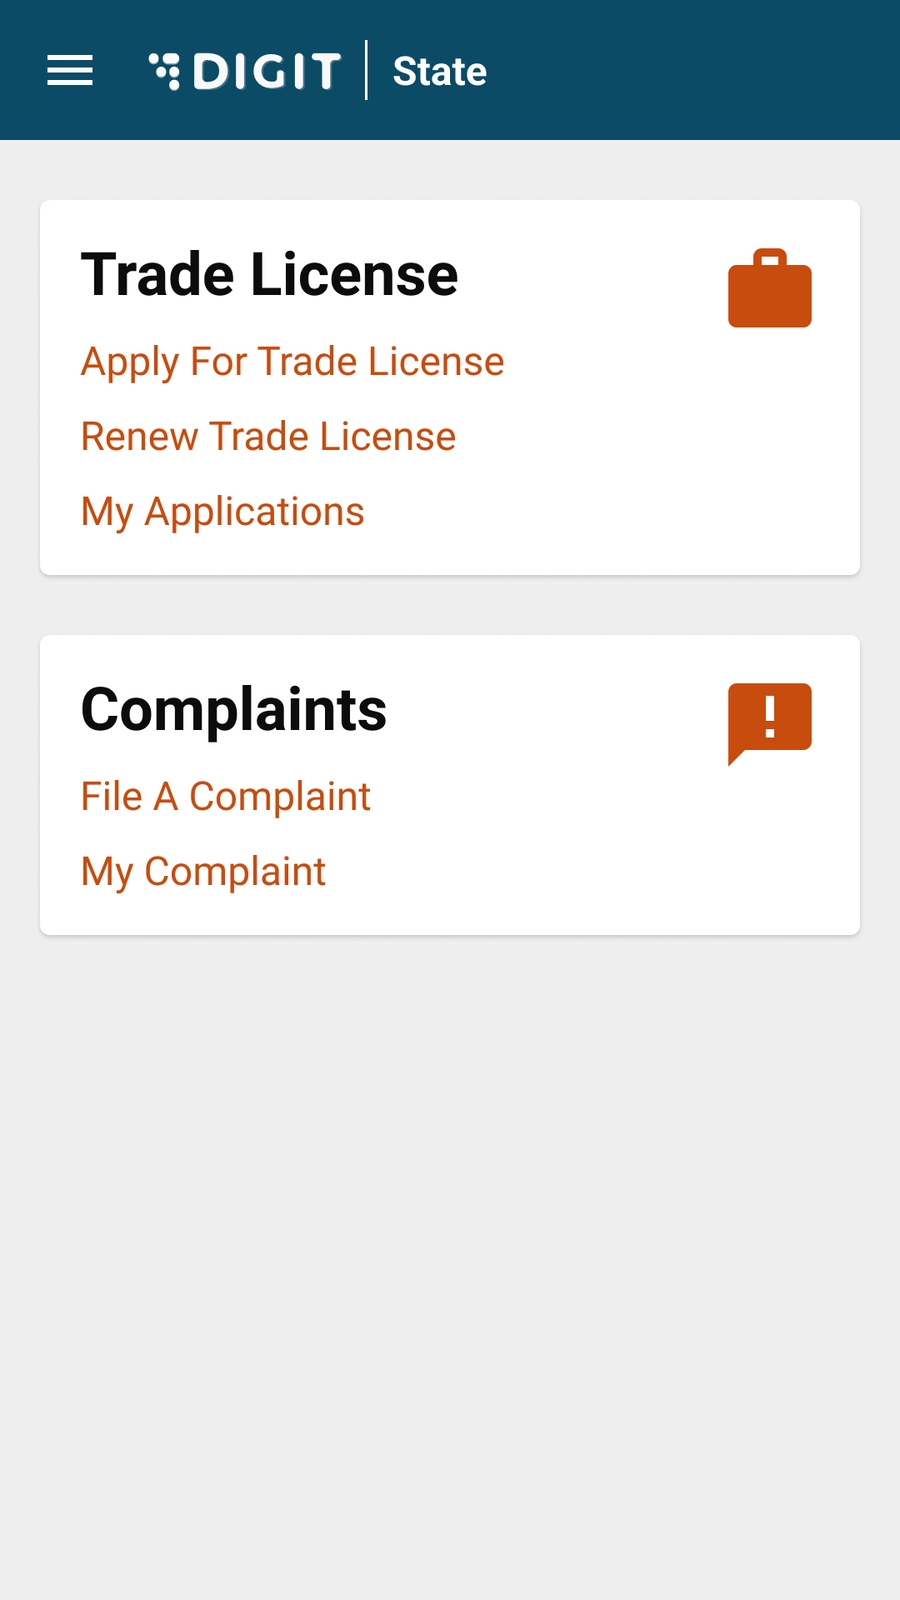
Click on Apply for Trade License.
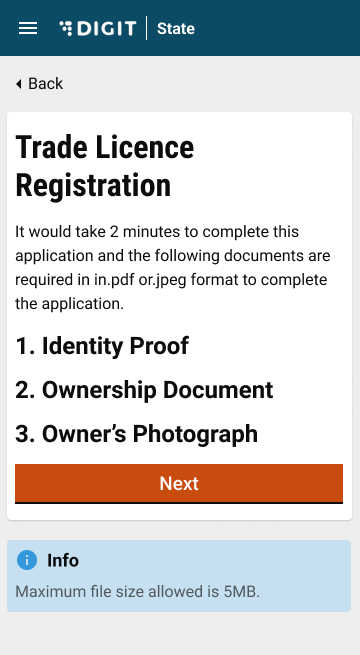
The initial application screen displays the list of documents that have to be submitted for trade license registration. Scroll through the list and make sure the required documents are scanned and ready for submission online.
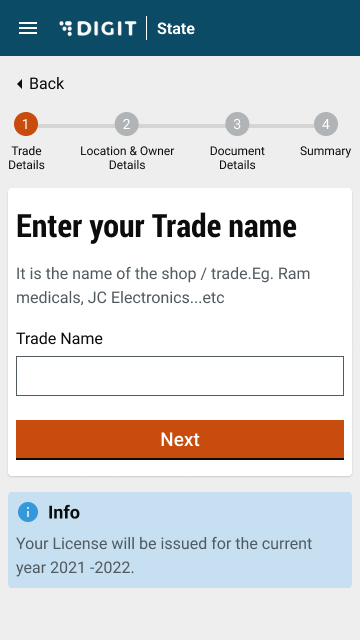
Enter the Trade Name. Click on the Next button.
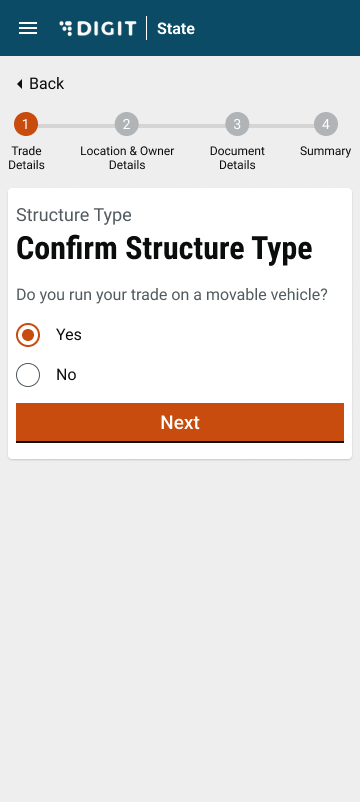
Click on the Yes or No option to indicate the Structure Type of the trading premises. Yes to indicate the trade will run on an immovable structure. And, No to indicate the trade will run on a movable structure.
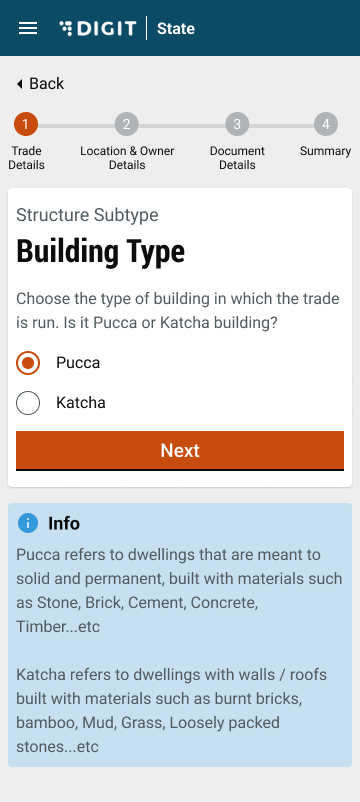
Select Pucca or Kutcha option to indicate the Building Type. The Building Type option appears if the selected Structure Type in the previous screen is Immovable.
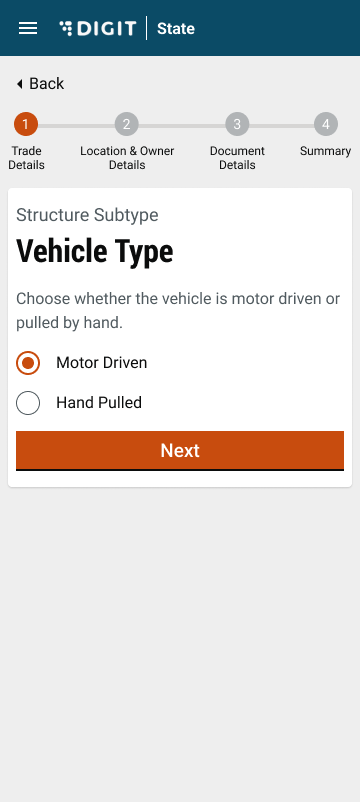
In the case of Movable structures, the system displays the Structure Sub Type as Vehicle Type. Select Hand Driven Vehicle or Motor-Driven Vehicle option depending on the trading plans.
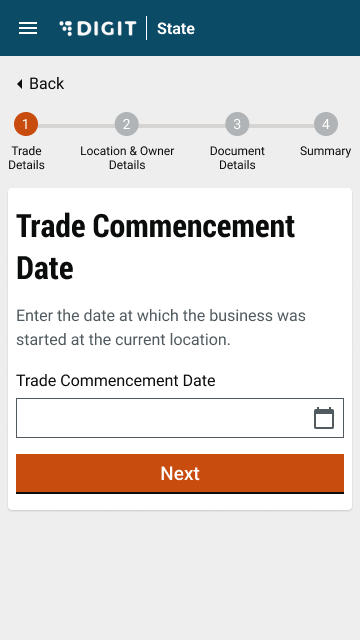
Enter the Trade Commencement Date. This date indicates the inception or starting date of the trade.
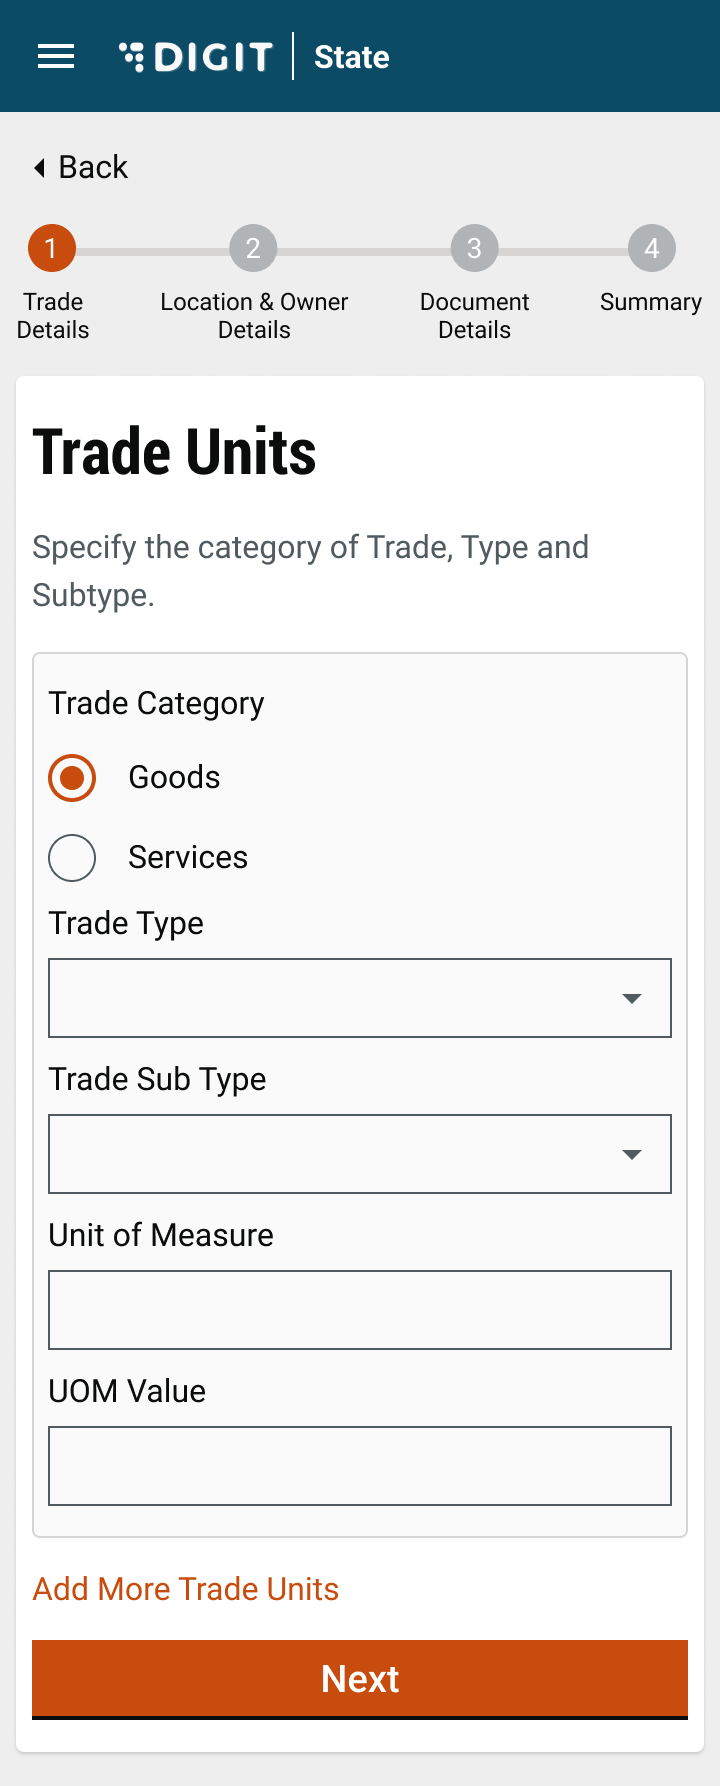
Select the Trade Category as either Goods or Services in the Trade Units screen. Next, select the appropriate Trade Type and Trade Sub Type from the available drop-down list. Click on Add More Trade Units button to append multiple trading units.
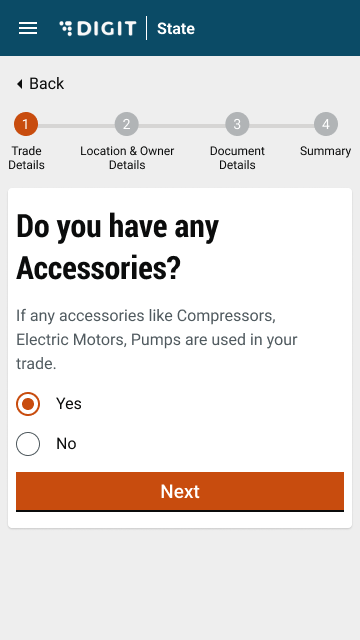
Select Yes or No to indicate if you have any trade accessories.
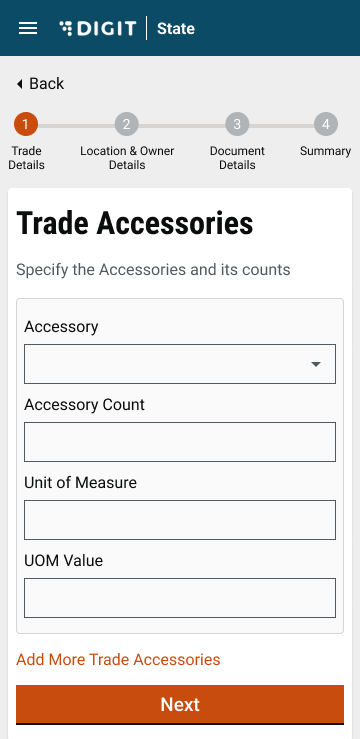
If Yes, select the applicable Accessory from the drop-down list. Enter the Count for the selected Accessory to provide details on the number of accessories required. The system auto-populates the applicable UOM, if any, for the selected accessory. Enter the UOM value. Click on Add More Trade Accessories button to append multiple accessories.
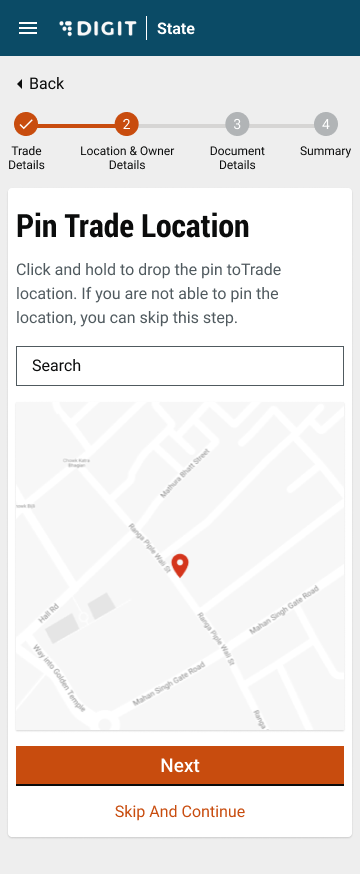
Enable the Location Finder to allow GPS to track the current location. Or, move the pin to the location manually. Alternatively, you can also enter the location in the Search bar.
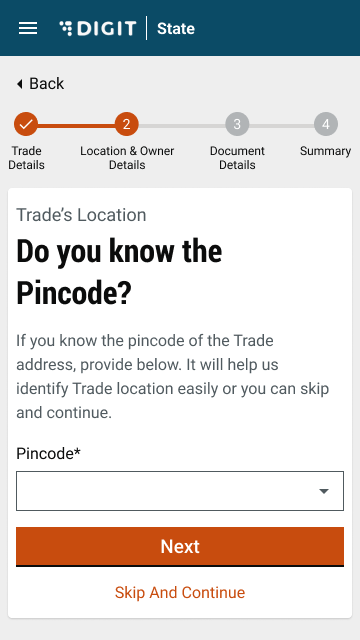
The Pincode field gets auto-populated if the location is selected on the map. Else, enter the Pincode of the location details manually. Click on Skip and Continue in case you are unable to provide the Pincode details.
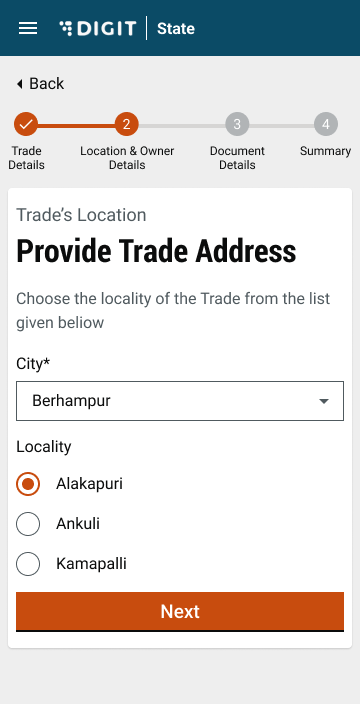
City and Locality/Mohalla fields are auto-populated once the Pincode is entered. Else, select the City and applicable Locality/Mohalla from the drop-down list.
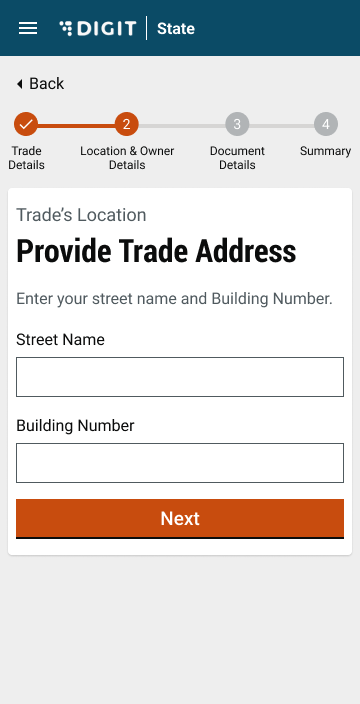
Enter the Street Name and Door No. details.
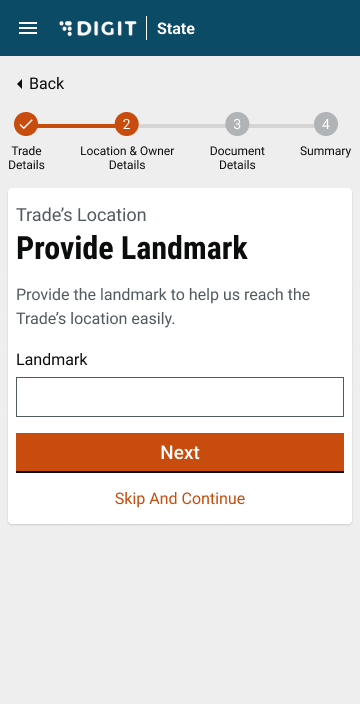
Provide a Landmark to locate the trading premise.
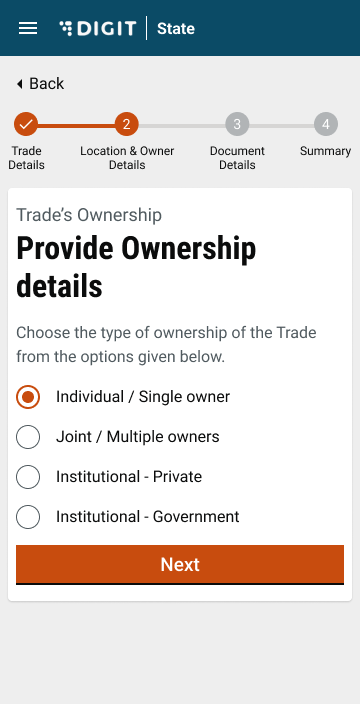
Select either the Single Owner or Multiple Owners option to indicate the type of ownership in the Ownership Details screen.
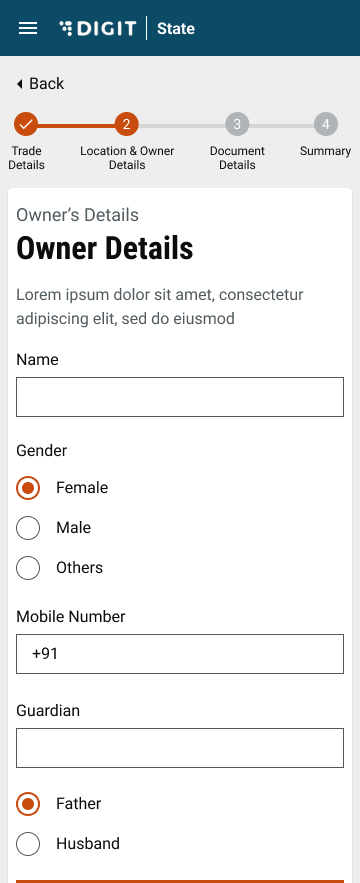
Enter the Owner Name. Select the applicable Gender and enter the owner’s Mobile Number.
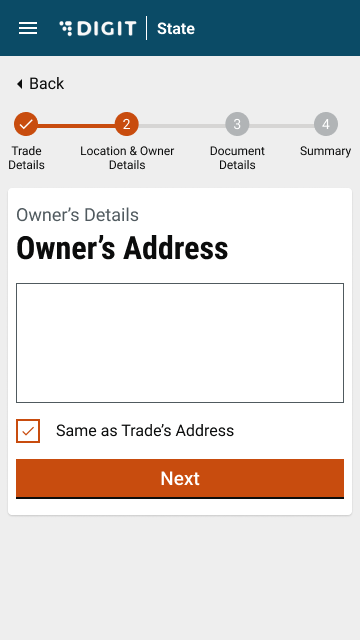
Enter the Owner’s Address. Check the Same as Trade Address box if the owner’s address and trading address are the same. This will auto-populate the trading address provided earlier.
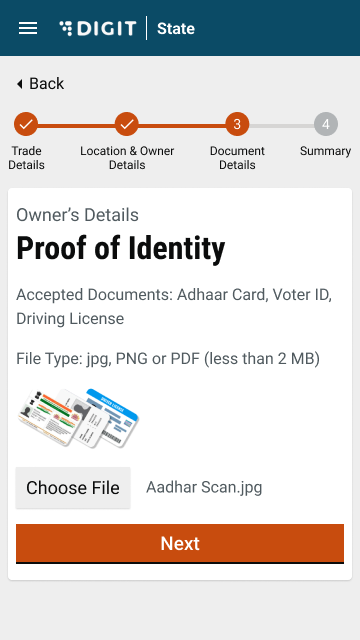
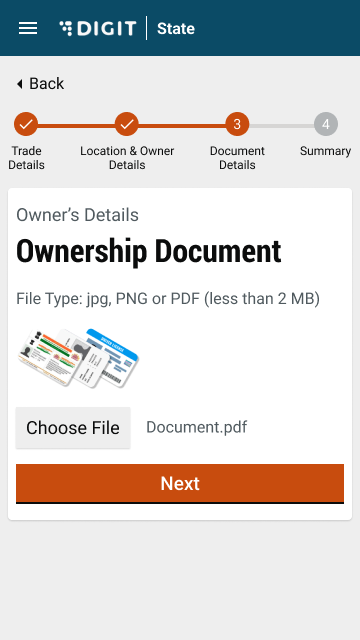
Select Choose File and upload the relevant identity proof document.
Upload the Ownership Document. The supported file formats are jpg, PNG or PDF
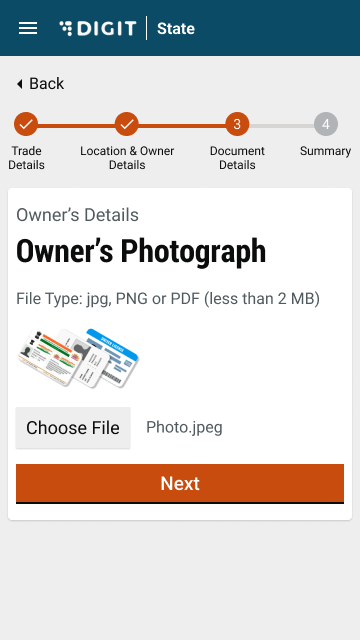

Upload the Owner's Photograph.
Validate the information entered in the application summary screen. Click on Change to modify the information if required. Click on the Submit button once the filled-in details are found correct and complete.
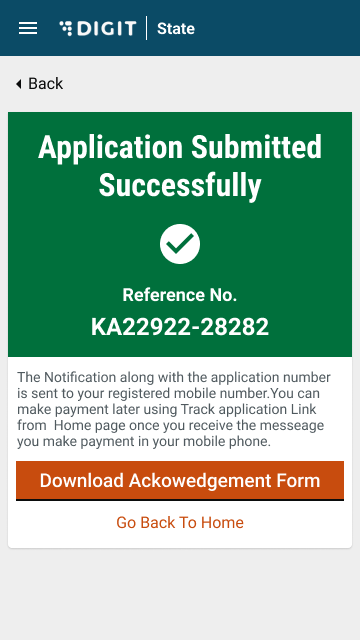
The system generates a unique application reference number. Click on the Download Acknowledgement Form to download and print the acknowledgement.
Last updated
Was this helpful?